
I’ve been on a kick to see how many condiments and other spreads I can replace with my own homemade versions. And so far, I’ve been really successful in finding easy and delicious alternatives.
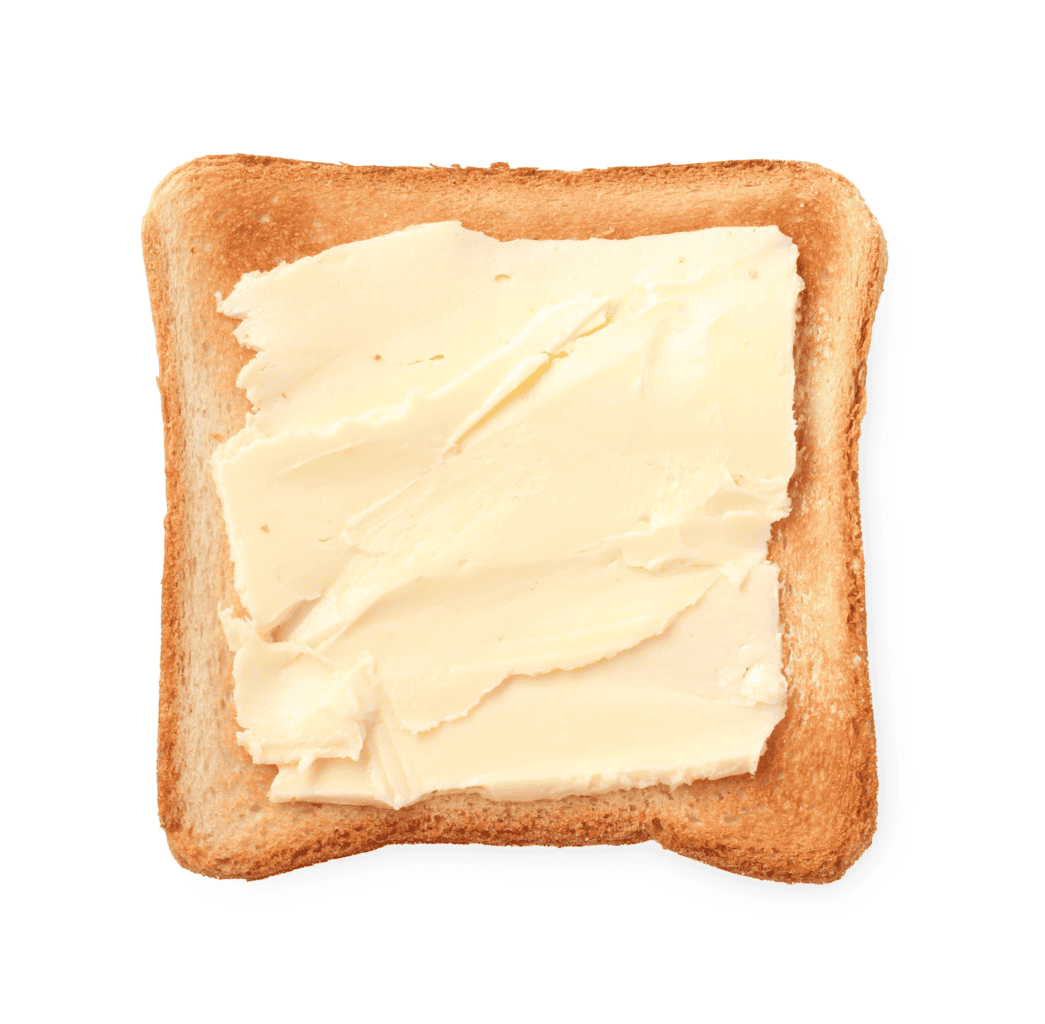
Homemade butter is one of the easiest ones – you just need one ingredient (or two if you like your butter salted). And let me tell ya.. once you taste your homemade butter on warm bread, it’s hard to go back to the store bought kind. Don’t say i didn’t warn you!
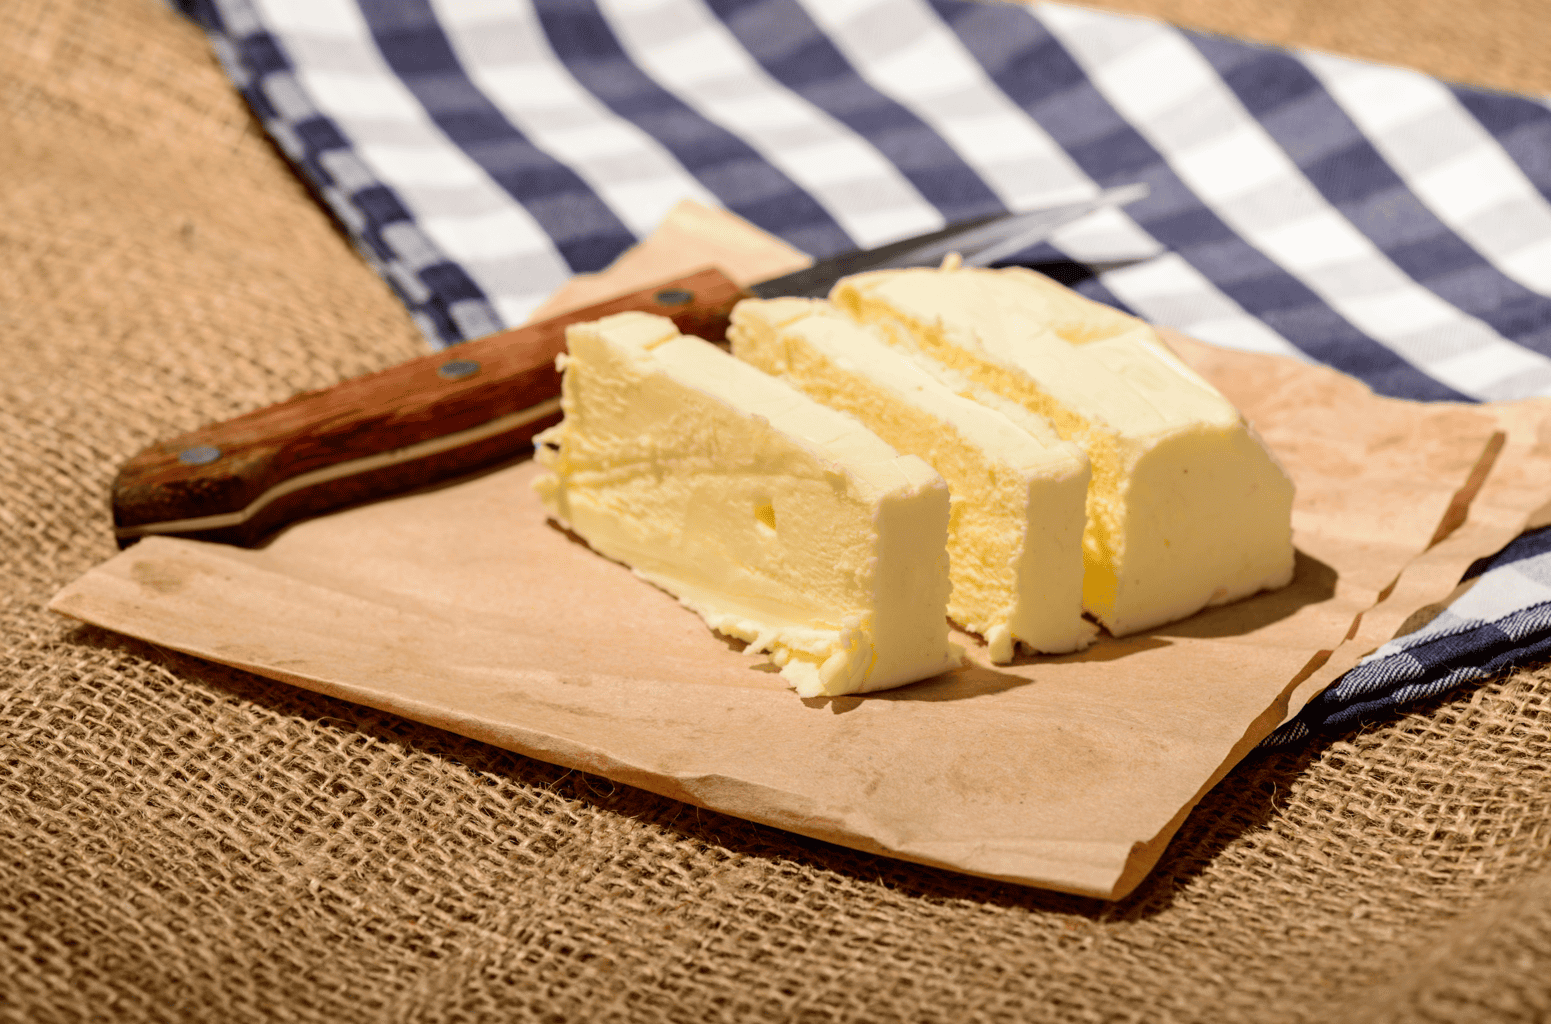
So if you’re keen to make your own homemade butter, here’s everything you need including the right cream to storing your butter so it lasts.
Why Make Your Own Butter?
Before we dive into the exacts, we need to talk about what “healthy” really means. Butter is still butter, which means that it’s mostly fat. Yes, it’s healthier fats because it’s saturated fat, but I wouldn’t go about eating your homemade butter by the spoonful.
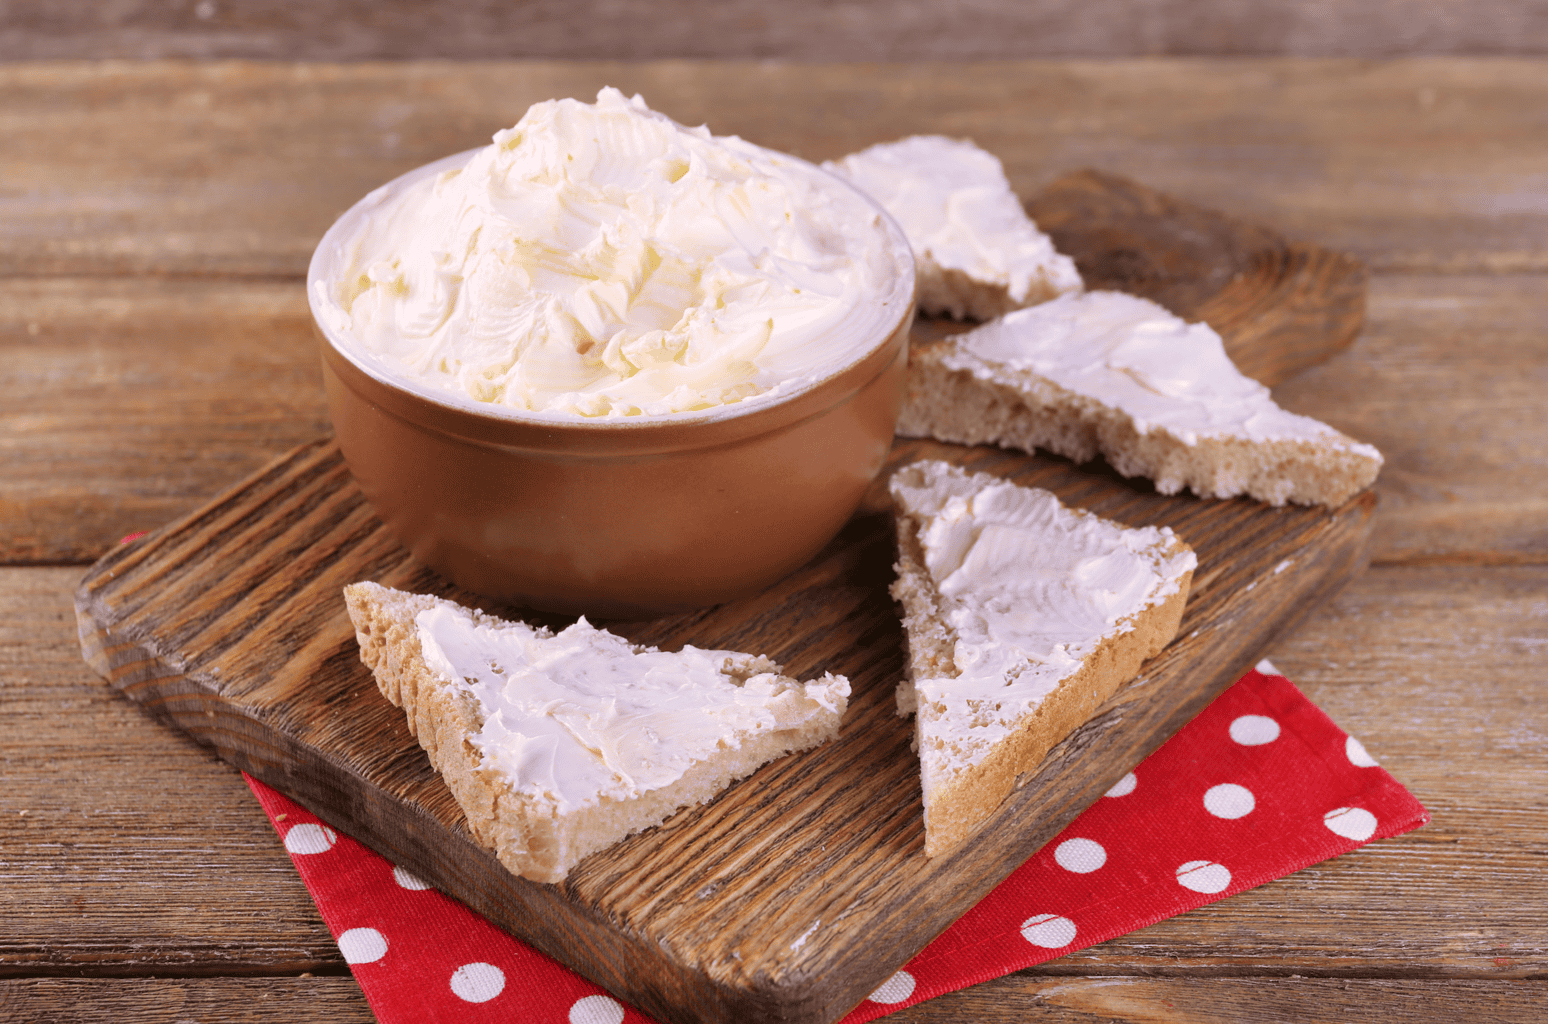
The biggest thing with homemade butter is that you have control:
- You know exactly what’s in it.
You’ll use cream and (maybe) salt. A lot of store bought butters have additives, which aren’t always healthy or safe.
- You get to choose the cream.
If you use cream from grass-fed cows, you’re already better off. Studies comparing butter from pastured cows to butter from grain-fed cows have found higher levels of omega-3 fats, conjugated linoleic acid (CLA), and beta-carotene in the grass-fed butters. I’d rather have control over this personally.
- You control the salt.
If you’re trying to consume less salt, leave it out of your recipe completely. Or you can add a pinch, or salt it to your taste. Whatever works for you!
- Nothing goes to waste.
If you have cream that’s about to hit the expiration date, use it to make butter or buttermilk instead of throwing it out.
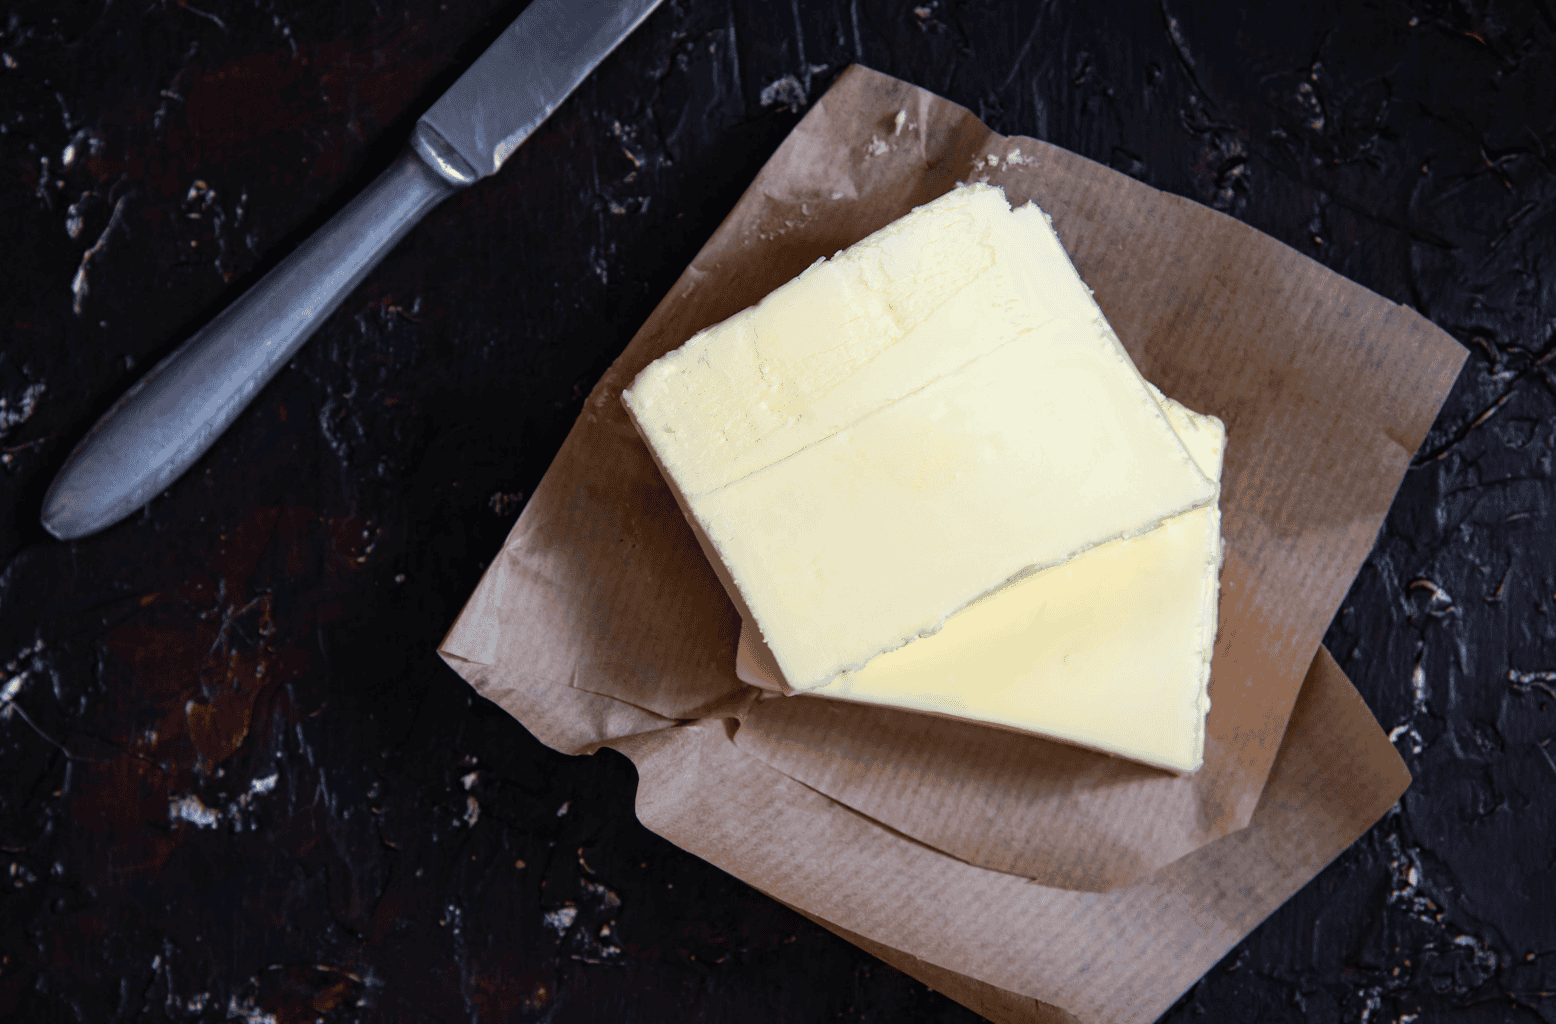
Also, butter is just so much fun to make with kids. If you didn’t get to experience making butter by shaking a jar when you were a kid, this is a great thing to do with your own kids. And even if you did get to do it as a kid, share it with the next generation.
Picking Your Cream
This is the most important part of the whole butter making process. The cream you decide will determine how fast your butter comes together. It’ll also determine how much you get and it’s going to taste.
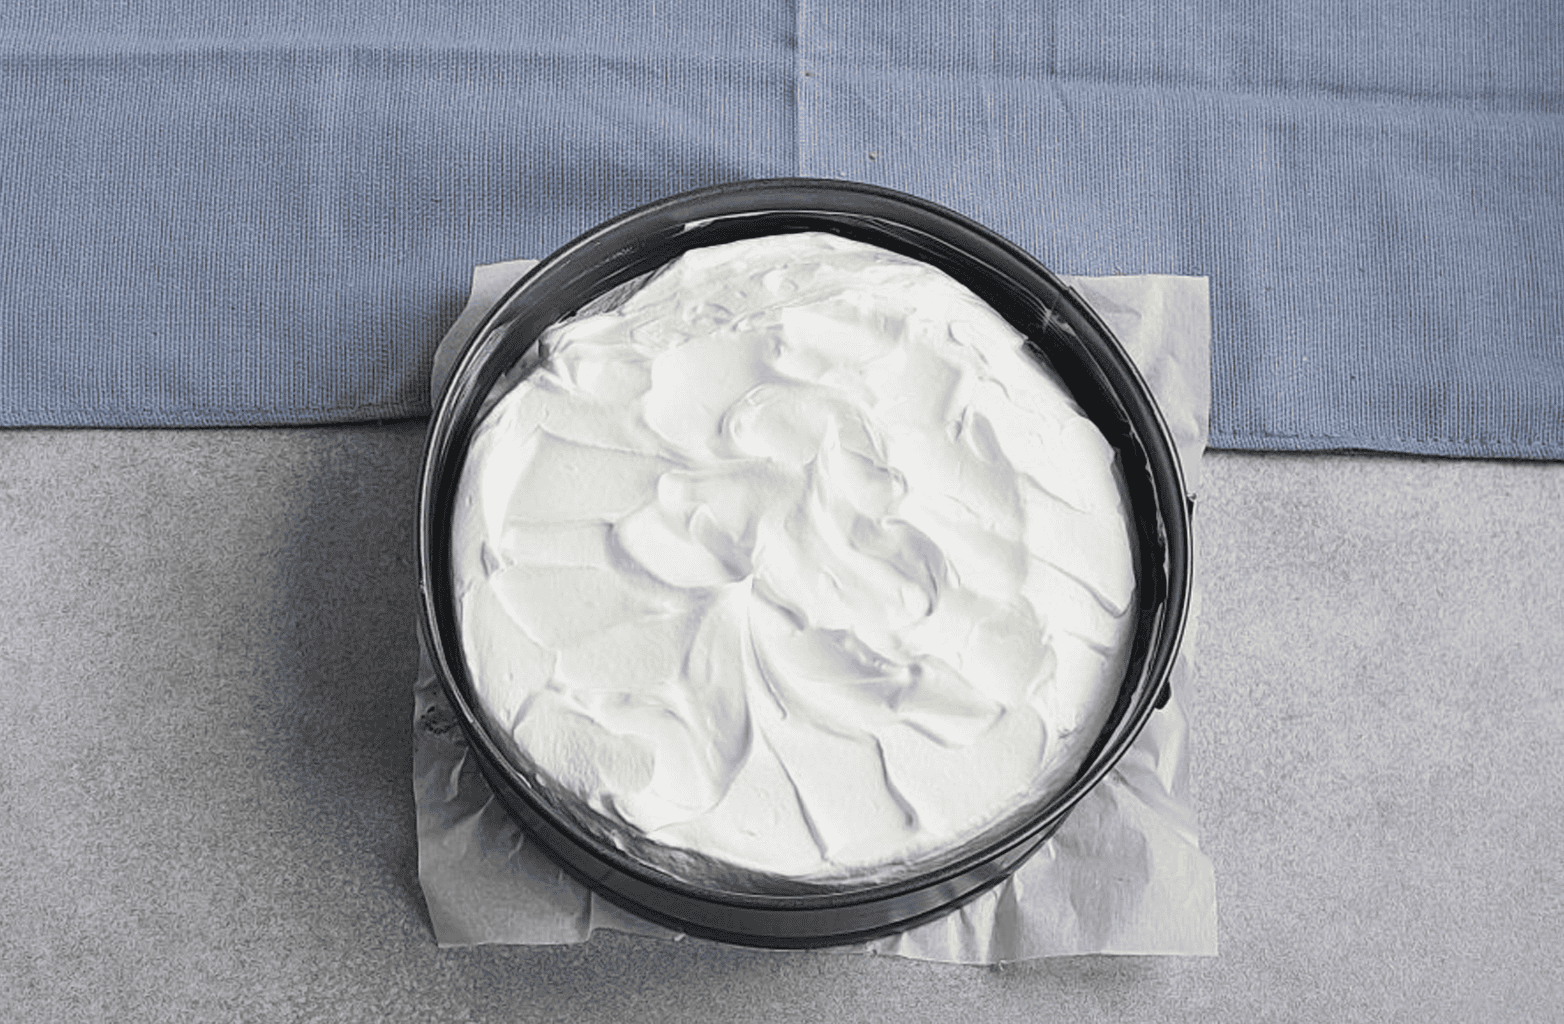
My recommendation is to go for the highest fat content you can find. Butter is made from the fat in the cream, so more fat means more butter and faster separation.
If you’re in Canada, look for 35% whipping cream. This is the standard whipping cream in most grocery stores and it’ll works perfectly.
In the U.S, look for heavy cream or heavy whipping cream with at least 36% milkfat. Plain whipping cream can be as low as 30%, which still works but gives you less butter.
I would not recommend table cream (18%), coffee cream, half-and-half, or cereal cream. These don’t have enough fat to turn into butter. Essentially, you’ll just whisk and whisk and nothing will happen.
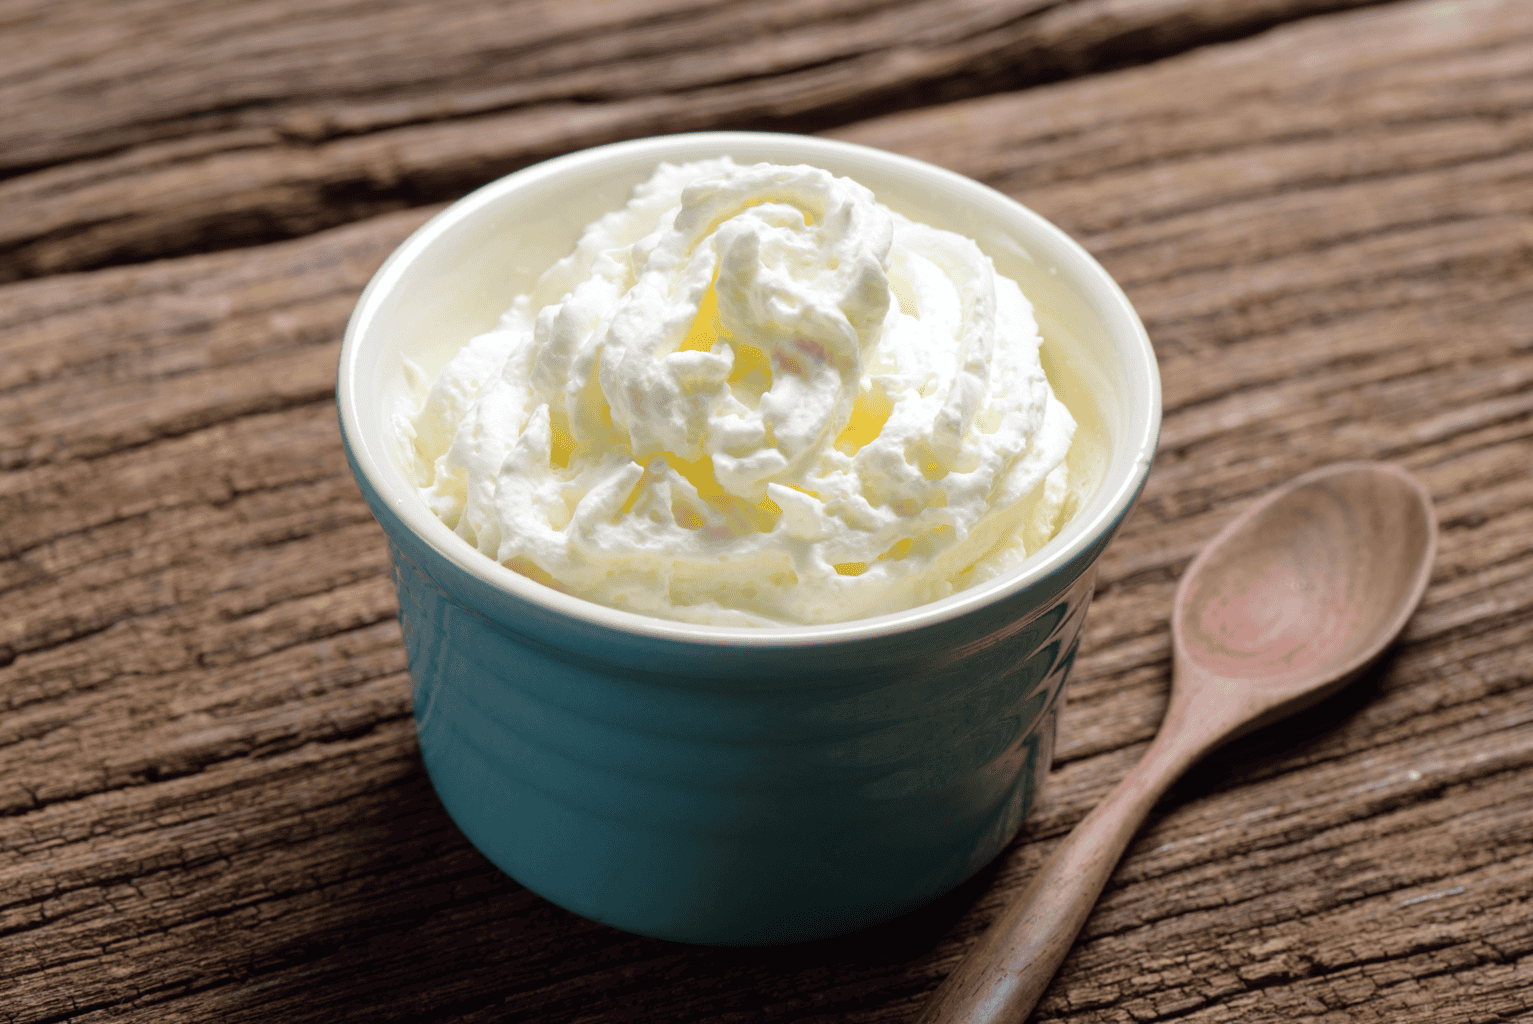
Before you decide on a cream, check the ingredient list. Some whipping creams contain stabilizers or thickeners like carrageenan or gums. These are not harmful, but the absolute best option is a cream that only has “cream” as an ingredient.
If you want healthy homemade butter, this is the #1 thing I recommend.
A lot of people will ask about ultra-pasteurized cream and that works, too. If your cream has been heat-treated, it’ll still churn into butter. Regular pasteurized cream tends to have a fresher flavor if you can find it.
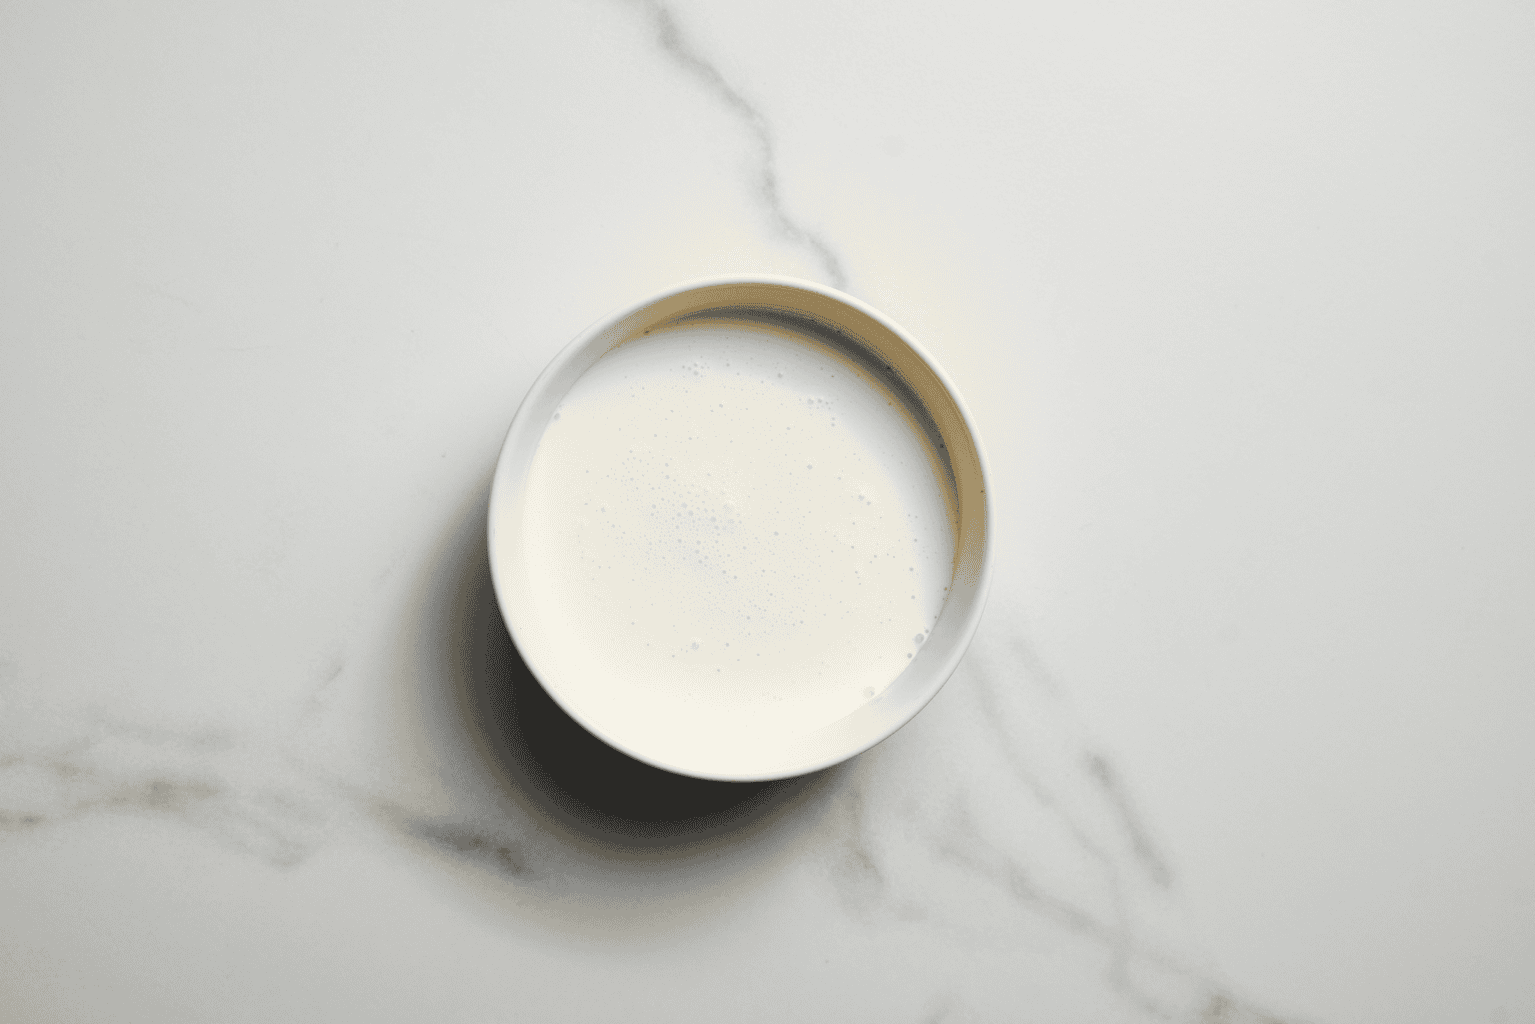
If you want golden butter, look for cream from grass-fed or pasture-raised cows. Homemade butter from regular grocery store cream usually turns out pale, almost white. Butter from grass-fed cream is a deeper yellow thanks to beta-carotene from the grass the cows eat. Surprisingly it’s not because of higher fat, which is a common myth.
How Much Butter Will You Get?
I typically see that 1 litre of 35% cream makes about 400-450 grams of butter, or close to a pound. You’ll also get around 2 cups of buttermilk.
If you find cream with a higher fat content, you’ll get more butter.
What You’ll Need
Ingredients
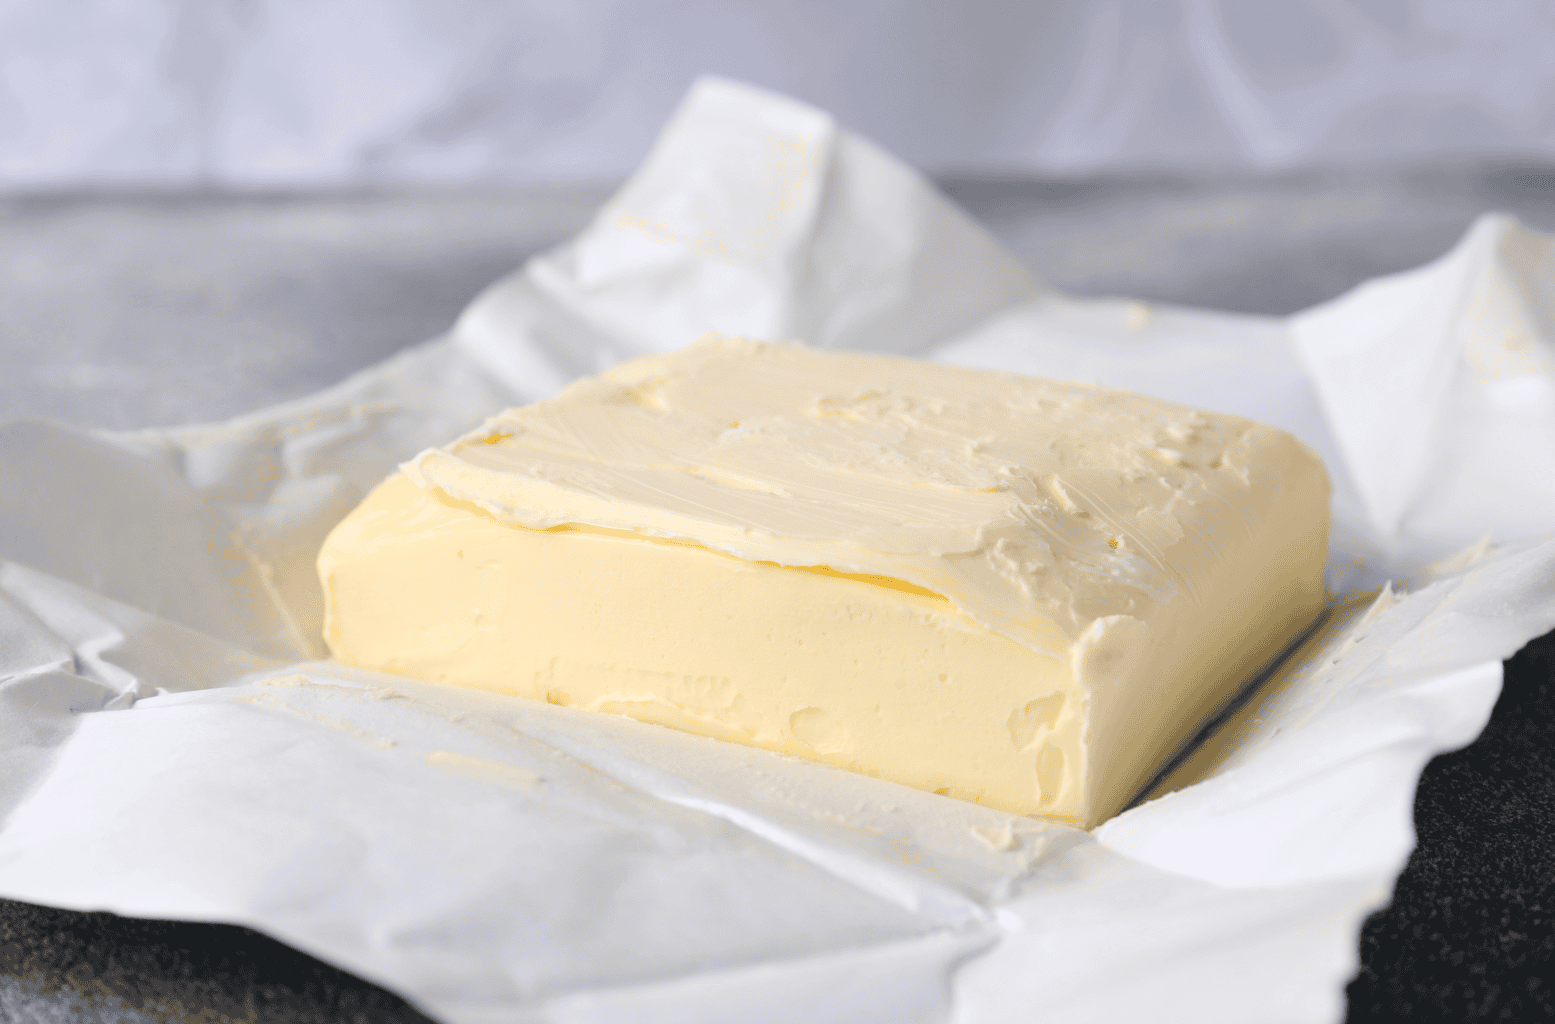
- 1 litre (4 cups) 35% whipping cream or heavy cream
- Fine sea salt – remember this is optional (about ½ to 1 teaspoon per batch)
- A large bowl of ice water
Equipment or Tools
- Stand mixer with a whisk attachment (a hand mixer or food processor also works)
- Fine mesh strainer or cheesecloth
- A jar or container for the buttermilk
- A spatula or wooden spoon
- A clean towel
- A container, parchment or butter mould for storing
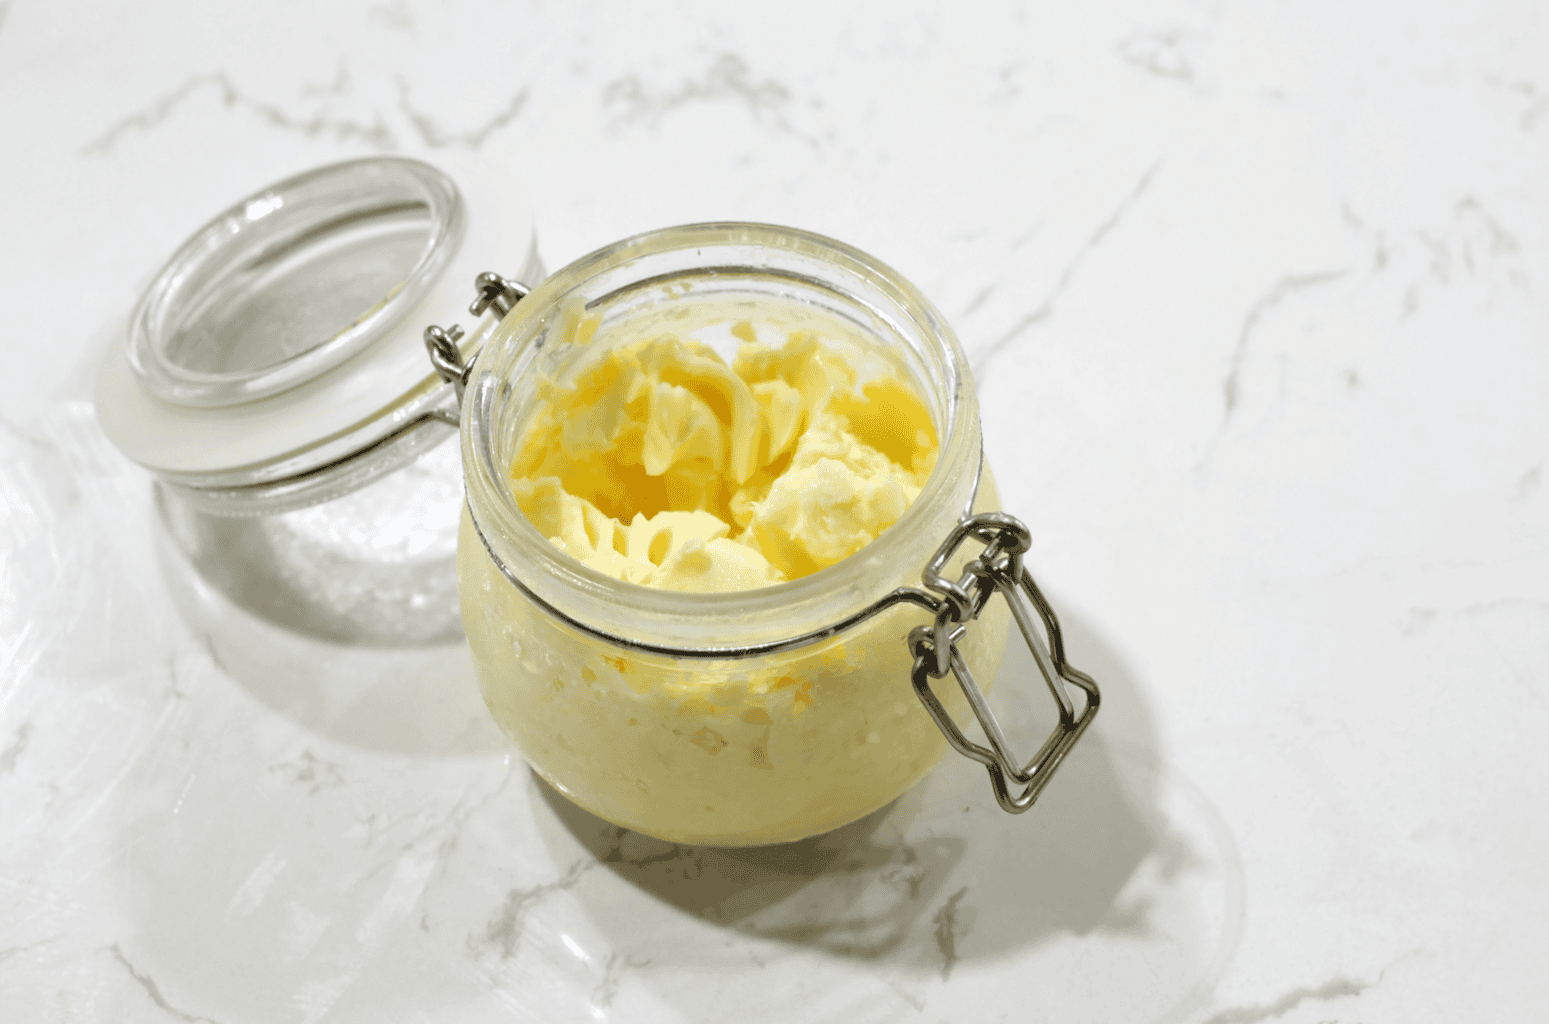
How To Make Butter In A Stand Mixer
Step 1: Chill your bowl and whisk
Put your mixer bowl and whisk in the fridge or freezer for 15 to 20 minutes. Your cream should also be cool, so take it from your fridge before using. I recommend cold equipment because it keeps the fat firm so the butter forms cleanly instead of turning all greasy.
Step 2: Whip on medium, then turn it up
From there, pour the cream into the bowl, but no more than about halfway full. Start with it on medium speed so it doesn’t spray everywhere, and then bump it up to medium-high once it starts to thicken.
Step 3: Keep going past whipped cream
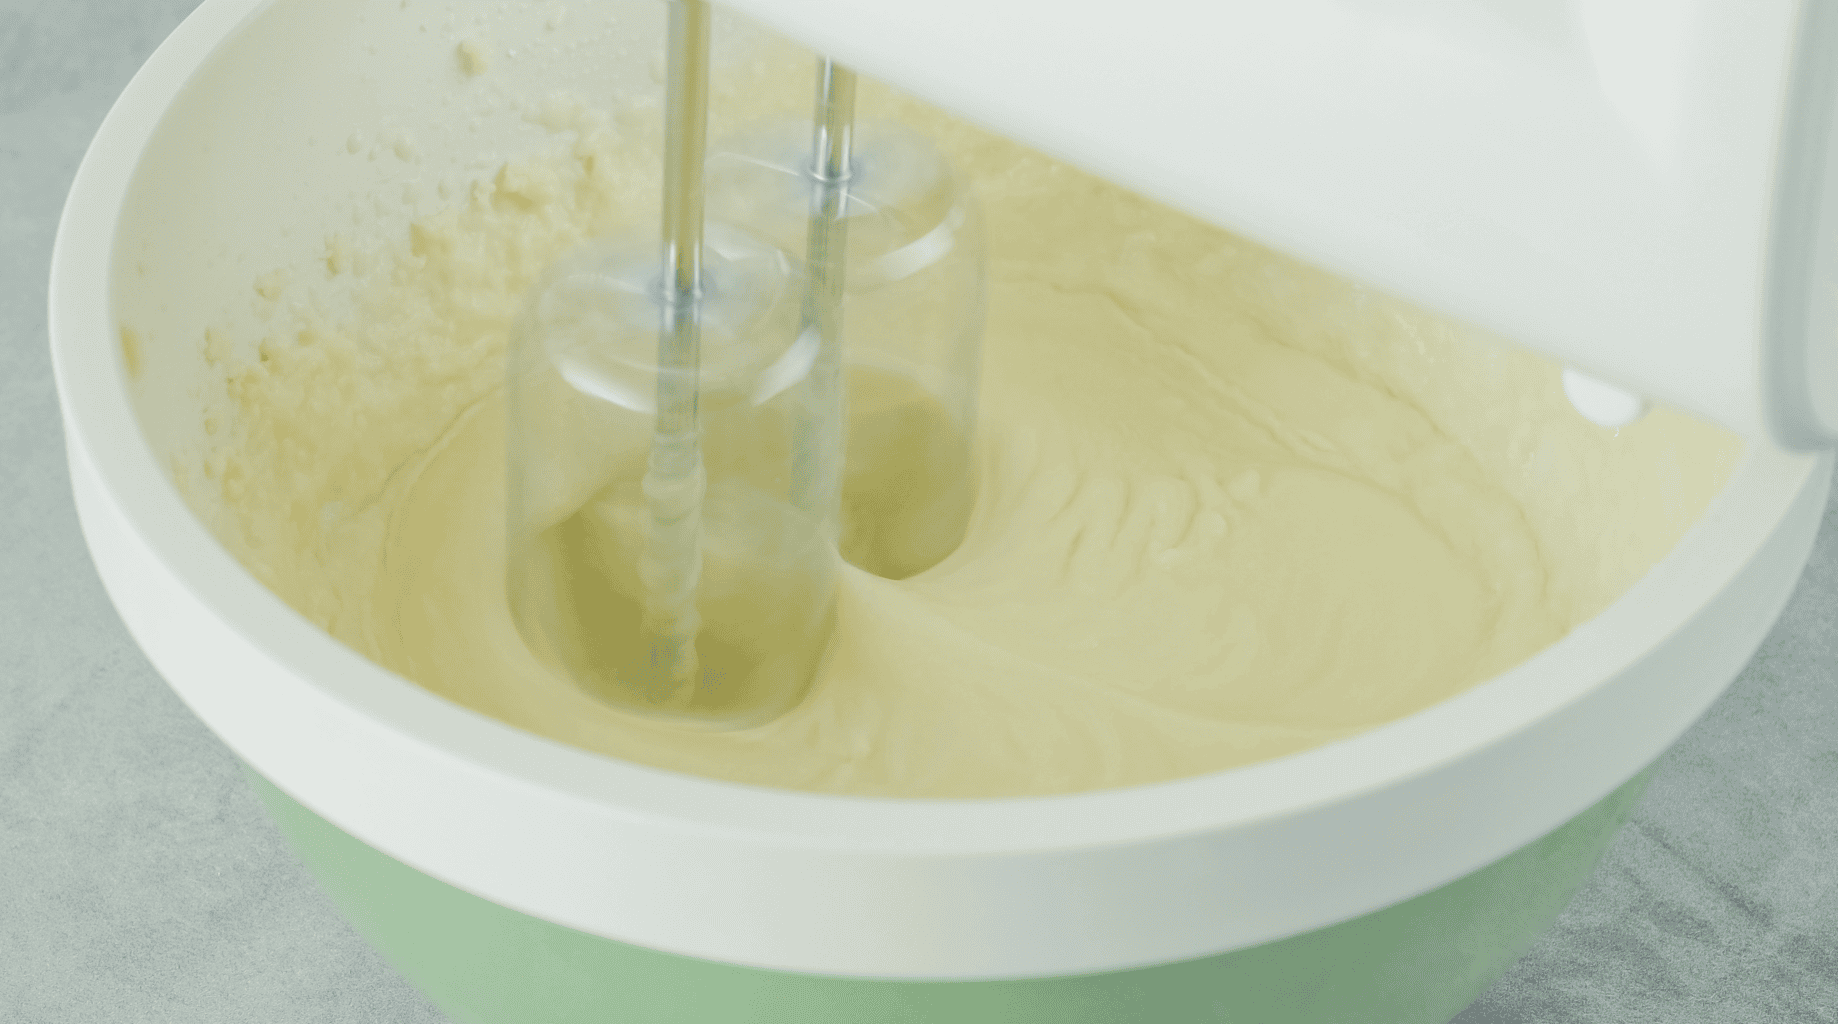
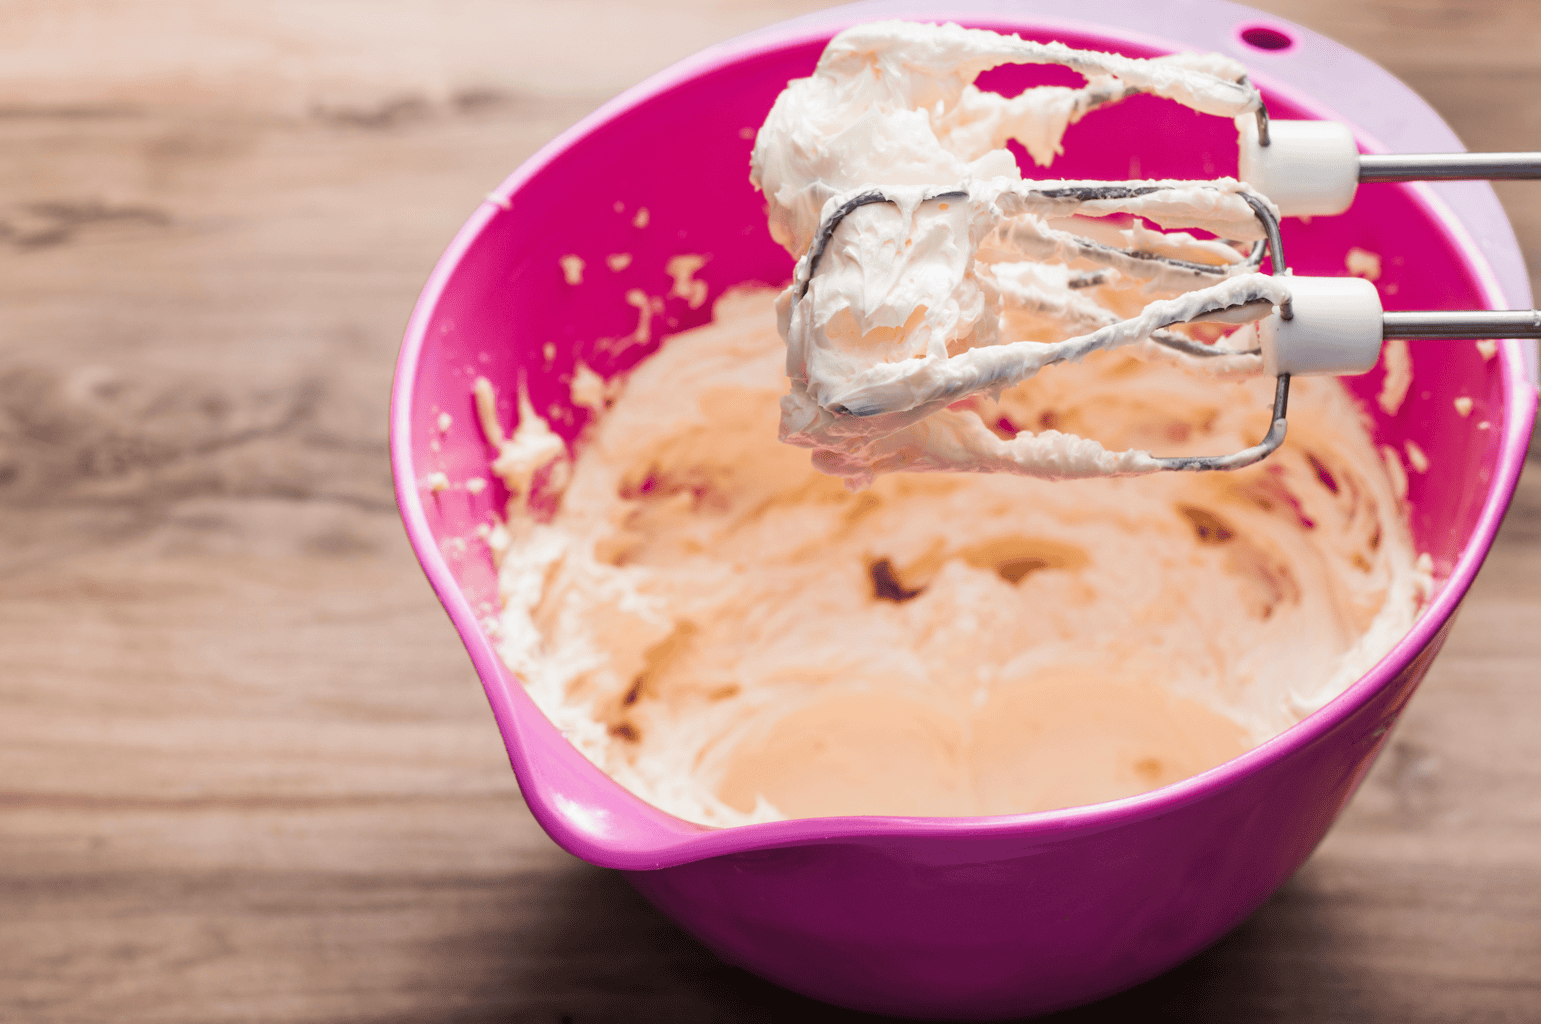
As you’re making your butter, the cream will go through a few stages that look like this..
FIRST: Soft whipped cream after a couple of minutes
SECOND: Stiff/sturdy whipped cream a few minutes later (this is where you’d stop if you were making dessert)
THIRD: Pale yellow and maybe looking a bit curdled
FOURTH: The fat will clump together and become thin, milky liquid
Once you see things turning grainy, you’re almost there. The next part happens fast, and when it does, the buttermilk will splash everywhere. That’s when you’ll lower the speed and drape a towel over the mixer.
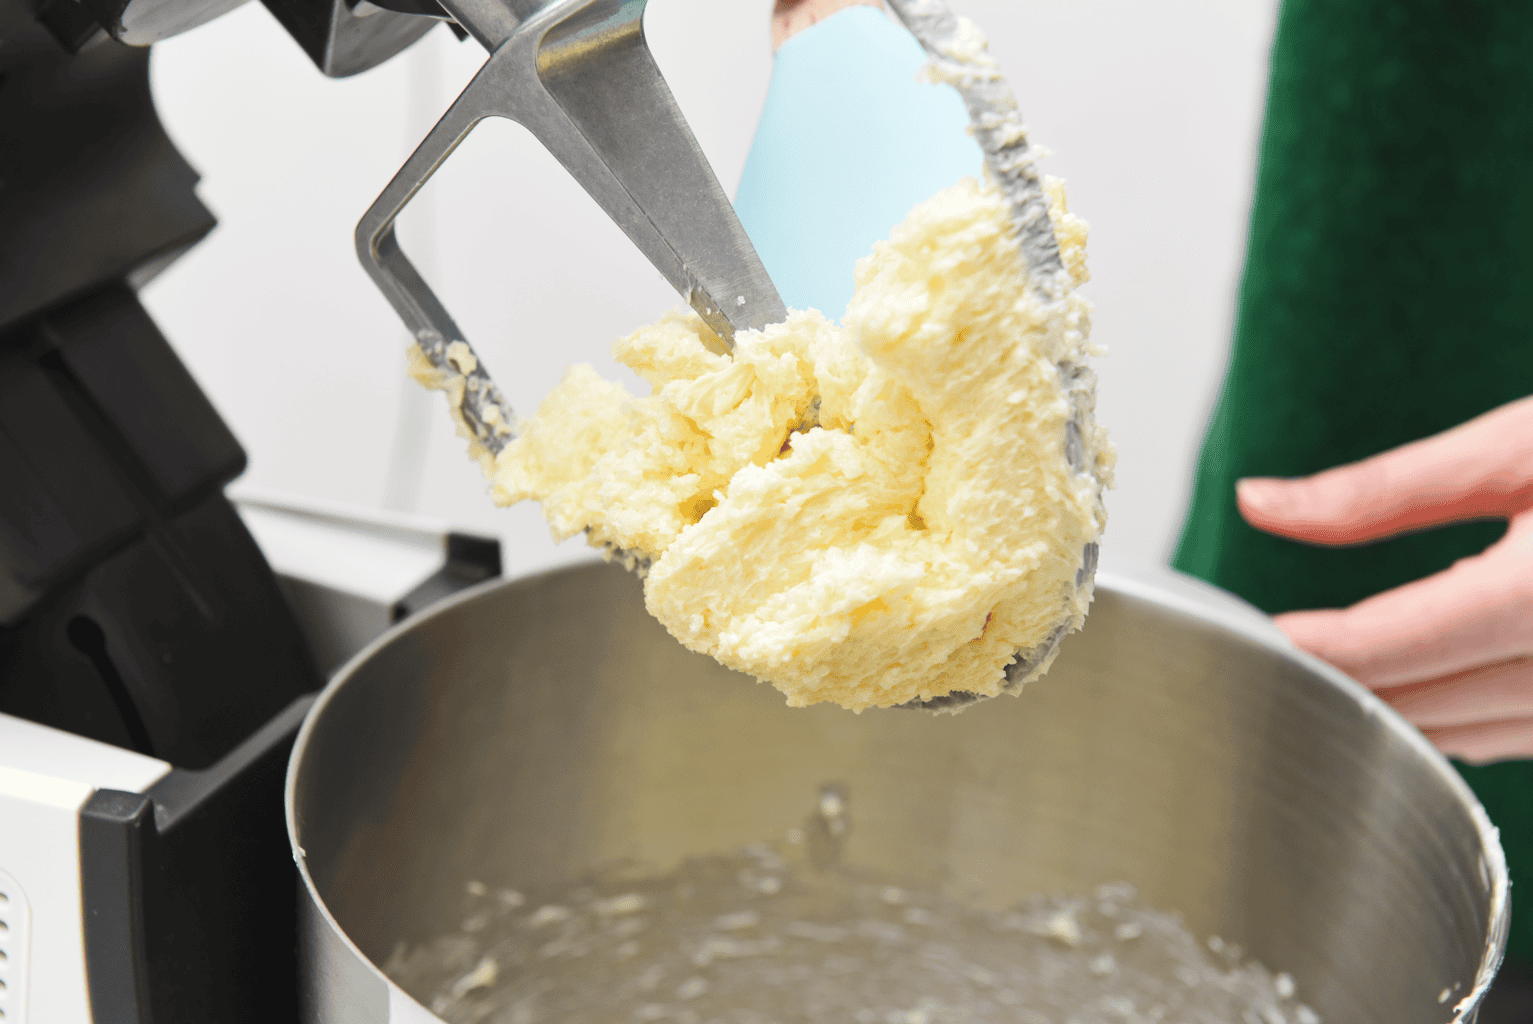
All the steps usually take somewhere between 5 and 15 minutes depending on your mixer, the cream you decided to use, and how cold everything is. If yours takes longer to make, don’t panic, that can happen!
Step 4: Drain the buttermilk
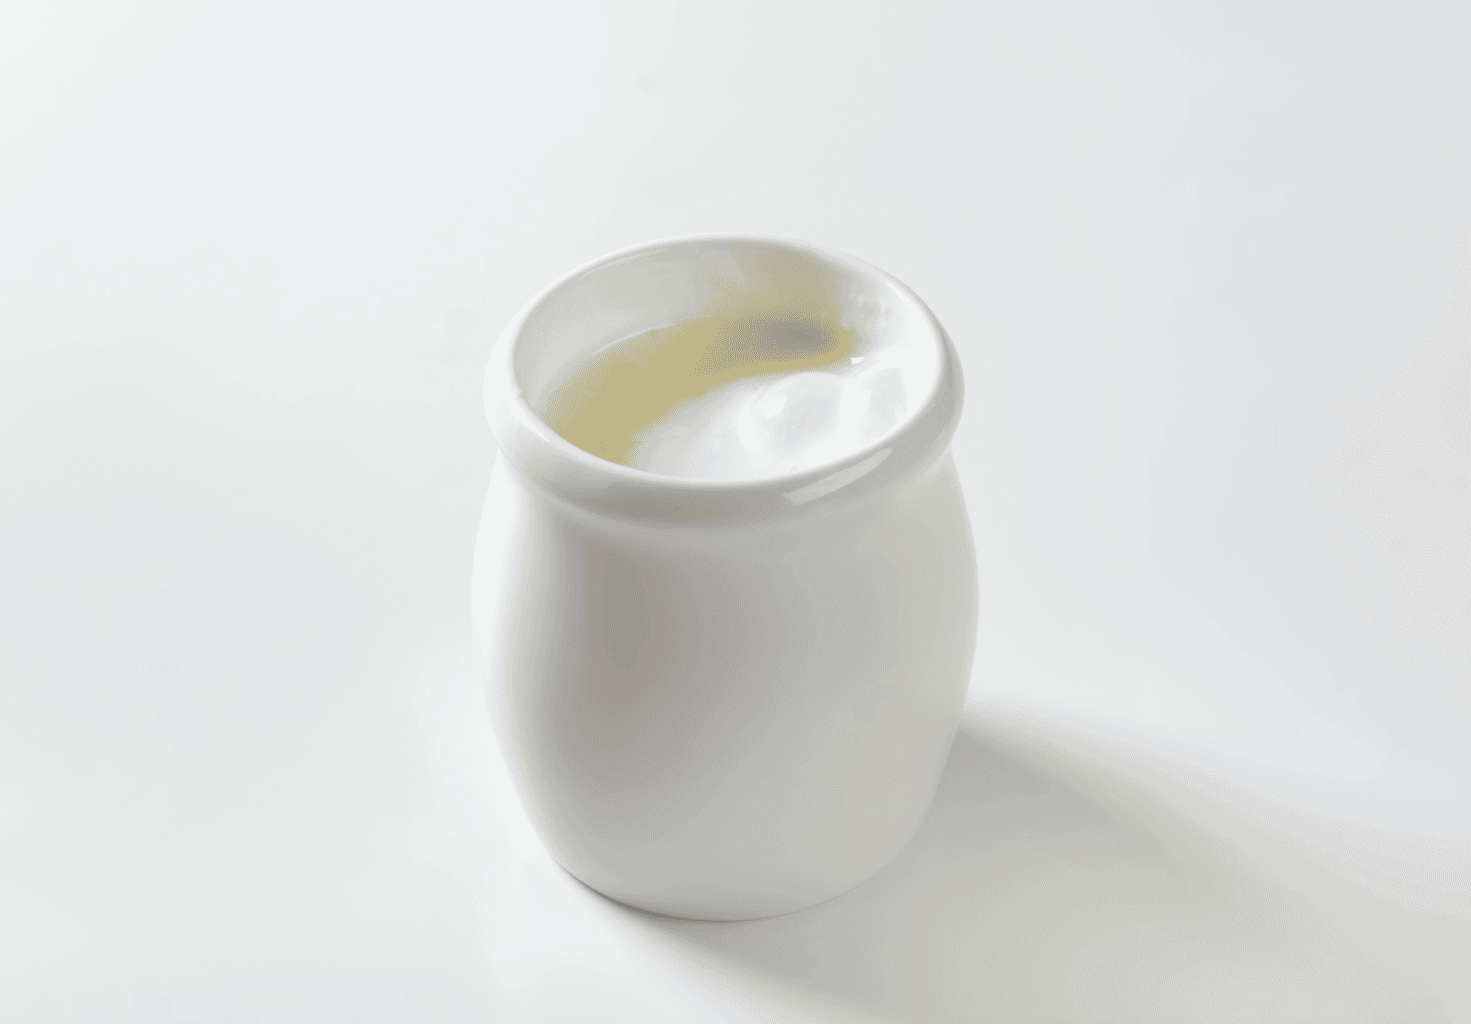
Pour everything through a fine mesh strainer over a jar or bowl. The liquid is buttermilk. Save it for other recipes! For any butter that’s stuck to your whisk, scrape it back into your bowl.
Step 5: Press out as much buttermilk as you can
Next, put the butter in a bowl and press it firmly against the sides with your spatula or wooden spoon. You’ll see more buttermilk come out; pour it out and keep pressing.
This step matters A LOT because any leftover buttermilk that you leave in your butter will turn sour and it can ruin your entire batch of butter quickly.
Step 6: Wash the butter in ice water
From there, pour ice cold water over your butter and knead or press it around. Pour off the water, add fresh ice water, and repeat it again.
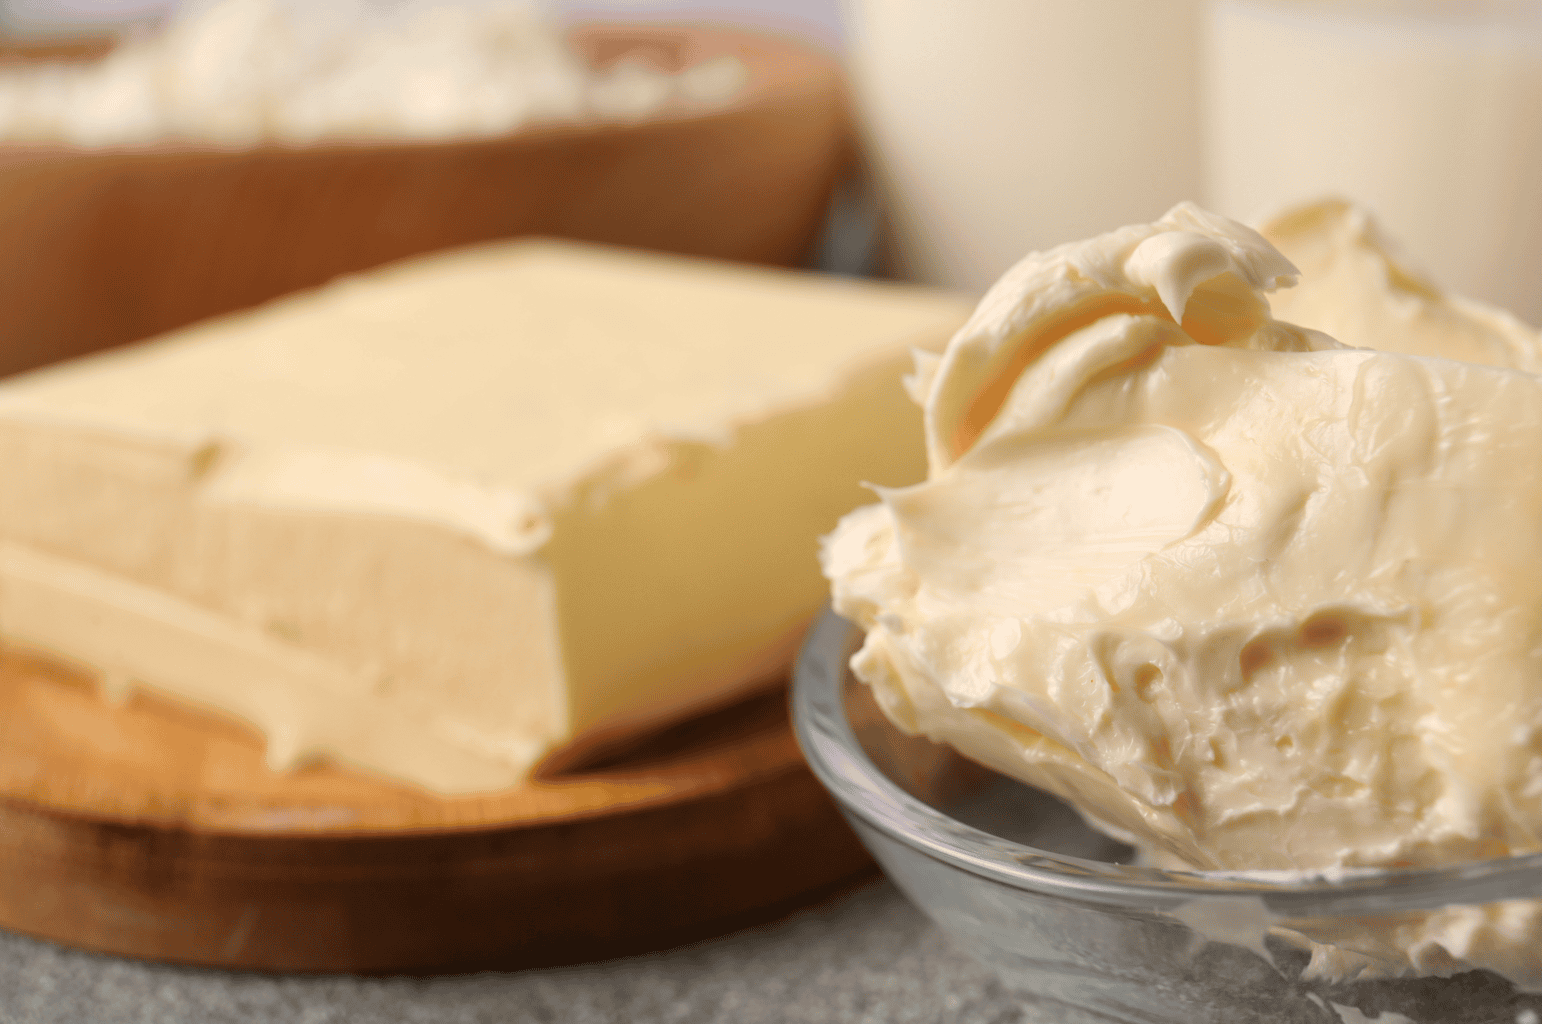
Keep going with this until the water that you’ve been adding stays mostly clear. That usually takes 3 to 5 rinses. The cold water firms the butter up and rinses out the last of the buttermilk.
Step 7: Squeeze out the water
Press the butter again to get out as much water as possible, then pat it dry with a clean towel. The drier your butter, the longer it’ll keep.
Step 8: Salt it (or don’t)
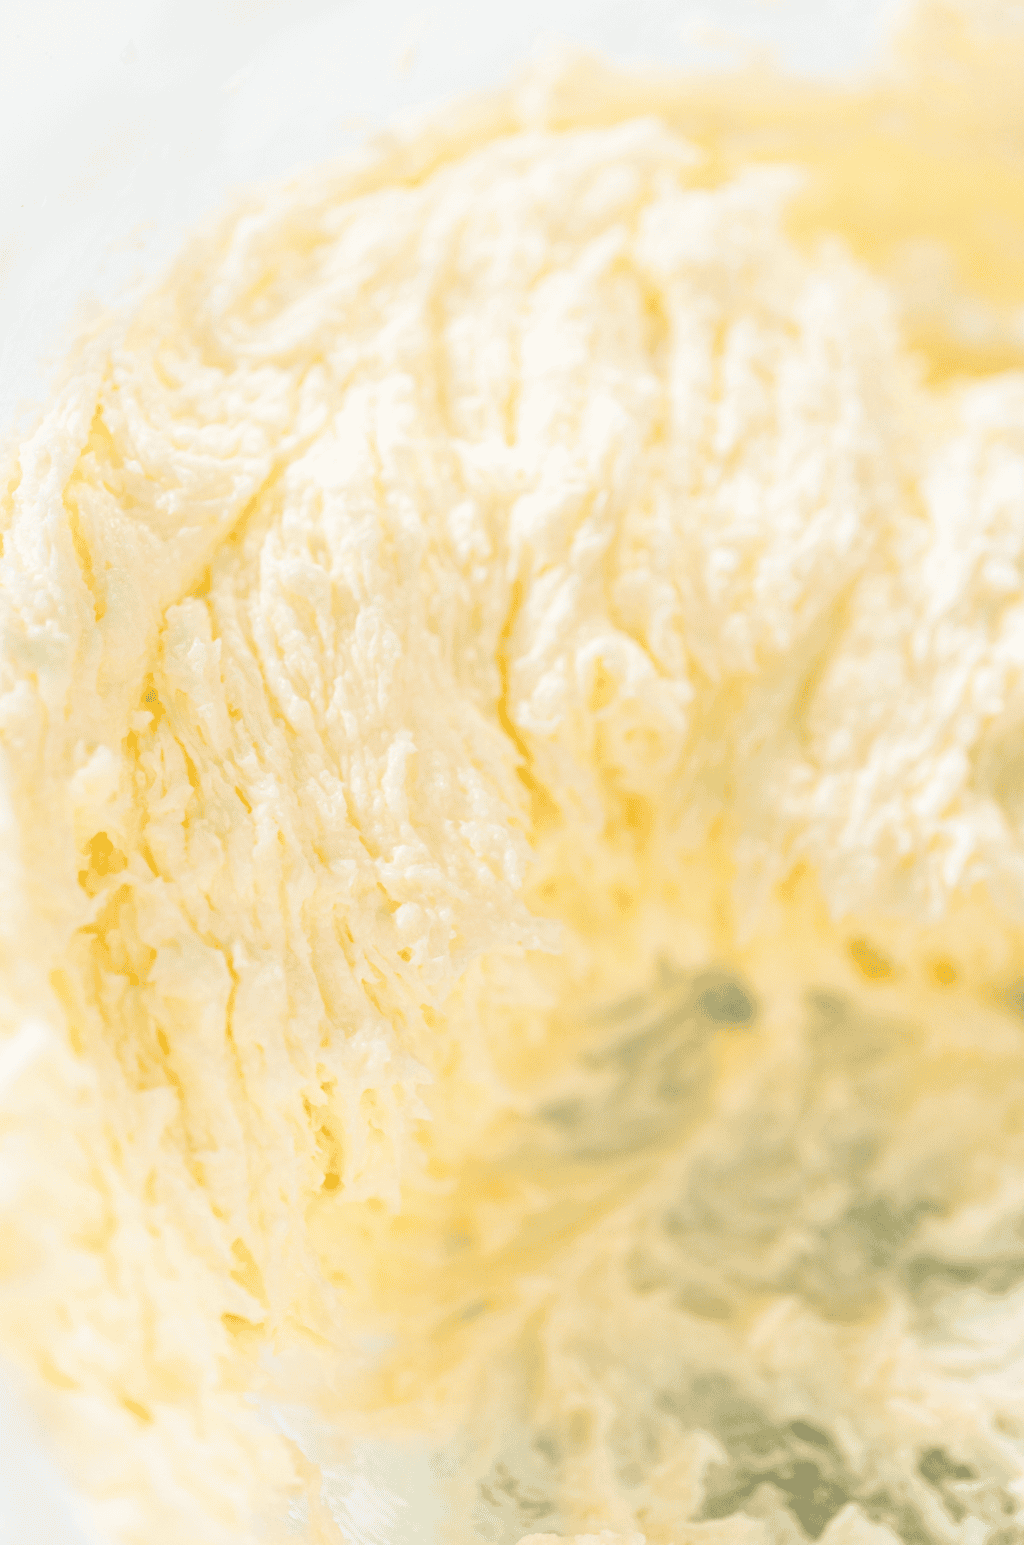
If you want salted butter, sprinkle in about ½ to 1 teaspoon of fine sea salt for a pound of butter, then fold and press until it’s mixed evenly. This is when I would taste it and adjust to your liking.
If you want the purest flavor or you’re baking with your homemade butter, leave it unsalted.
Step 9: Shape and store
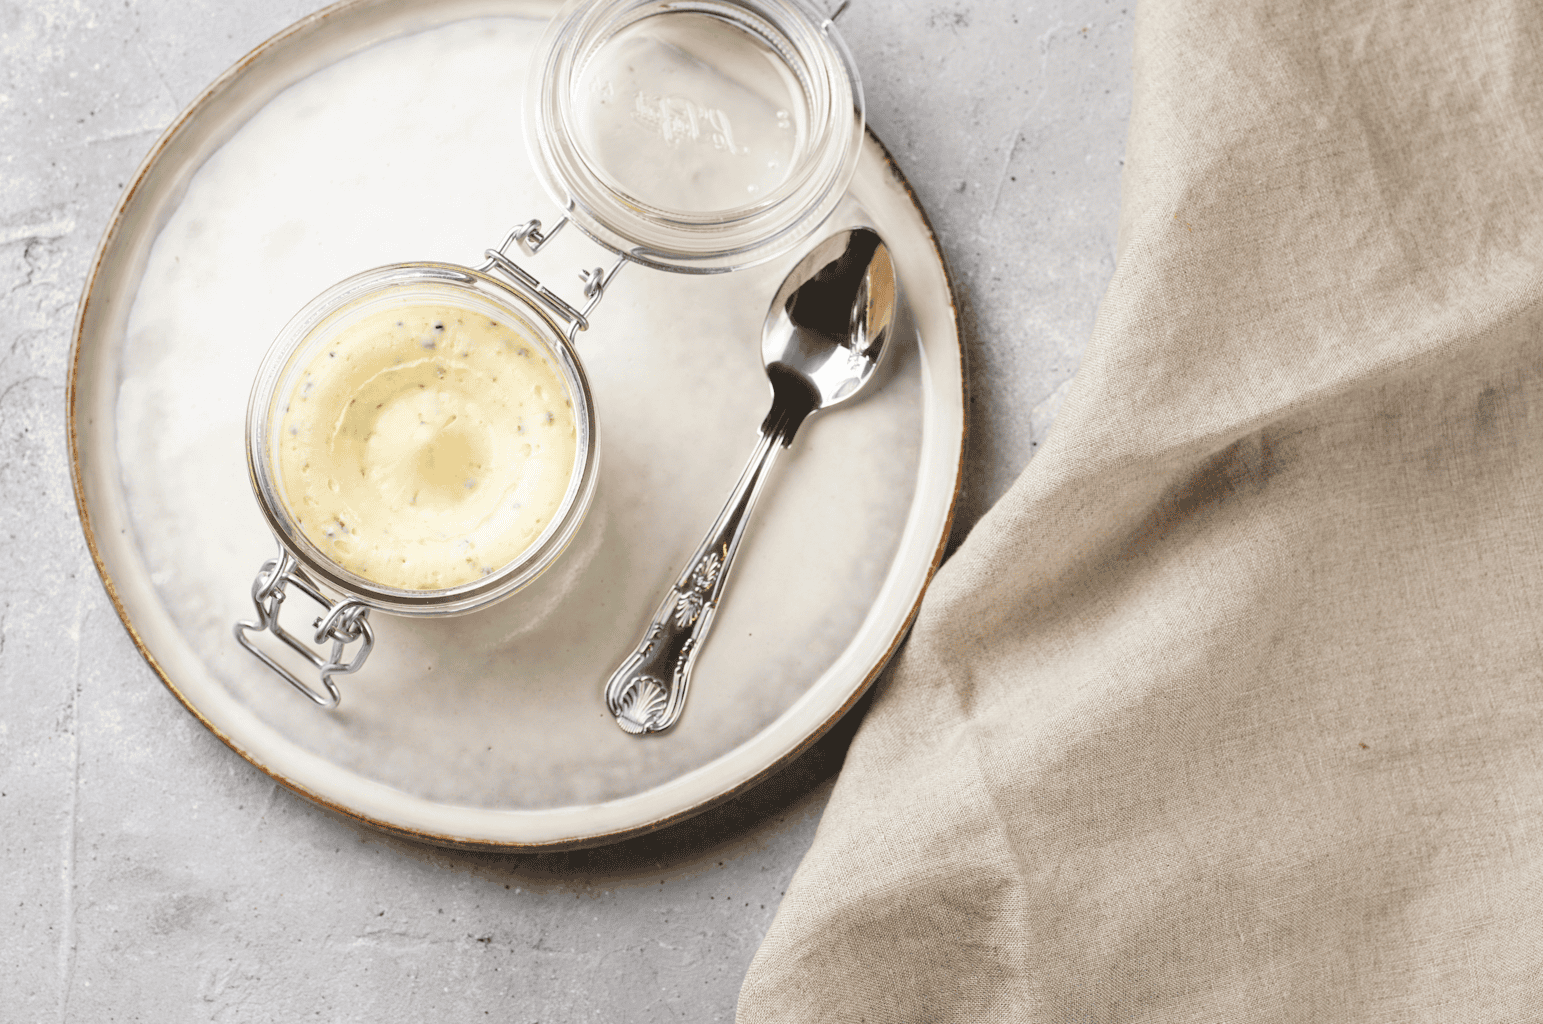
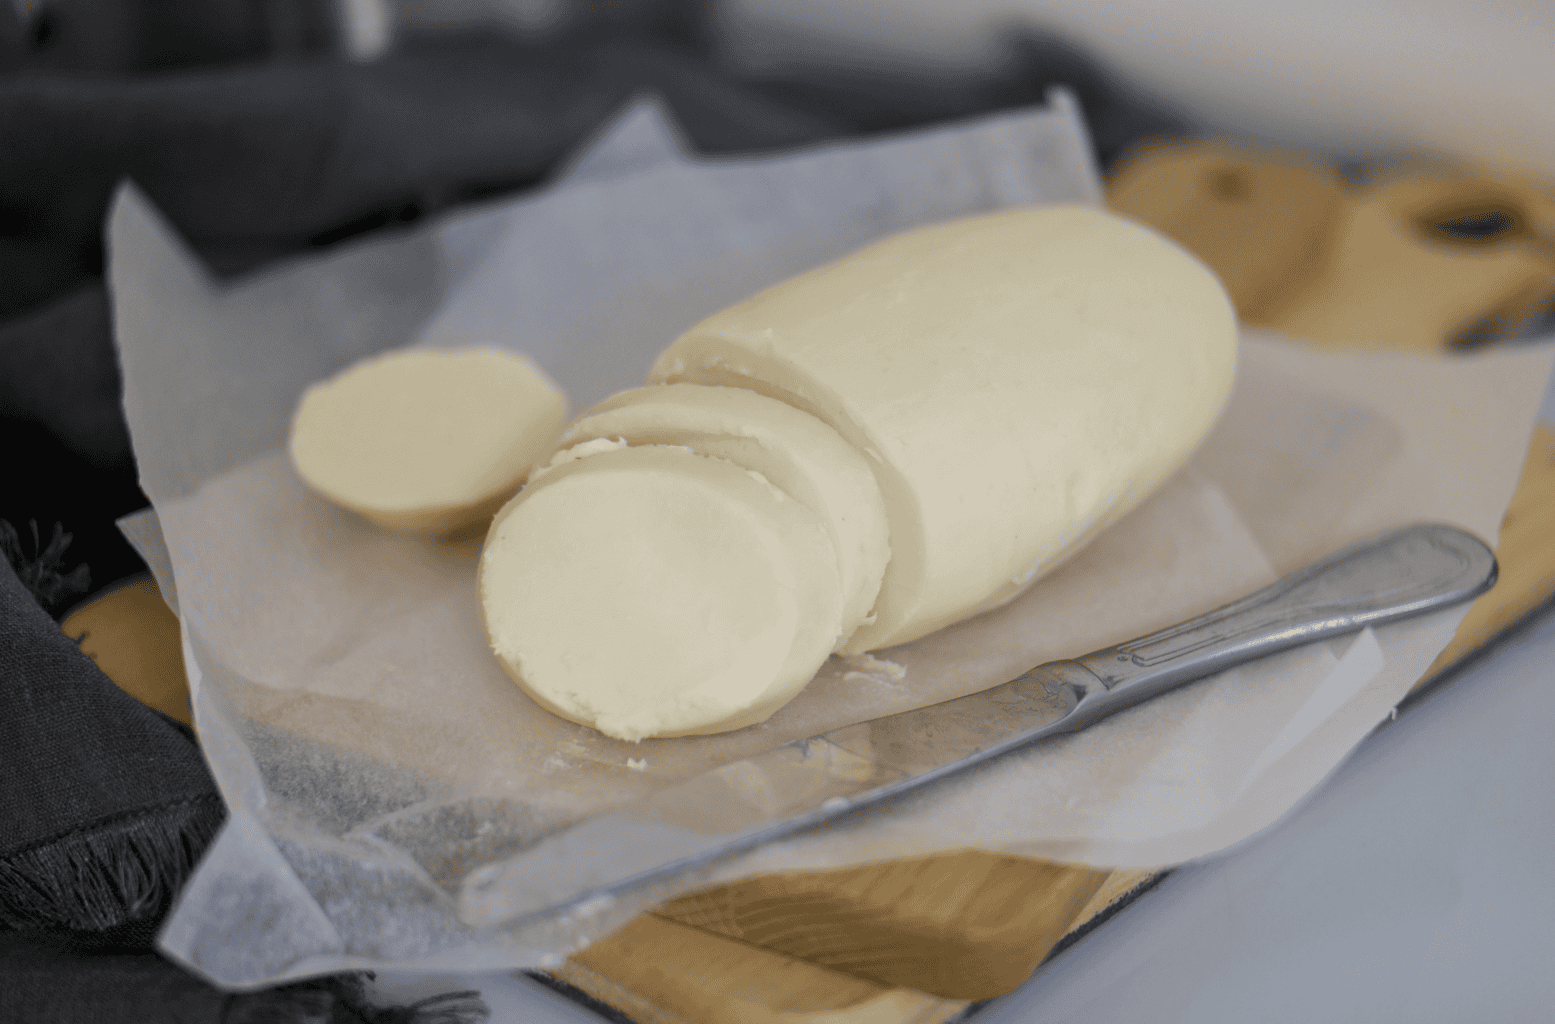
Last, you’ll pack your butter into a container, press it into a butter mold, or roll it into a log in parchment paper. I always put my butter in the fridge until it is firm enough to stand on its own.
If You Don’t Have A Stand Mixer
You don’t need fancy equipment to make butter. I mean, people made butter long before electric mixers existed so you can make it work, too.
The mason jar method
You’ll fill a jar about halfway with cream, screw the lid on tight, and shake it hard. After a few minutes you’ll have whipped cream. Keep shaking and eventually you’ll hear/feel the butter form. Expect it to take 10 to 15 minutes (or longer). If you have kids or helpers, pass the jar around for everyone to shake. This is the classic way to make butter with kids.
Food processor or blender
Using a food processor or blender is much faster. The cream will usually break in just a few minutes, but the tricky part is that you have to watch closely so you don’t overwork it.
Hand mixer
This works exactly like the stand mixer method. And of course, use a deep bowl and cover it with a towel near the end.
Tips for Easier Butter Making
If squeezing cold butter is hard on your hands, I have a few tricks I use because SAME!
TIP #1: Have the mixer do the washing
Put on the paddle attachment, add ice water right in the mixer bowl, and put it on the lowest setting. Then you’ll drain, add fresh water, and repeat until the liquid becomes clear.
TIP #2: Use a spatula or butter paddles
If you’re not keen on getting your hands “dirty”, use a spatula or butter paddles to press out the water. I choose to do this because I have some sensory issues that make it hard to touch the butter with my hands.
TIP #3: Wrap it in cheesecloth
An even easier way to squeeze out the buttermilk is by wrapping it in cheesecloth first.
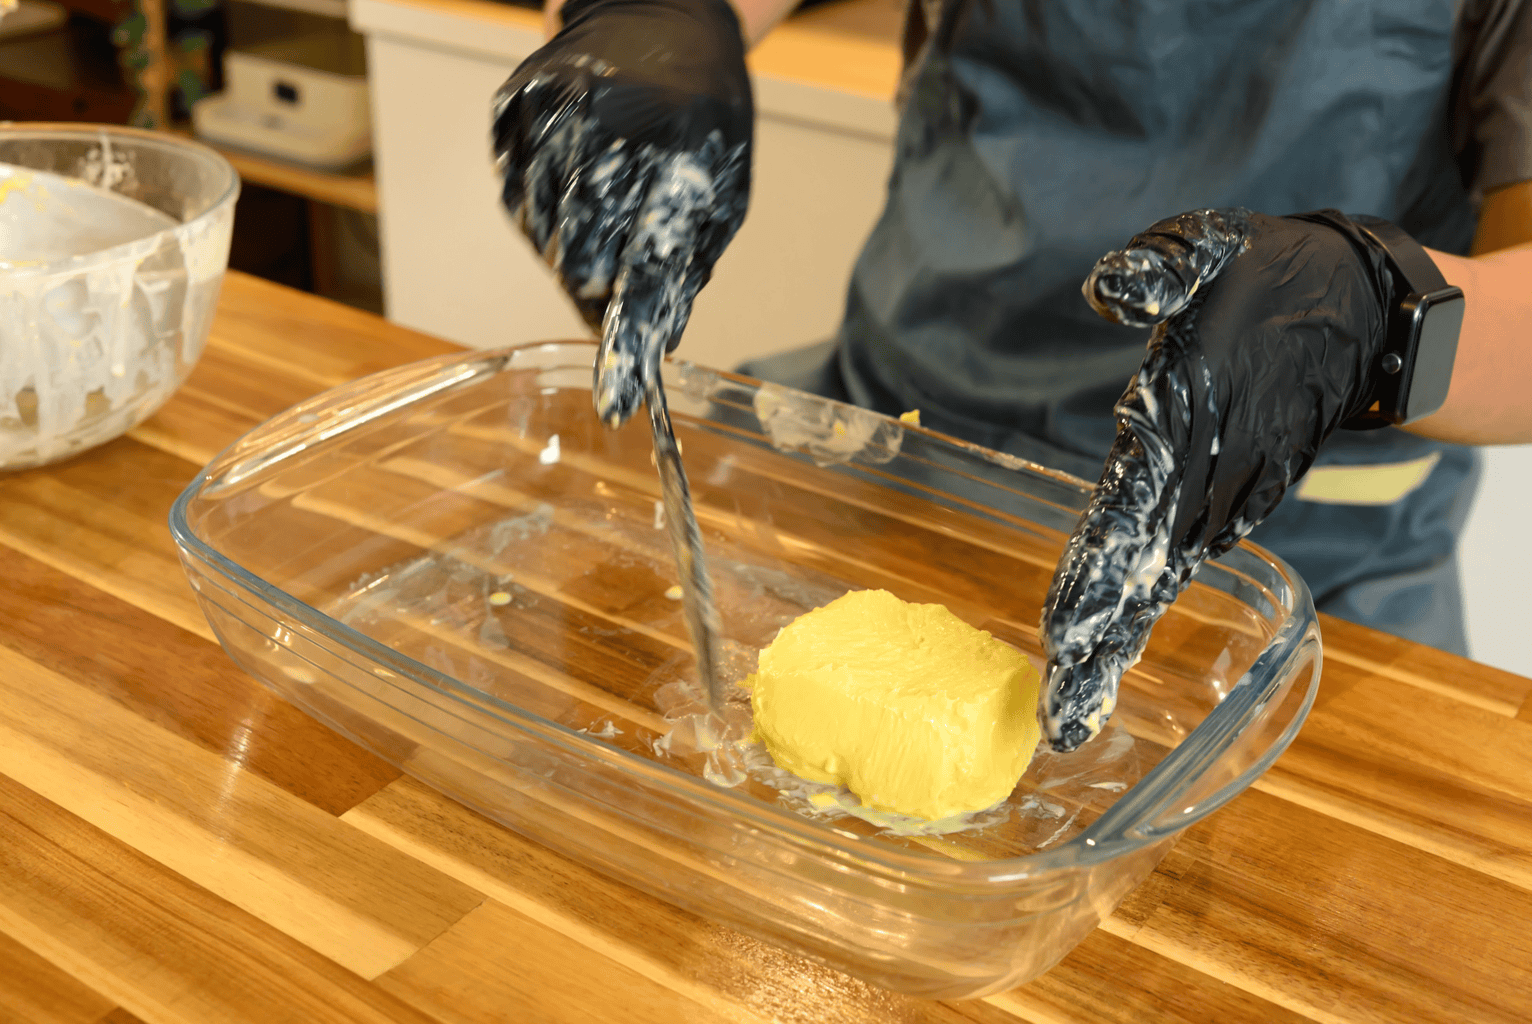
TIP #4: Wear gloves
I’ve also used gloves in the past to avoid touching the butter with my hands, so if you prefer the same, gloves work and less hand contact means less warmth (which ultimately melts less butter).
Why Won’t My Butter Separate?
I know a lot of people who have trouble with their butter separating. If that’s you, here’s what I’ve found:
- The fat is too low. Double-check your carton. Basically, anything under about 30% won’t work well.
- It’s too cold. Yes, your cream SHOULD be cold, but if it’s ice cold it’ll take much longer to break. Therefore, if you’ve been going a while with no change, let the bowl sit for 10-15 minutes to get it slightly warmer and then try again.
- You stopped too early. There’s a point during the process where your cream will look thick and stiff, but it’s still whipped cream, not butter. When that happens, keep going until you see liquid (the buttermilk).
How Long Does Homemade Butter Last?
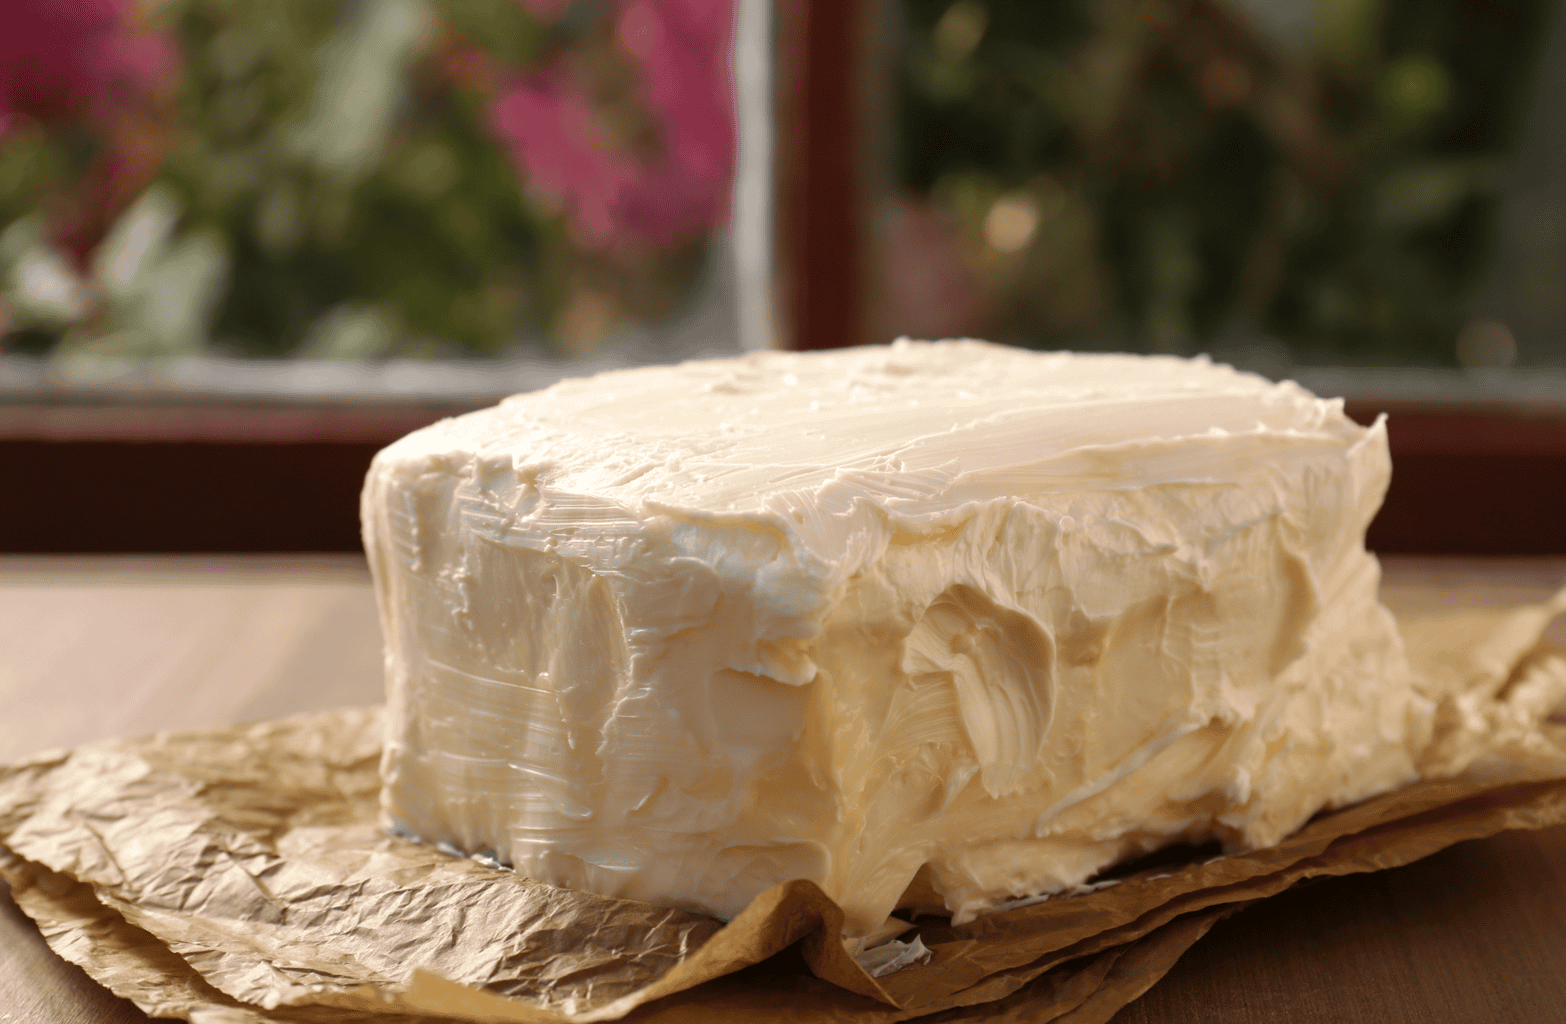
Unlike store bought butter, homemade butter doesn’t last as long. The reason being is that your butter will probably have some moisture and buttermilk (even after you try to squish it out). The buttermilk and moisture spoils butter after some time. So how long should you expect it to last?
In The Fridge
If you keep it in the fridge in an airtight container, it will last between 2-3 weeks. If you washed your butter really well and added salt, it’ll last even longer than 2-3 weeks.
On The Counter
If you are someone who leaves your butter out on the counter, just keep a small amount of your homemade butter out and use it within a few days.
In The Freezer
If you wrap it tightly in parchment paper and tin foil, or put it in a freezer bag, your butter can last for about 6 months, and sometimes even longer!
You’ll know your butter has gone bad if it smells sour or cheesy. You will also be able to tell based on taste. If it tastes off or bitter, throw it away.
Pro Tip: I like to make a big batch of it so I can keep a small dish of it in the fridge, and then I freeze the rest in portions.
What To Do With Your Buttermilk
Do NOT throw out your buttermilk. I repeat.. Do NOT throw out your buttermilk.
This is true, old-fashioned buttermilk. It’s thinner and milder than the buttermilk sold in stores, but it’s still delicious and useful.
You can use it for any of the following recipes:
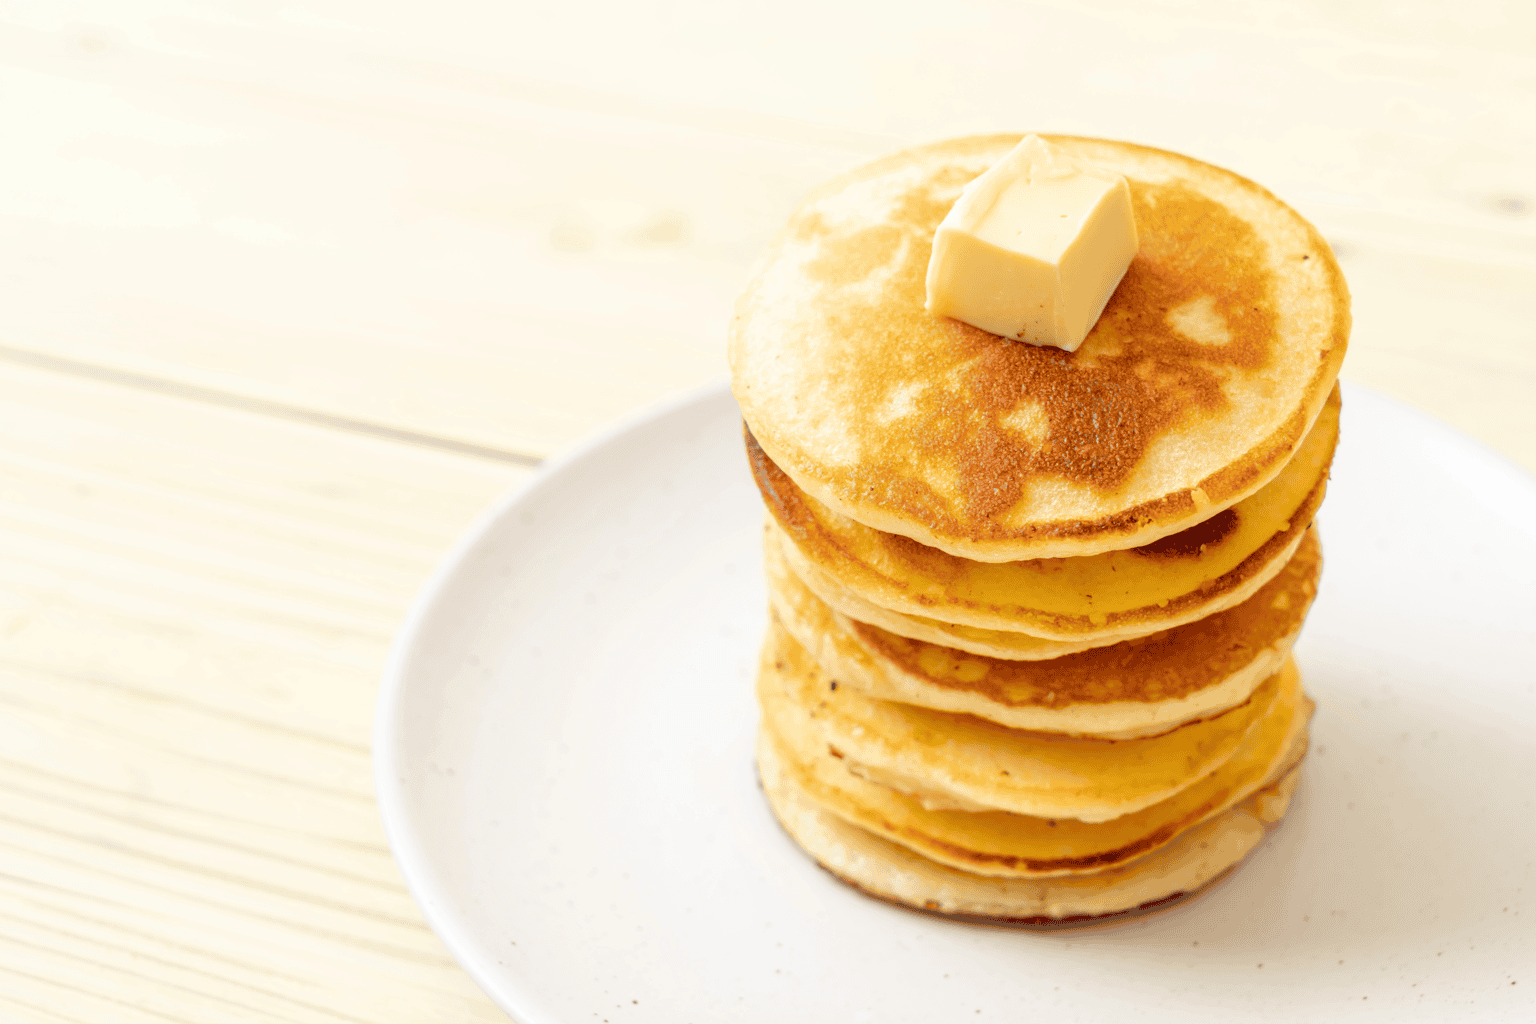
- Pancakes, waffles, and biscuits
- Bread dough in place of milk
- Mashed potatoes
- A marinade to tenderize chicken
- Smoothies, or just drink it cold
Quick Tip: If a recipe you’re using requires buttermilk to react with baking soda (like soda bread or something), add about a tablespoon of lemon juice or vinegar per cup to give it tang. You need to do this because fresh buttermilk isn’t as acidic as the kind from stores.
For buttermilk in general, you’ll store it in the fridge and you’ll want to use it within about a week. You can also freeze it in 1 cup portions for baking later, too.
Flavored Butter Ideas
Once you’ve got your butter, try to mix in flavors while it’s soft. Here are a few of my favorite options:
- Honey butter: A drizzle of honey and a pinch of salt
- Garlic herb butter: Minced garlic, fresh parsley, chives, and a little salt
- Rosemary and thyme butter: Perfect for steak, roast chicken, or potatoes
- Cinnamon honey butter: It’s amazing on toast and sweet potatoes
If you want a spreadable butter that’s straight from the fridge, blend in a few tablespoons of olive oil or a mild oil per cup of butter. You should start small and add more until you like the texture.
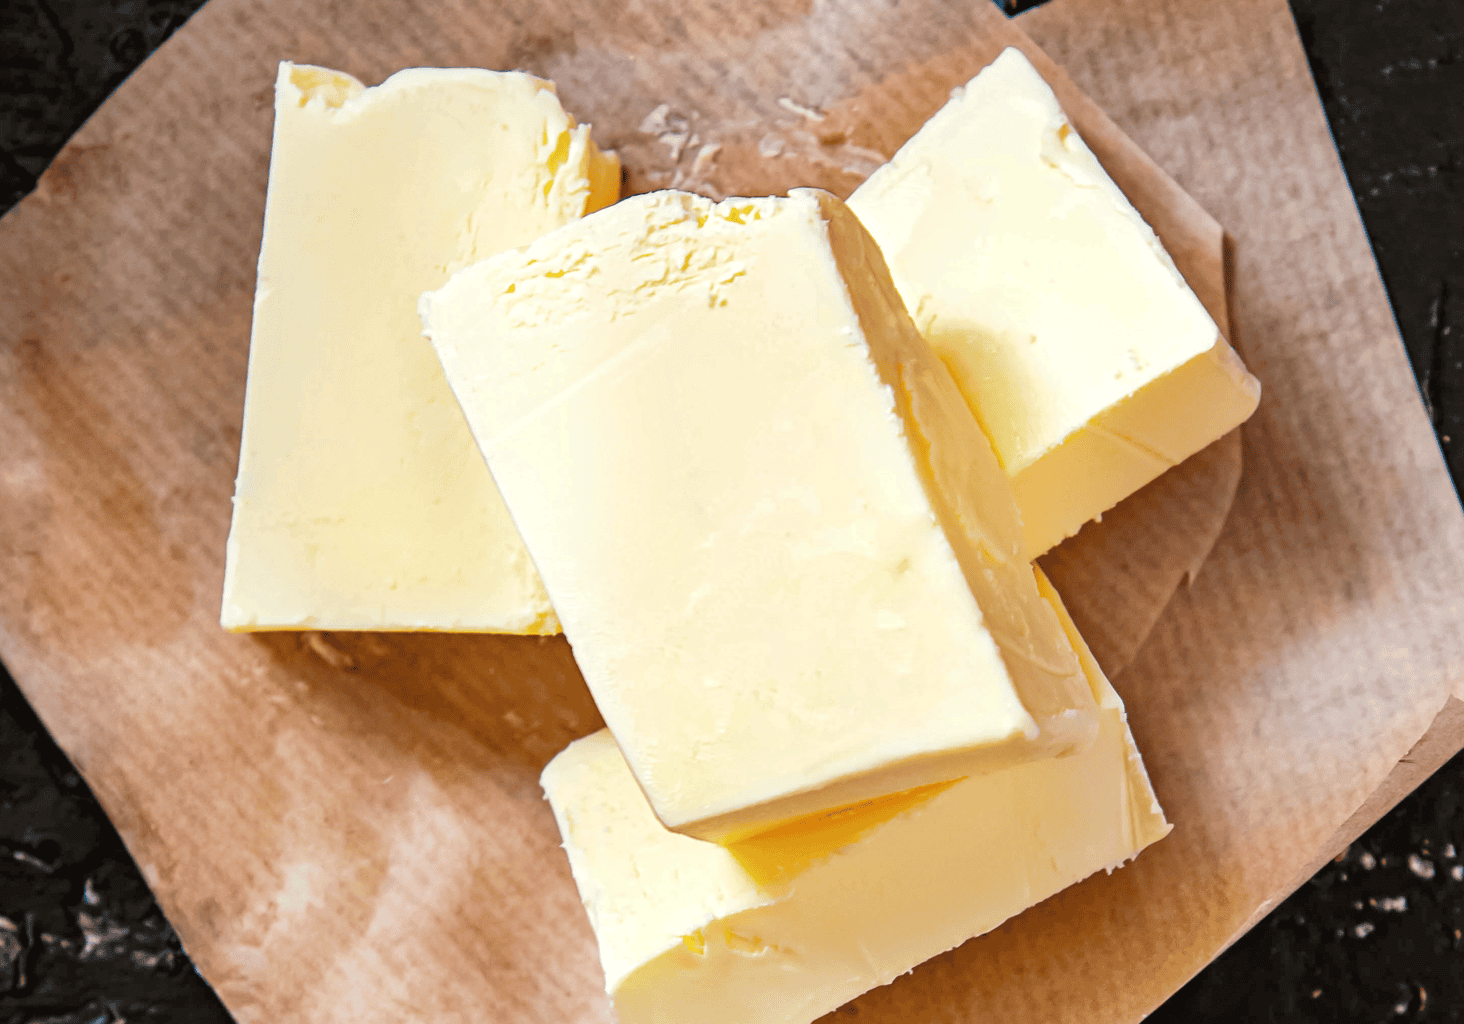
Once you have your flavored butter, roll it into a log, slice into rounds, or press it into little molds. If you’re looking for a fun homemade gift, pair your flavored butter with a loaf of homemade bread.
Can You Bake With Homemade Butter?
Yes. I do all the time. You can use homemade butter just like store bought butter in cookies, pastry, and bread. But there are two things to keep in mind..
First, use unsalted butter for baking so you can control the salt in the recipe.
And second, make sure it’s well pressed and dried. Any extra water could change the texture of things like pie crust.
Is It Cheaper Than Buying Butter?
Well, sometimes. It really depends on the price of cream where you live. At regular price, cream can cost about the same as a block of butter or more.
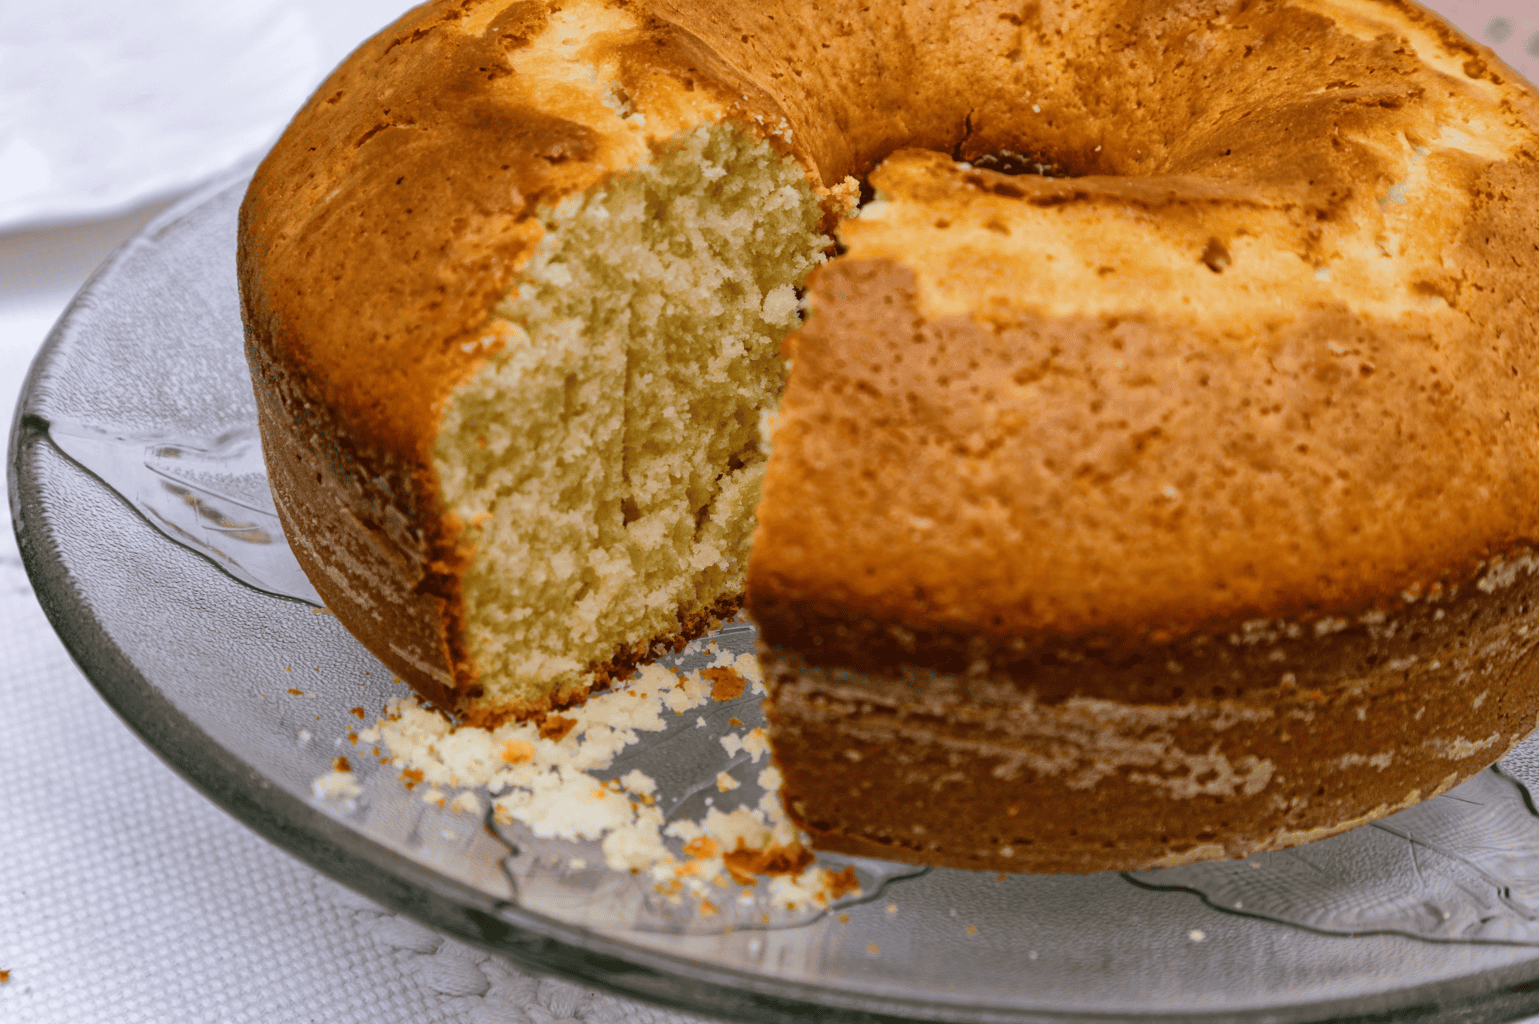
I try to find cream when it goes on sale or gets marked down because it’s close to expiration date. I grab a few cartons and make big batches of butter so I can freeze it. You also get buttermilk for free, which is a nice bonus if you bake. And for me, the flavor is more than worth it.
A Final Note
Making butter seems like such a hassle, but once you realize how simple it is, it’s addicting! It just takes a carton of cream and a few minutes of your time and you have fresh butter and buttermilk.
Start with one quick batch and you’ll see what the fuss is about.
