
I’ve been canning for a very long time, but it wasn’t until a few years ago when I went down a canning rabbit hole after stumbling across a story where someone had died from eating home canned potatoes. And the crazy thing is, it wasn’t a one-off situation.
Sure, it’s not like death-by-canning is a leading cause of death in the world, but it happens more than you think. And it’s almost always because someone skipped something important that they didn’t know was important.
We aren’t preppers by any means, but we do believe in being stable with food. So for us, knowing whether or not our tomato sauce will still be good next February is essential. And if you’re reading this, you’re probably in the same boat.
If you’re concerned about things like botulism poisoning, then here are the 17 mistakes to avoid when it comes to canning. I want to put a full disclaimer here that I am not a medical professional, and this content is not medical advice.
Always continue to do research and learn more and more about canning and other homesteading tips and tricks through various sources.
A quick note about botulism before we get started. Botulism is a bacteria that thrives in low acid, oxygen free, and moist environments that sit at room temperatures. When we’re talking about sealed jars full of processed vegetables, it’s the perfect place for this bacteria to live. The problem is that you can’t see botulism, smell it, or taste it.
Now let’s get into the mistakes you need to avoid while canning:
MISTAKE #17: Never Getting Your Pressure Canner’s Gauge Tested
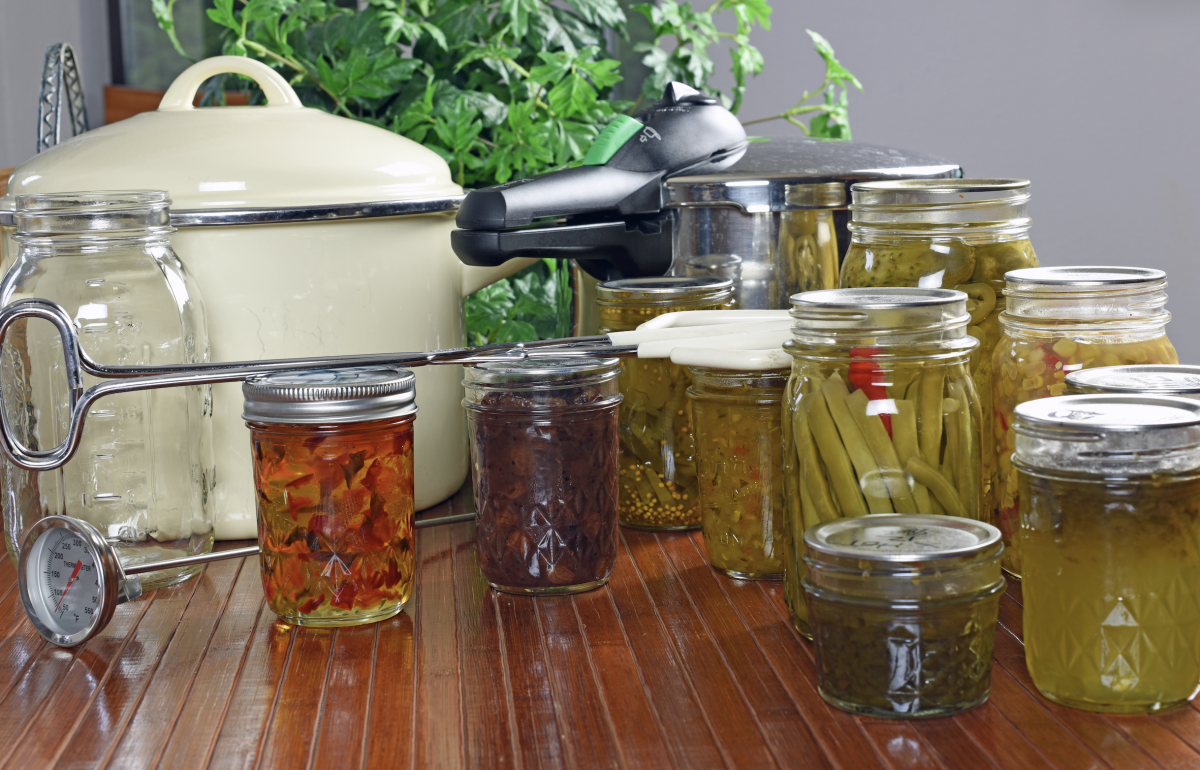
If you use a dial gauge pressure canner, the little dial can be off by two pounds of pressure, even if it’s brand new and never been used.
The problem is that if the pressure is too low, you’re not killing off the bacteria, and if it’s too high, you’re overcooking everything.
Most county extension offices will test your gauge for free or cheap. I’d do it every year before canning season starts. This helps you stay safe.
Now I also know that that sounds like a real hassle, so considered a weighted gauge canner instead. It works using physics (like weight, size, steam) and it never needs calibration.
MISTAKE #16: Canning in Jars That Are Not Canning Jars
I’ve seen so many people canning using whatever they can find in their house. Things like old mayonnaise jars, spaghetti sauce jars, even the ones that have “Mason” on the bottom.
I get that these are usually free and you already have a bunch of them, but that glass is thinner and made differently than canning jars.
Some commercial jars will even have a coating for their manufacturing process, and it doesn’t hold up the same way in your home canner. They’ll crack under pressure or during the swings in temperature of processing, and even a hairline crack is enough to ruin a seal.
Use real canning jars; it’s one of the cheapest ways to protect yourself.
MISTAKE #15: Skipping the Vent Step on Your Pressure Canner
This step wasn’t standard practice decades ago, so I see a lot of people skipping it, but you need to do it.. You need to let steam vent out in a steadily for at least 10 minutes.
If there’s still air trapped in your jar with the steam, your pressure gauge won’t give you an accurate reading, and your jars won’t reach the temperature they need to. So you could think you’re processing at 10 or 15 pounds of pressure and it could be completely off because of the steam.
So, set a timer, watch for the steady stream of steam, then add the weight.
MISTAKE #14: Guessing at Headspace
I’m sure you know but headspace is the gap between the top of your food and the lid. To some people it might sound like a small or insignificant detail, but it’s a big part of staying safe.
If you leave too little headspace in your jar, your food will expand during processing and push liquid or particles out. This can get trapped between the lid and the rim and keep it from sealing properly.
If you leave too much headspace, you risk not removing enough air from the jar. I’ve even had jars crack from the pressure change with too little heaspace.
Every good recipe will tell you the headspace you need, so make sure to measure it properly, don’t just assume you can eyeball it.
MISTAKE #13: Not Sterilizing Jars
If your processing time takes less than 10 minutes, you need to sterilize your jars first. I see a lot of people saying they just give them a good washing and then continue on, but it’s really important to sterilize them, too.
So that means boiling them for a minimum 10 minutes, and if you’re at elevation, add another minute for every 1,000 feet above 1,000 feet.
A lot of people who are new to canning assume washing will be just fine because the processing will boil everything. But again, for short processing times, it won’t get hot enough for long enough to work.
MISTAKE #12: Storing Your Jars With the Bands Still On
Okay, I remember years ago, I was so guilty of this, so I needed to add this in here. I know it surprises a lot of other experienced canners, but since I’ve done it myself, I know this isn’t just common knowledge. The recommendation from the National Center for Home Food Preservation is to remove the bands before you put jars on the shelf.
Basically, if a lid loses its seal on the shelf, the band holding it in place can let it reseal itself enough that it looks and feels sealed again, and you’d have no way of knowing that jar was unsealed at one point. That’s called a false seal.
Therefore, you should take the bands off, clean and dry them, and store them. If you insist on keeping them for things like transporting or gifting, then screw them back on very loosely so a failed lid can still pop and give you some indication of a breach.
MISTAKE #11: Believing “If It Sealed, It’s Safe”
This is one of the most dangerous pieces, and it’s completely wrong, wrong, wrong. Just because a jar is sealed does NOT make it safe. Read that again, please.
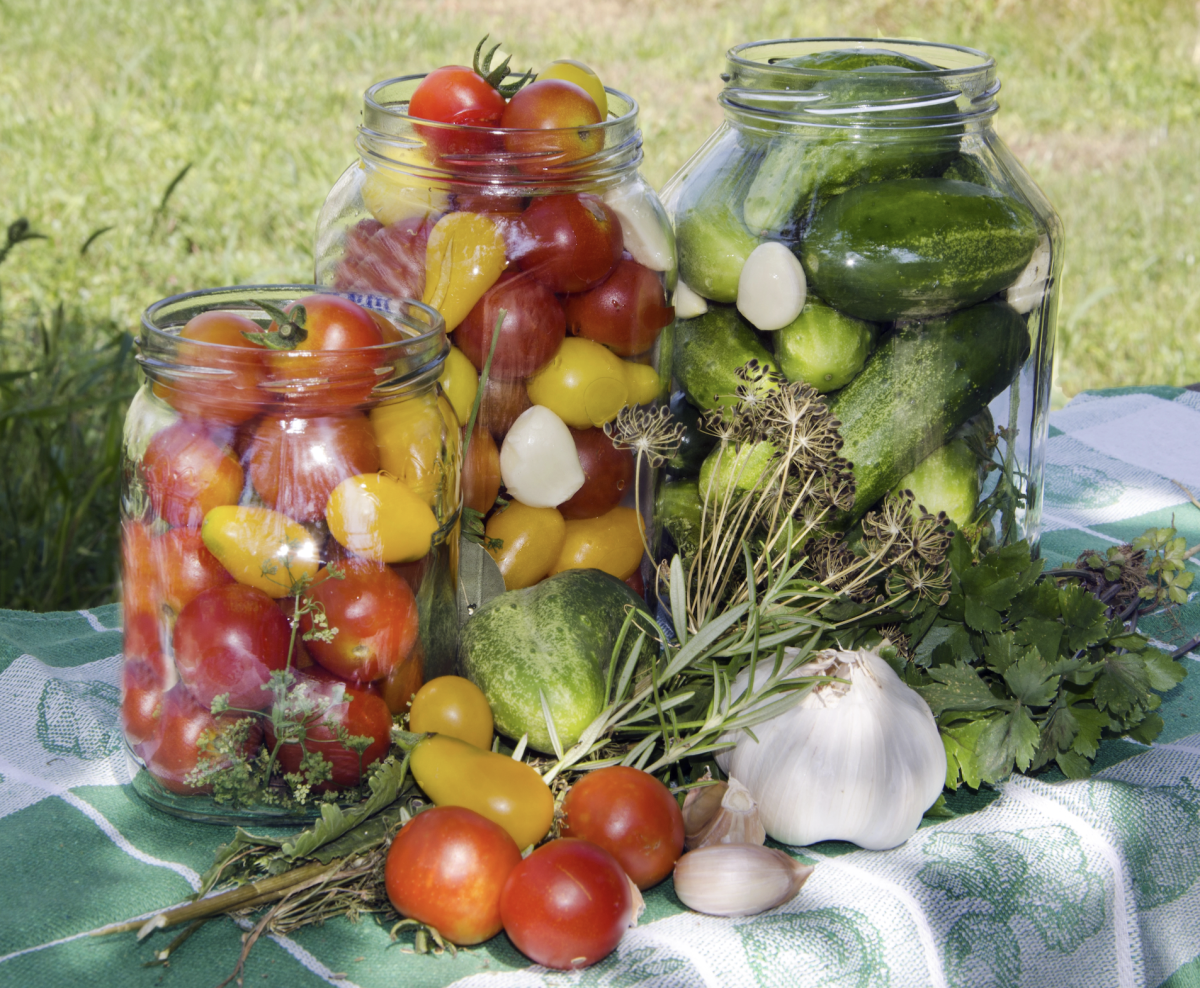
Here’s why it’s so dangerous.. Even if you have a really strong vacuum seal, you could still have bacteria inside the jar that was never killed off properly.
So, if someone in a canning group tells you “if it seals, it’s fine,” don’t listen to them, and I’d be wary of any other advice they give you. Tips like that can leave people in the hospital because their jars were harboring bacteria that wasn’t properly taken care of before sealing.
MISTAKE #10: Ignoring Your Altitude
As I mentioned briefly above, altitude matters when it comes to canning. Essentially, water boils at a lower temperature the higher up in elevation you are. Therefore, if you’re canning at 5,000 feet the same way you would at sea level, you’re under processing your food.
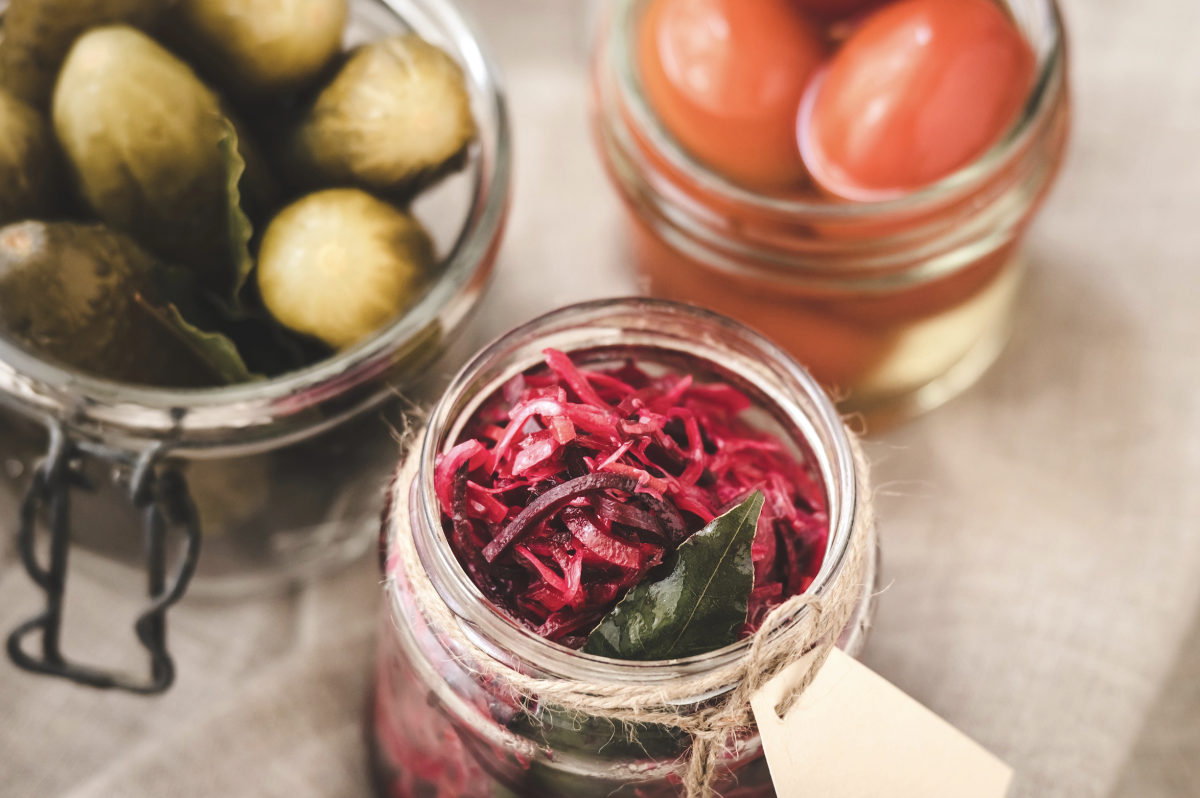
Every good recipe you use should include altitude adjustments for water bath and pressure canning. You’ll read recommendations like using less pressure for zero to 1,000 feet, and much more pressure at 1,000 to 5,000 feet, etc.
Be sure to look up your specific elevation and adjust accordingly each time you do this.
MISTAKE #9: Trying to Can Butter, Milk, or Cheese
Canning butter milk, or cheese is not safe. There is no tested, safe method for this, so please don’t attempt to do it.
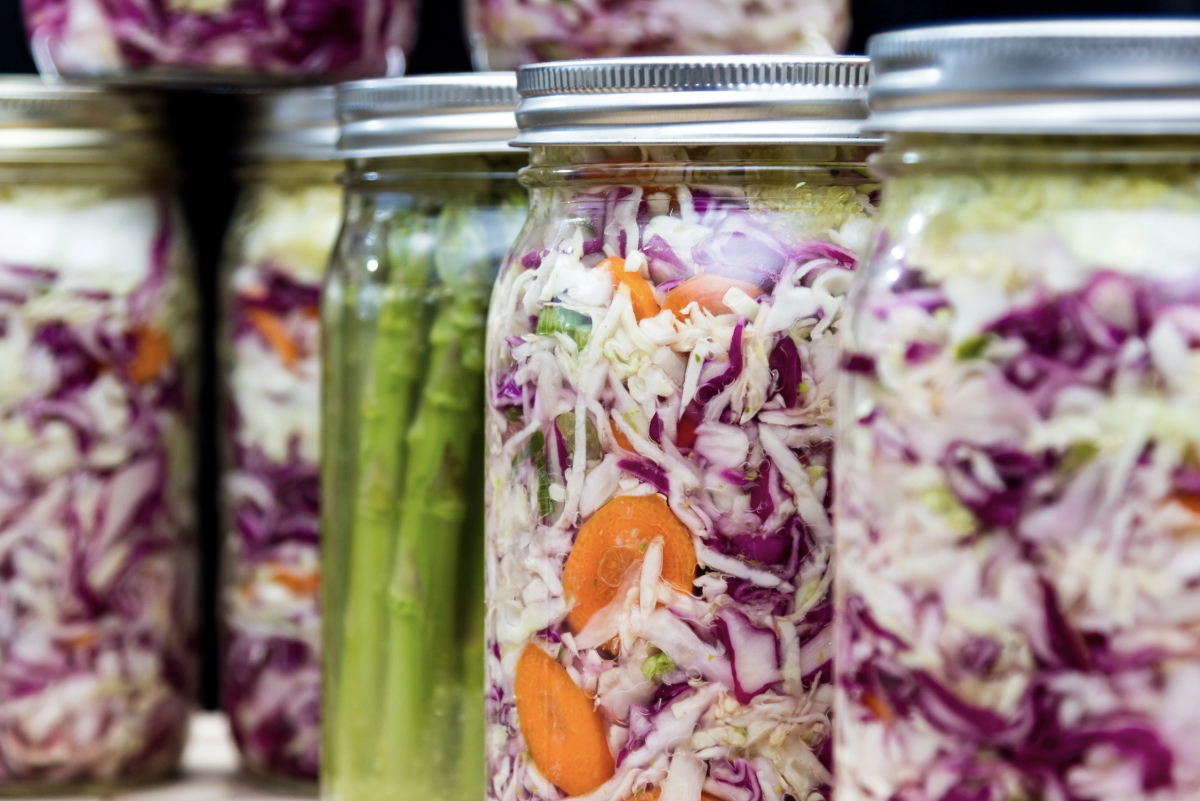
I’ve seen people say things like, “if it seals fine, you can can anything,” and if that’s the case, revisit mistake #11 above. Sealing does not mean that you’re keeping food safe. Dairy in particular contains low acid, and it’s moisture heavy, which is a breading ground for botulism.
MISTAKE #8: Adding Pasta, Rice, Dairy, or Flour to Your Own Soup or Chili Recipe
If you’re trying to can your soups, chilis, etc, make sure to leave out things like thickeners, dairy, pasta, etc. Since these all vary in fat levels, it makes heat penetration difficult to pinpoint, and that means you can’t guarantee the center of that jar reaches a safe temperature.
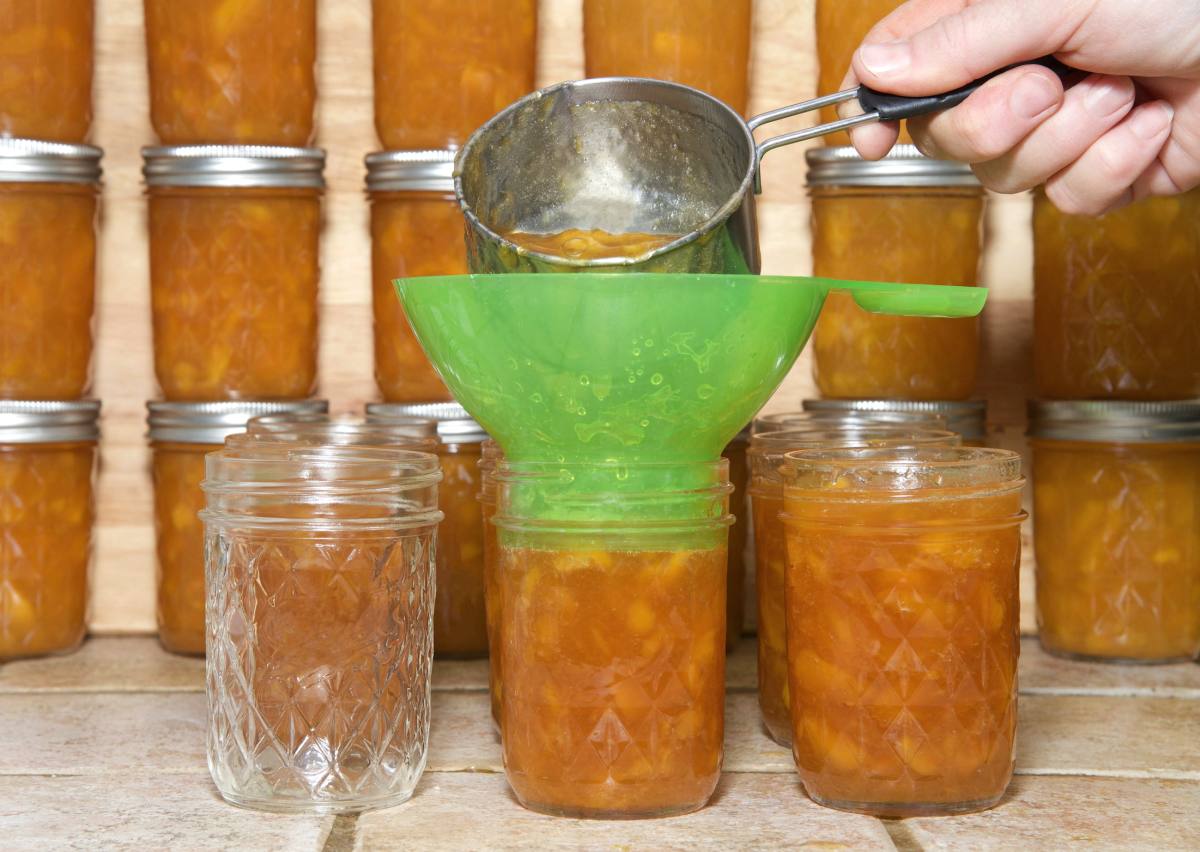
Instead, you should compare your recipe against a USDA tested soup or chili recipe and match that. I’d leave out pasta, rice, flour, and dairy, and add those things back in after you open the jar and reheat it on the stove.
MISTAKE #7: Skipping the Lemon Juice in Home Canned Tomatoes
When it comes to canning tomatoes, you’re right on the edge of being safe with bath canning. Tomatoes are somewhere between a pH of 4.2 and 4.9, and there’s no consistency between varieties, so you can’t really know a tomatoes true pH.
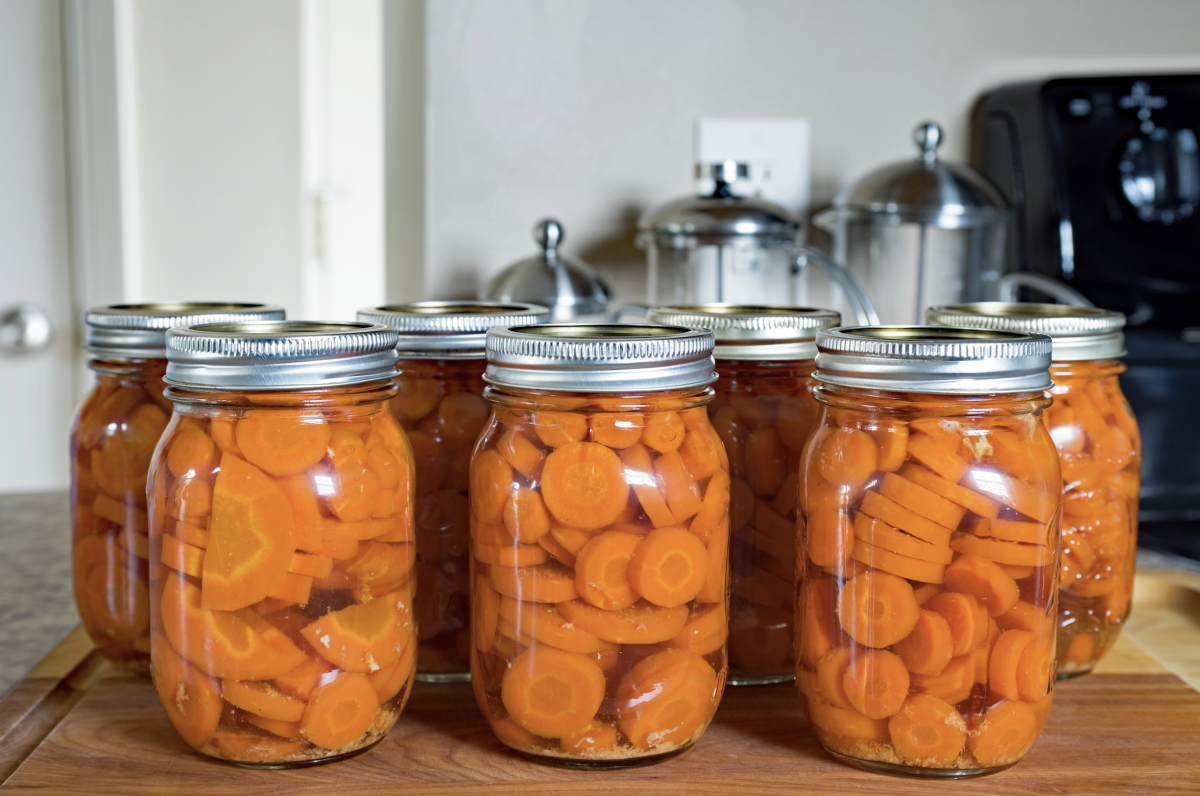
Instead, you’ll need to add acid, which makes the jar drops below 4.6; that’s the safety line. Standard guidance says to add 2 tablespoons of bottled lemon juice per quart, or half a teaspoon of citric acid per jar before you fill it up. I personally recommend bottled lemon juice rather than fresh lemon juice because bottled lemon juice has a standardized acidity whereas fresh lemons don’t.
If you create a homemade salsa with fresh tomatoes, but you don’t add the necessary acid, it could smell and taste completley normal, but it could actually be harmful to you.
MISTAKE #6: Using an Instant Pot or Electric Pressure Cooker
I know a lot of people want to try pressure canning in an instant pot or pressure cooker because it seems like it could do the same job. But these appliances can’t be properly calibrated for canning low acid foods, and that means you have no way of confirming the pressure and temperature your jars reached.
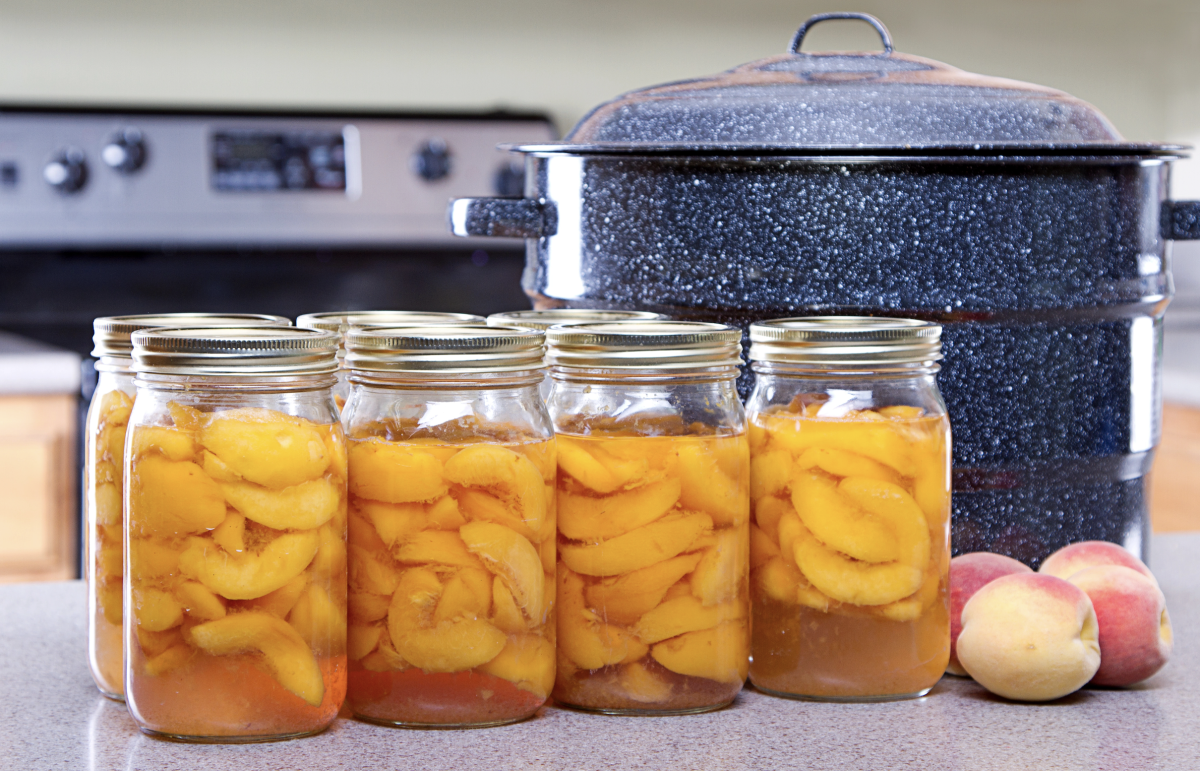
Instead, get a pressure canner if you’re processing low acid foods. This really is non-negotiable.
MISTAKE #5: Opening the Pressure Canner Before It Naturally Drops to Zero
Once your processing time is done and you’ve turned the heat off, the pressure needs to fall to zero on its own before touching the weight or the lid. And by “zero” I really mean ZERO.
The problem is, if you remove the weight while there’s still pressure inside, you’ll get a sudden pressure change, and that can force liquid out of your jars (called siphoning). I’ve also seen jars crack because of this. When you lose liquid out of a jar, it can compromise the seal and the safety overall.
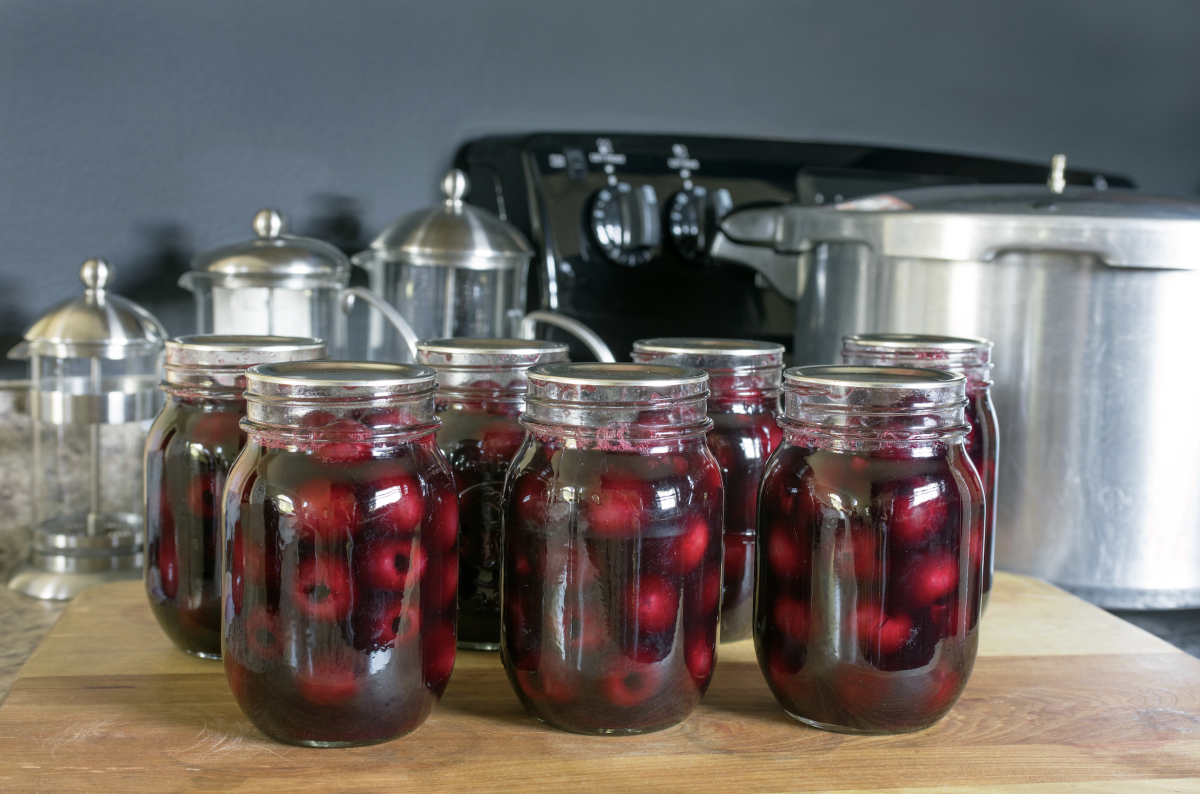
I get that this step takes patience (which nobody has at 9pm after a full day of canning lol), but wait it out anyway.
MISTAKE #4: Explaining Away the Warning Signs
There can be several warning that your jars have been compromised. Things like a bulging or leaking lid, a spurt of liquid when you open the jar, cloudy liquid where it shouldn’t be cloudy, an odd smell, etc. Any of these can tell you your jar has been compromised in some way.
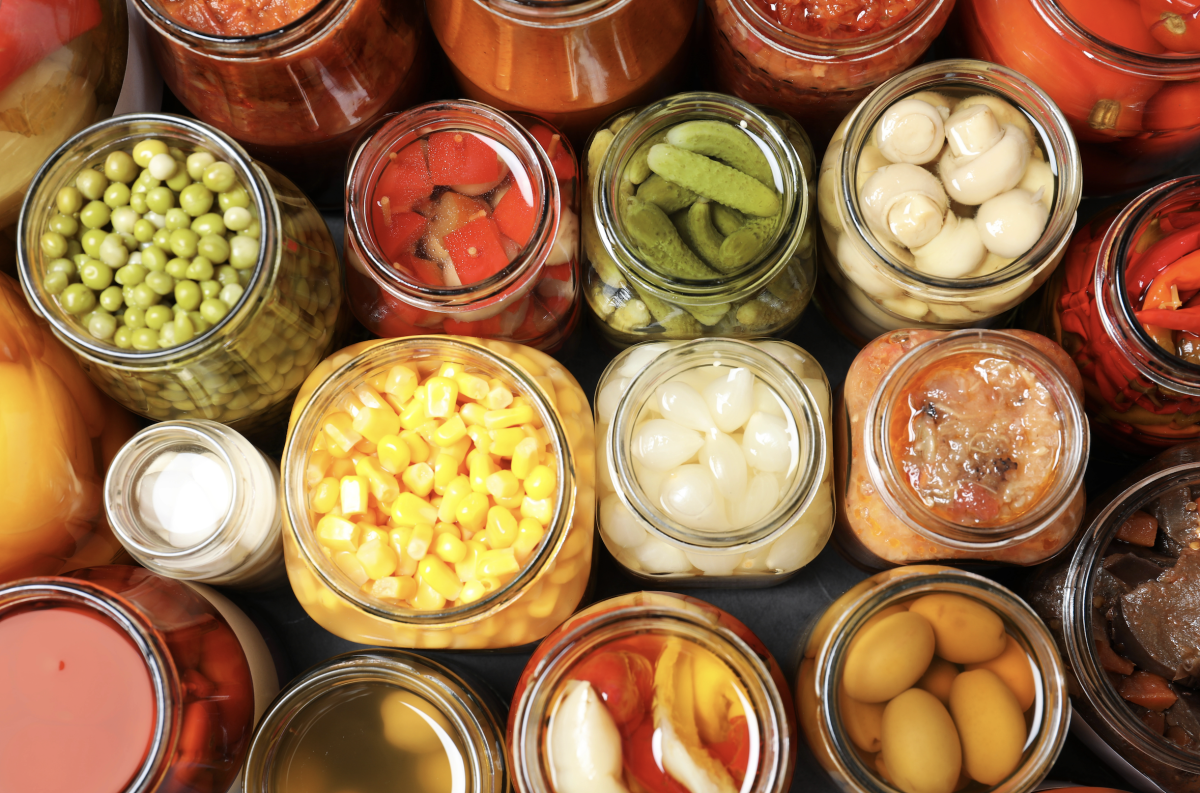
And the best thing you can do is to trust that something is wrong with it, hold the jar away from you, and throw it away. Do not do the taste test or the smell test. Instead, if you’re in doubt, just toss it. I know it’s hard to do sometimes because of the hard work you put in, but it could save your life.
MISTAKE #3: Writing Your Own Recipe Instead of Following a Tested One
I have a friend that tries to make up new recipes for canning and I’m thinkin’, “girl, you cannot just make this up.” There are real dangers to canning, and if you aren’t using tested recipes from USDA, Ball, Bernardin, or the National Center for Home Food Preservation, then you are really risking it.
These recipes exist because someone in a lab measured how long it takes for heat to properly reach to the center of a jar of that specific food, at that specific density, with that specific acidity.
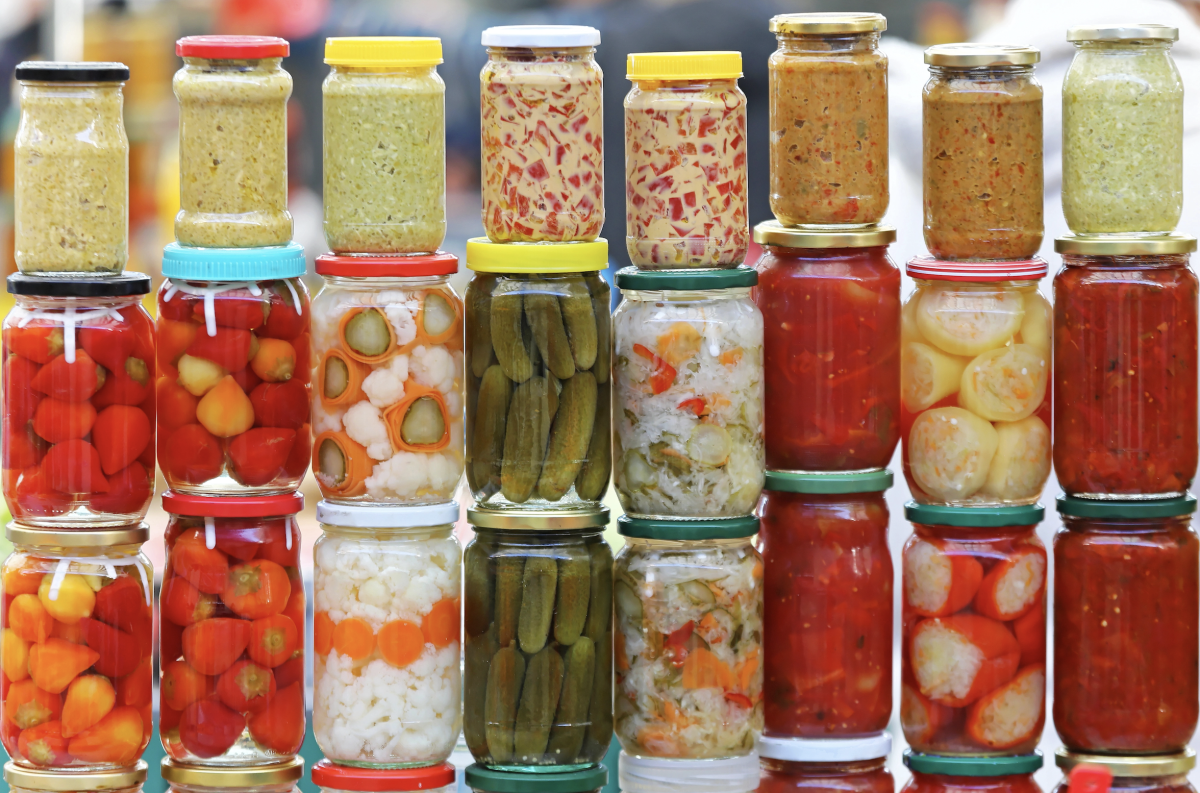
When you change the ingredients, or worse, make up your own, you’re basically throwing the recipe out the window.
If a recipe you love isn’t tested, just find the closest tested equivalent and adapt around it. There’s really no other safe way to do it.
MISTAKE #2: Dry Canning or Oven Canning Low Acid Foods Like Potatoes
In April 2015, one of the largest botulism outbreaks in the US happened, and it came from canned potatoes at a pot luck. Two women died from it.
“Dry canning” potatoes keeps popping back up as a recommendation or trick for canning, and I’m telling you, it isn’t the way. Potatoes have low acid and they’re dense, and that makes them one of the hardest foods to safely process. If you don’t believe me, look at the women who died from it, and say no more.
Pro-Tip: Dry canning is where you put them into jars with no liquid and they get processed in the oven or a canner without meeting pressure canning standards.
MISTAKE #1: Water Bath Canning Low Acid Foods
Water bath canning low acid foods like green beans is the number one mistake I see, and one of the most dangerous.
A water bath canner reaches 212°F, which is the temperature where water boils. When you’re trying to kill off botulism spores, it requires a temperature of around 240°F, which only a pressure canner can reach.
You cannot make up the difference by leaving the jars in longer because science doesn’t work that way..
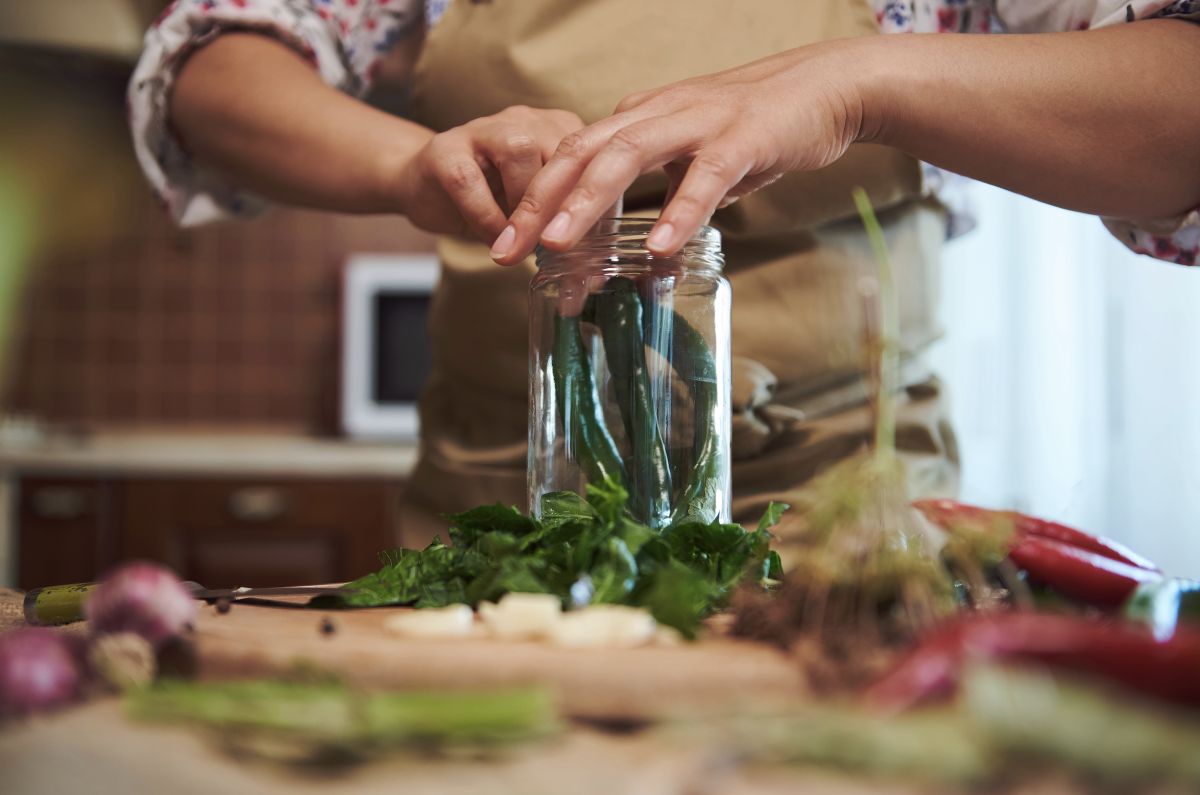
Water bath canning foods like green beans will create conditions where botulism can thrive. And again, the jar can look, smell, and taste totally normal. If a food is low acid (like green beans, corn, potatoes, meat, most vegetables, and any dishes that contain them), it must be pressure canned. There’s no workaround for this, no matter how many hours your grandma might have sworn by.
Ultimately, canning is part creative and part scientific. The difference is that the science part is required. I highly suggest sticking to tested recipes from the USDA or National Center for Home Food Preservation, follow the recipes and pressures EXACTLY, and when something about a jar feels off, toss it out.
Happy canning, my friend(s)!

Erie is the owner and author of Everywhere Ontario. She’s lived and traveled around Ontario for over 30 years, visiting small towns and big cities from the shores of Lake Erie to the crisp northern air of Hearst along the Trans-Canada Highway. She is passionate about maximizing fun and supporting local tourist businesses and is always looking to provide the best recommendations to her fellow Ontario travelers. Read more about Erie here.