
Raise your hand if you knew that you could regrow food from the scraps you’ve created in the kitchen?
This was a new concept to me about a decade ago, but once I found out that this is possible, I went all in on figuring out how to reuse what I could from my garden.
Unfortunately, there is a lot of fake information about this floating on YouTube and TikTok, so I wanted to make a post explaining which scraps you can ACTUALLY use to regrow and which ones are just flat out lies.
But before we jump into the list, I want to give you a quick explanation..
When regrowing, plants grow their leaves, stems and roots way faster than they grow fruit or a big storage root. So the scraps that give you food quickly are the ones that gave you more leaves. If you’re looking to regrow bulbs, tubers, or a piece of fruit, that will take months, and some don’t produce at all.
So, below are 15 scraps that will regrow and I’ve categorized them by how they regrow and how fast you’ll see it work. At the bottom, there’s a myth-busting section about the ones that people claim will work, but don’t. And I’ve also included a few safety notes as well.
BEFORE YOU START
Almost everything on this list regrows by burning through energy the plant stored.
Therefore, water by itself will always run out at some point, because regular tap water doesn’t have nitrogen, phosphorus or potassium. So that means, your regrowth will always be smaller and/or thinner than the original.
- Use shallow water – just the root end or the base needs to be submerged.
- Change the water every 2 to 3 days, but do it more often if it gets cloudy or starts to smell.
- Give it sunlight but don’t blast it.
- Move it to soil once you see roots.
EASY SCRAPS TO REGROW
Here are the scraps I’d start with because they require minimal effort with a fast payoff. Not to mention, you can do all of them on a kitchen counter with a jar, which makes it easy.
1. GREEN ONIONS
If you decide to regrow one plant, I’d recommend that you do green onions.
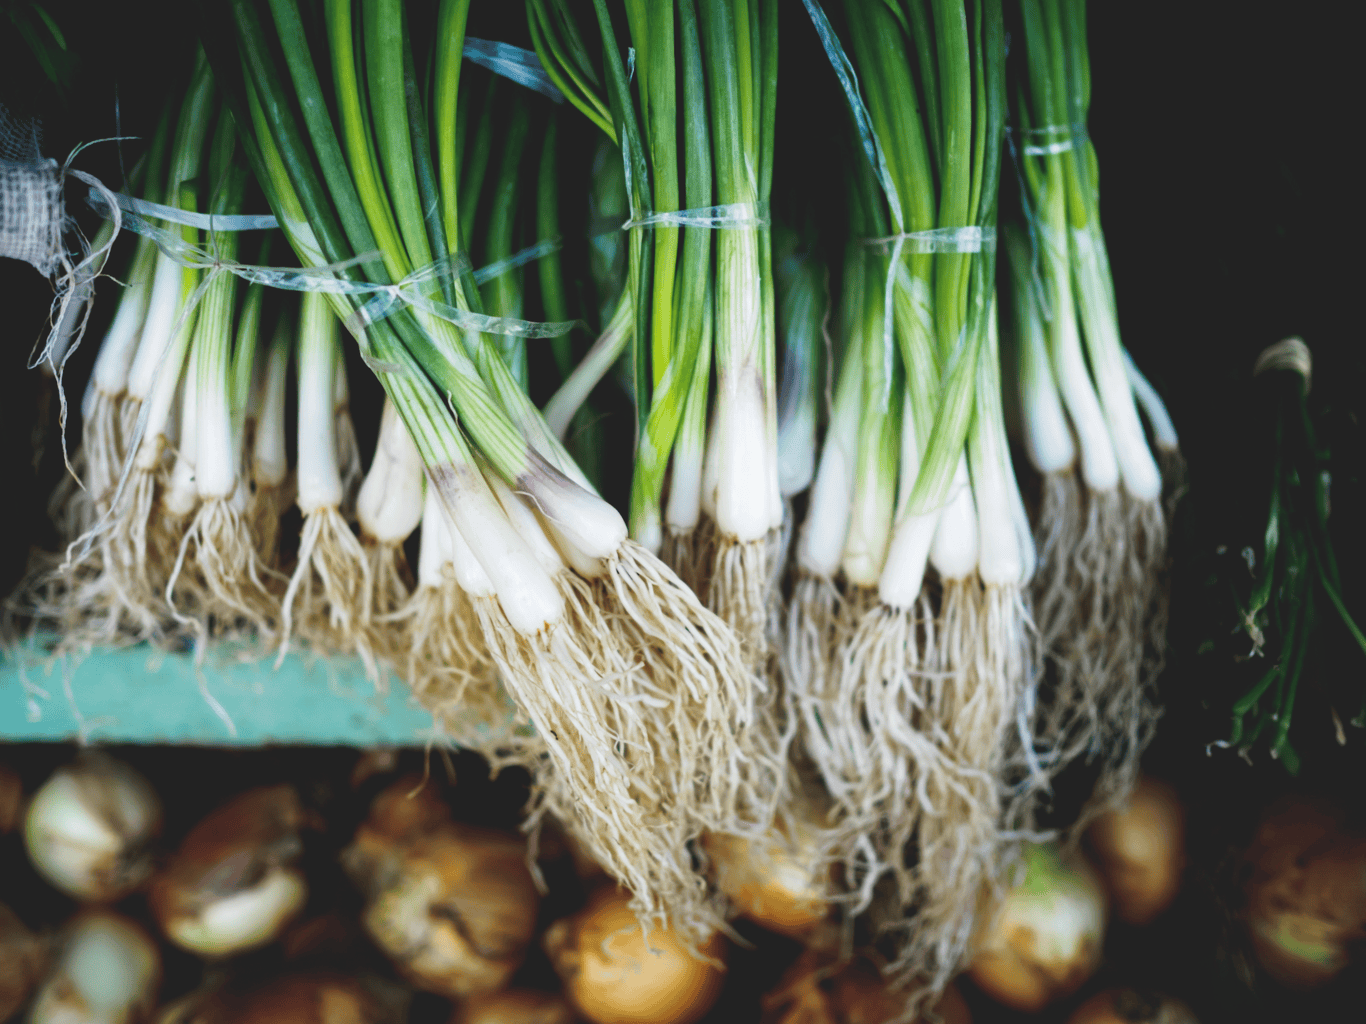
Save the white root ends, about an inch to an inch + a half with the roots still attached, and stand them in a jar with just enough water to cover the roots. You’ll notice that new green will start to push up fast, usually within a few days to a week or two.
This is especially nice because you can snip and come back for more over and over again. These guys will keep going in plain water for a few months and then the bulbs run out of stored reserves and the growth will get thin.
If you want the better option, put your green onions in a pot of soil instead. The soil has the nitrogen where the water doesn’t, and that will keep your onions growing strong.
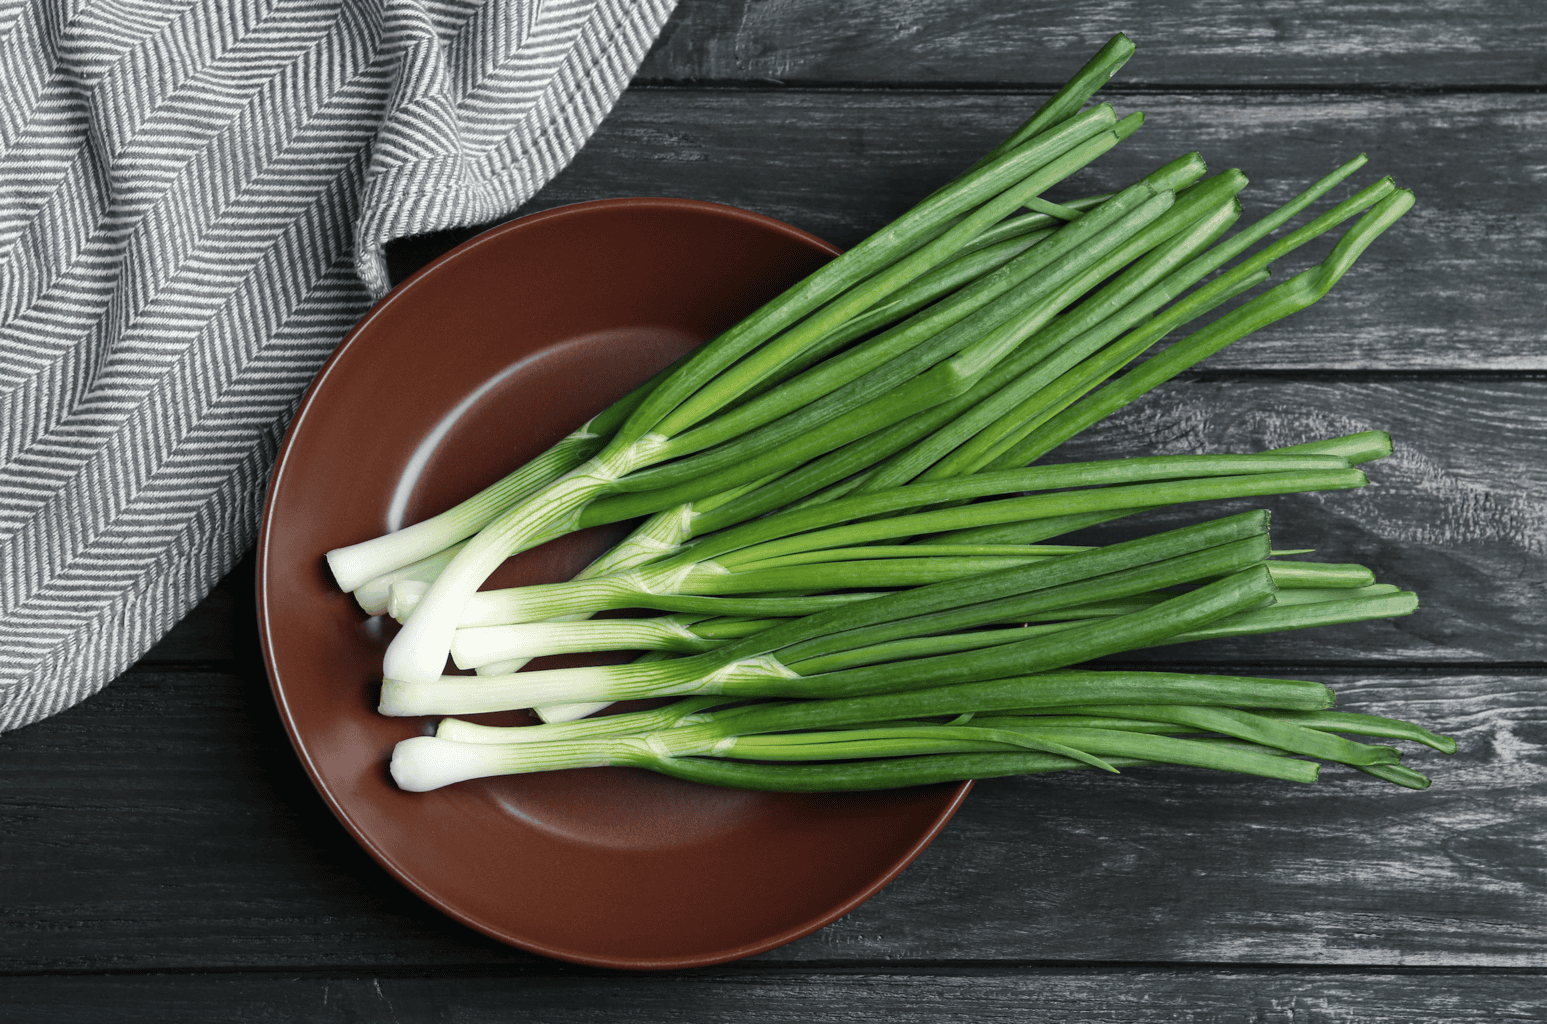
For anyone who buys green onions weekly and only can use two of them, this will help you save money and the guilt of throwing away the extras.
2. LEEKS
Obviously leeks and green onions are not the same, but they behave the same in terms of regrowth.
Keep the bottom two or three inches with the root plate intact, put it in shallow water, and it’ll push new green growth from the center.
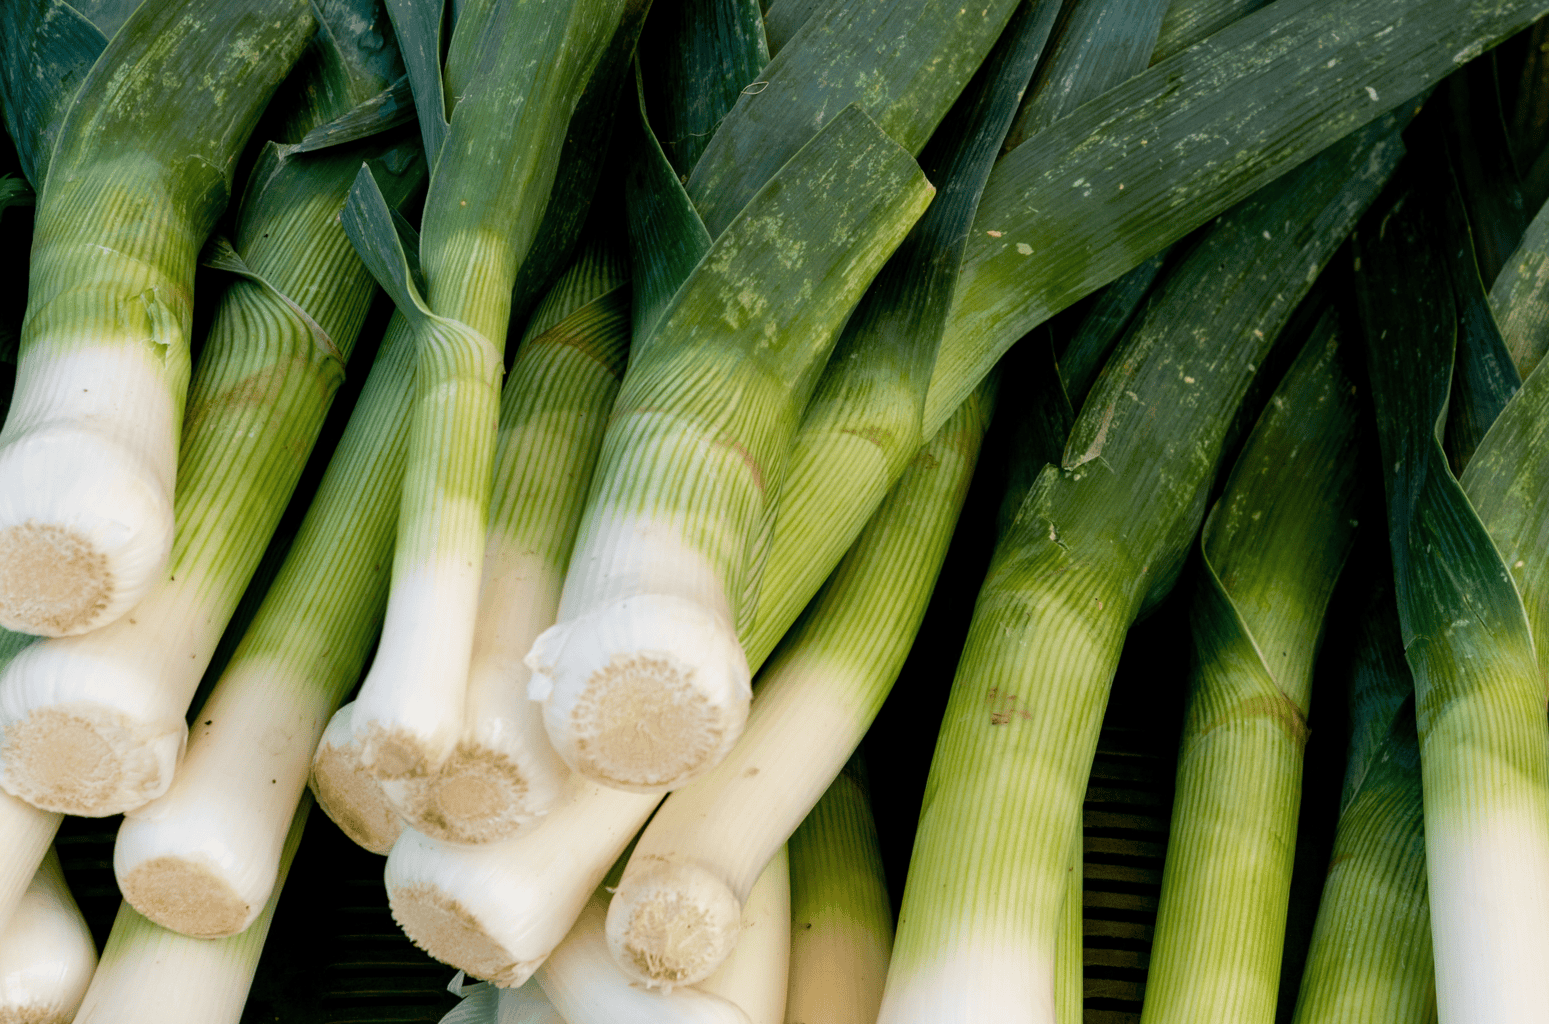
Just a fair warning that this one is less documented than green onions. Plenty of home gardeners get good results, but I’d treat it more like a fun experiment rather than a guaranteed crop.
Also, once a leek does flower, the center goes woody and fibrous, so you’ll want to harvest the greens before it happens.
3. LEMONGRASS
This one usually surprises people because lemongrass is expensive and it roots like a weed.
For lemon grass though, you need stalks that still have a bit of the root plate on the bottom. If the store trimmed them off, it won’t work for you.
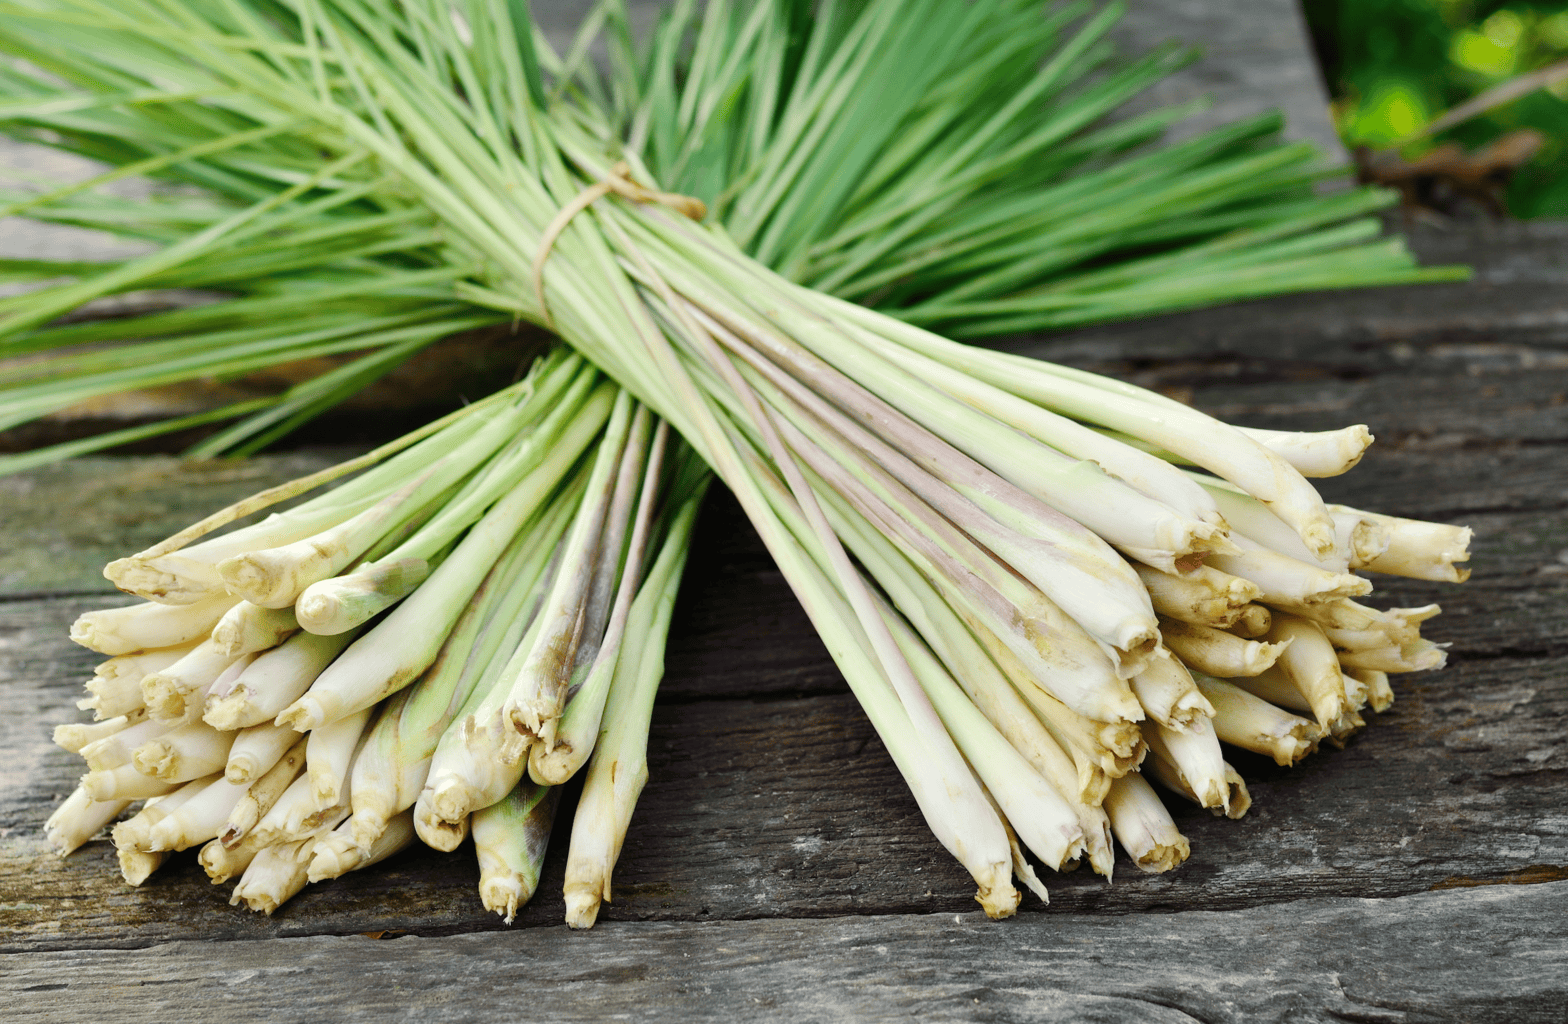
If you do have a bit of root plate, you can put them in a couple of inches of water in a bright spot in your house. Roots will form within two or three weeks if they’re going to form. If yours do, put them in soil.
And let me tell ya, fresh lemongrass out of your own pot is a completely different from the dried stuff you get in a jar. It’s way, way better.
Quick Note: Lemongrass is a tropical grass, so it won’t survive the frost. I recommend growing in a container or jar you can bring back inside.
4. BOK CHOY
If you use bok choy, you can regrow it by cutting the leaves about two inches from the base, sitting the base in a shallow dish of water, and from there, new leaves will start growing from the center. This usually happens within a few days, and it’s really satisfying to watch. We keep ours near our sink so I can watch it happen day by day.
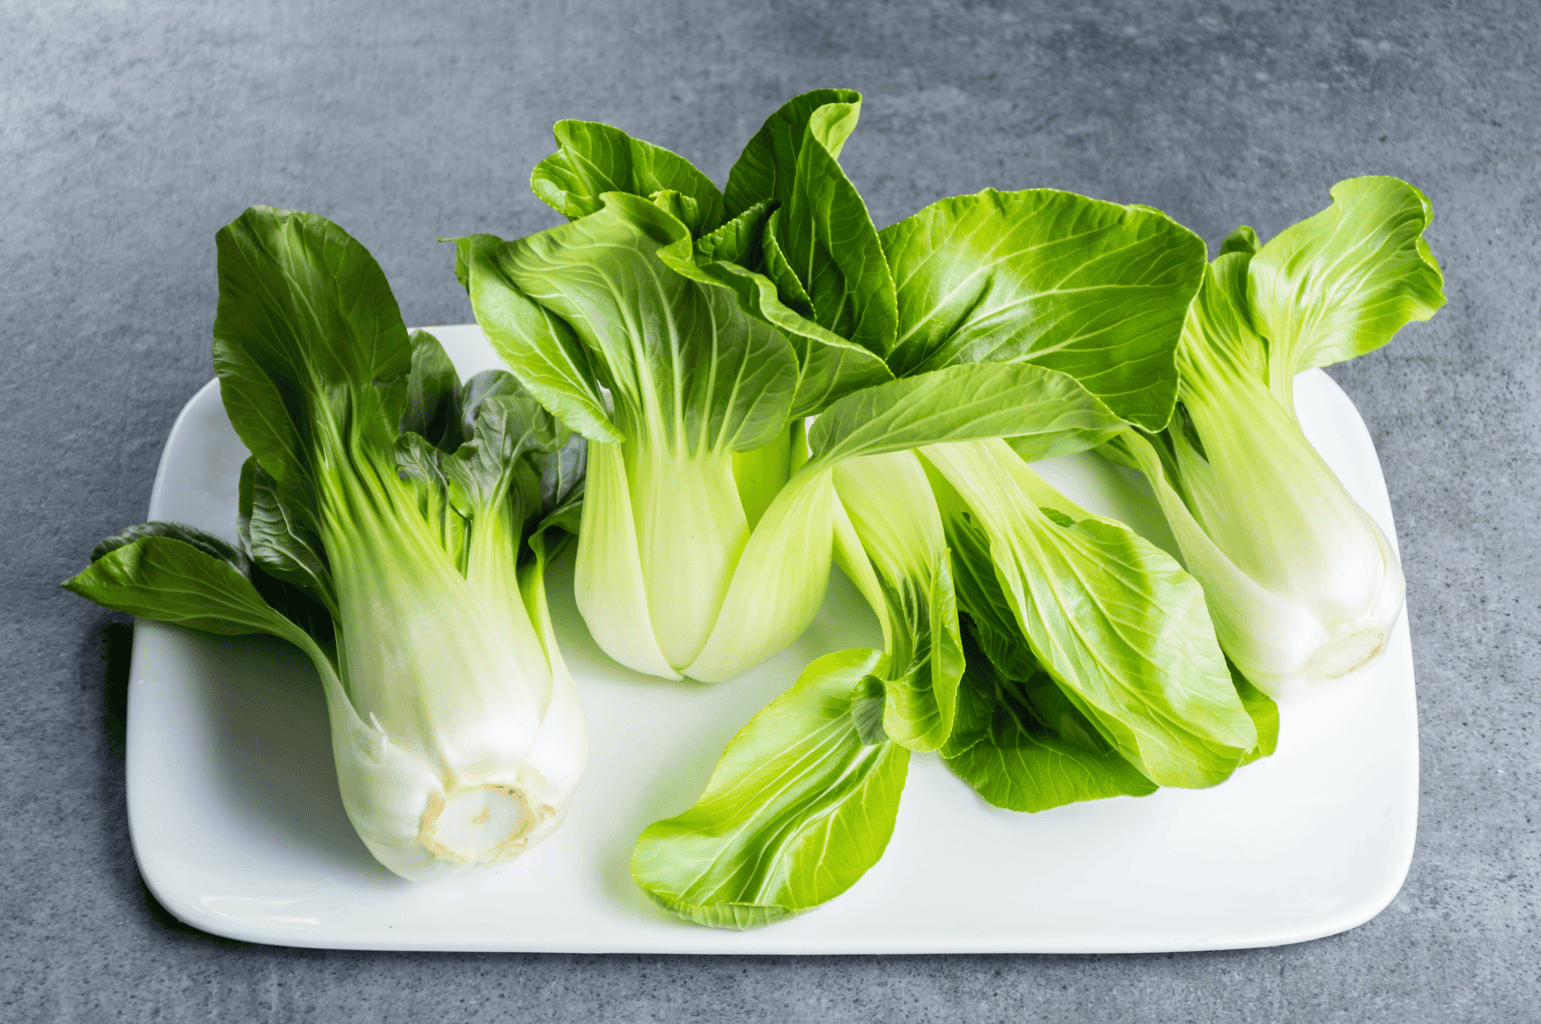
After a week or two, move it to soil and you’ll get a bigger bunch of leaves.
The thing to know is that bok choy bolts easily, and it can bolt from either direction. Cold below 50 degrees for a week or more will cause it, but so will hot weather.
And unfortunately, once it starts bolting, the leaves will stop growing, and that’s the end of the harvest.
So harvest generously when you can!
5. CELERY
If you’ve heard about or tried regrowing from scraps before, it was probably celery. Everyone seems to start with celery, but it certainly isn’t the easiest.
To regrow celery, cut the base about two inches up, put it in shallow water, and little new leaves in the middle will start to grow within a few days; growing roots will take longer. After two or three weeks, move it into potting soil for better growth.
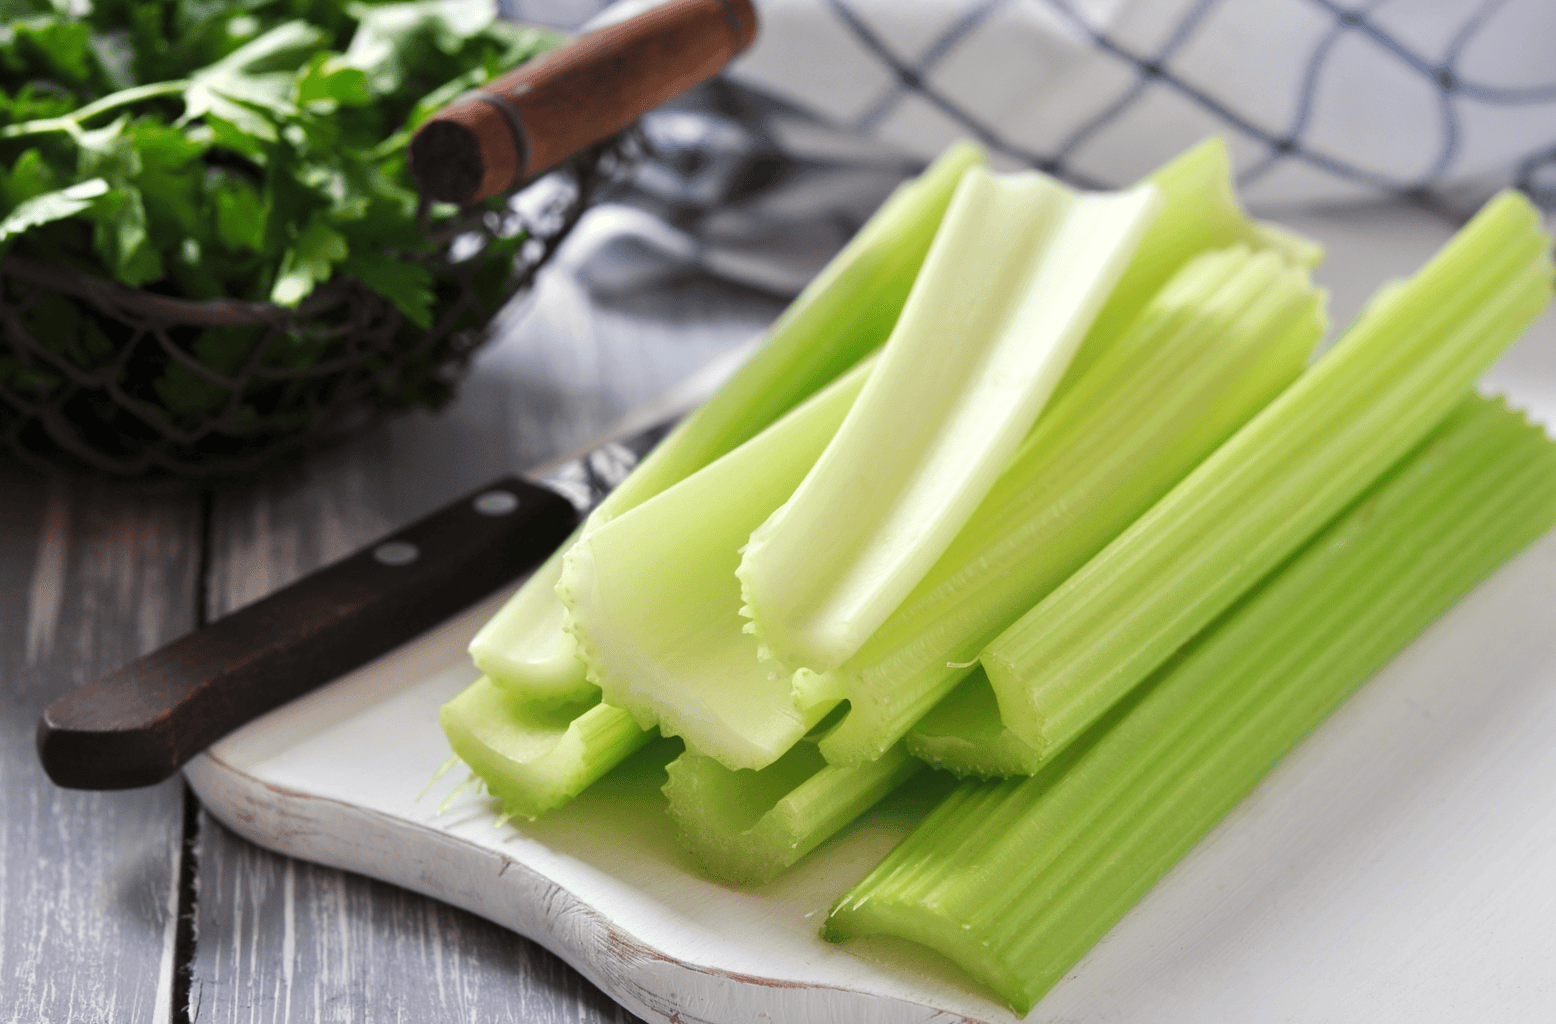
While you might think you’re going to get a huge cluster of stalks out of this, you have to lower your expectations. Instead, you’ll get a cluster of thin stalks and a lot of flavorful dark leaves.
The dark leaves are what you really want here as you can add them to soups, stocks, and stews. If you cook a lot, having a celery plant you can pull leaves off of is really useful.
With your regrow, I recommend harvesting leaves until you see the flower stalk, then let it flower and collect seeds if you want.
LOWER YIELD, BUT WORTH DOING
6. ROMAINE AND LEAF LETTUCE
Here’s another one that requires you to lower your expectations. Lettuce.
You’ll put the cut base in shallow water, and within about a week you’ll have enough smaller leaves for a side salad. If you’re expecting a new head of lettuce, you’ll be disappointed.
The reason why is because the growing point is there and it’ll push out leaves, but there just isn’t enough plant left to build a head around.
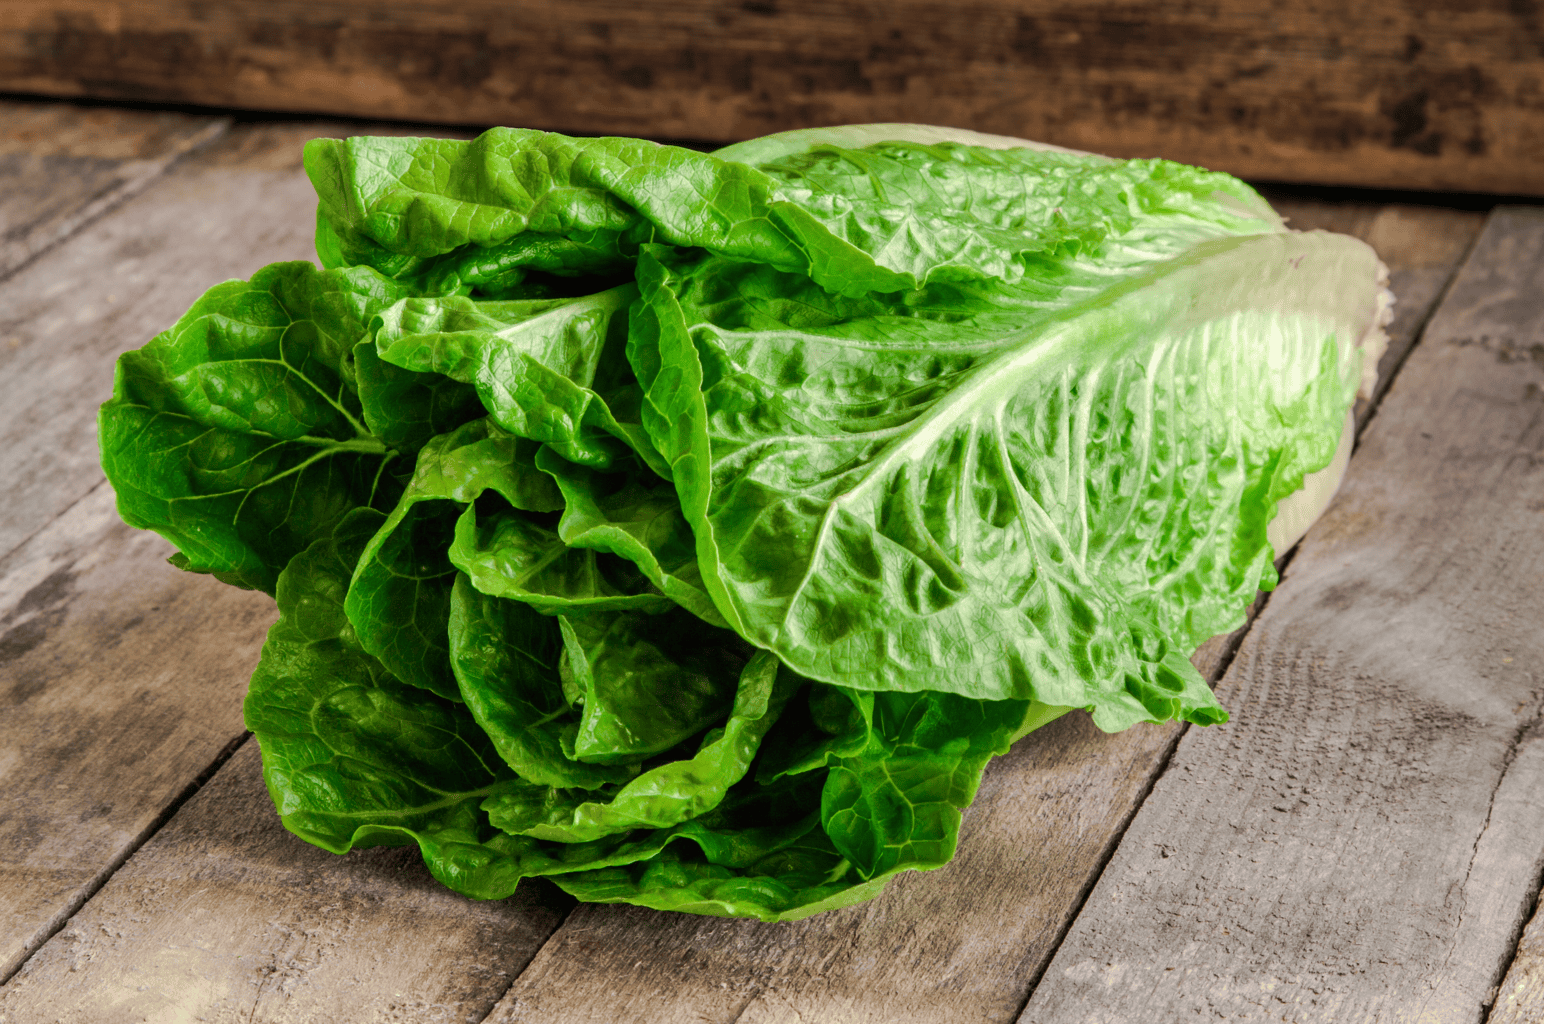
As with the others on the list, if you move it to soil, you’ll get more and for a longer period of time. Keep your lettuce cool because it gets bitter when it bolts.
And I wanted to mention this quick tip because I think it’s important and worth your time. Hydroponic butterhead lettuces sold in a plastic clamshell with the root ball still attached e are much more reliable, because you’re getting an intact plant with undamaged roots.
What you’ll do is harvest the outer leaves, plant the whole root ball in a pot or bed, and keep it shaded for a few days to get it acclimated.
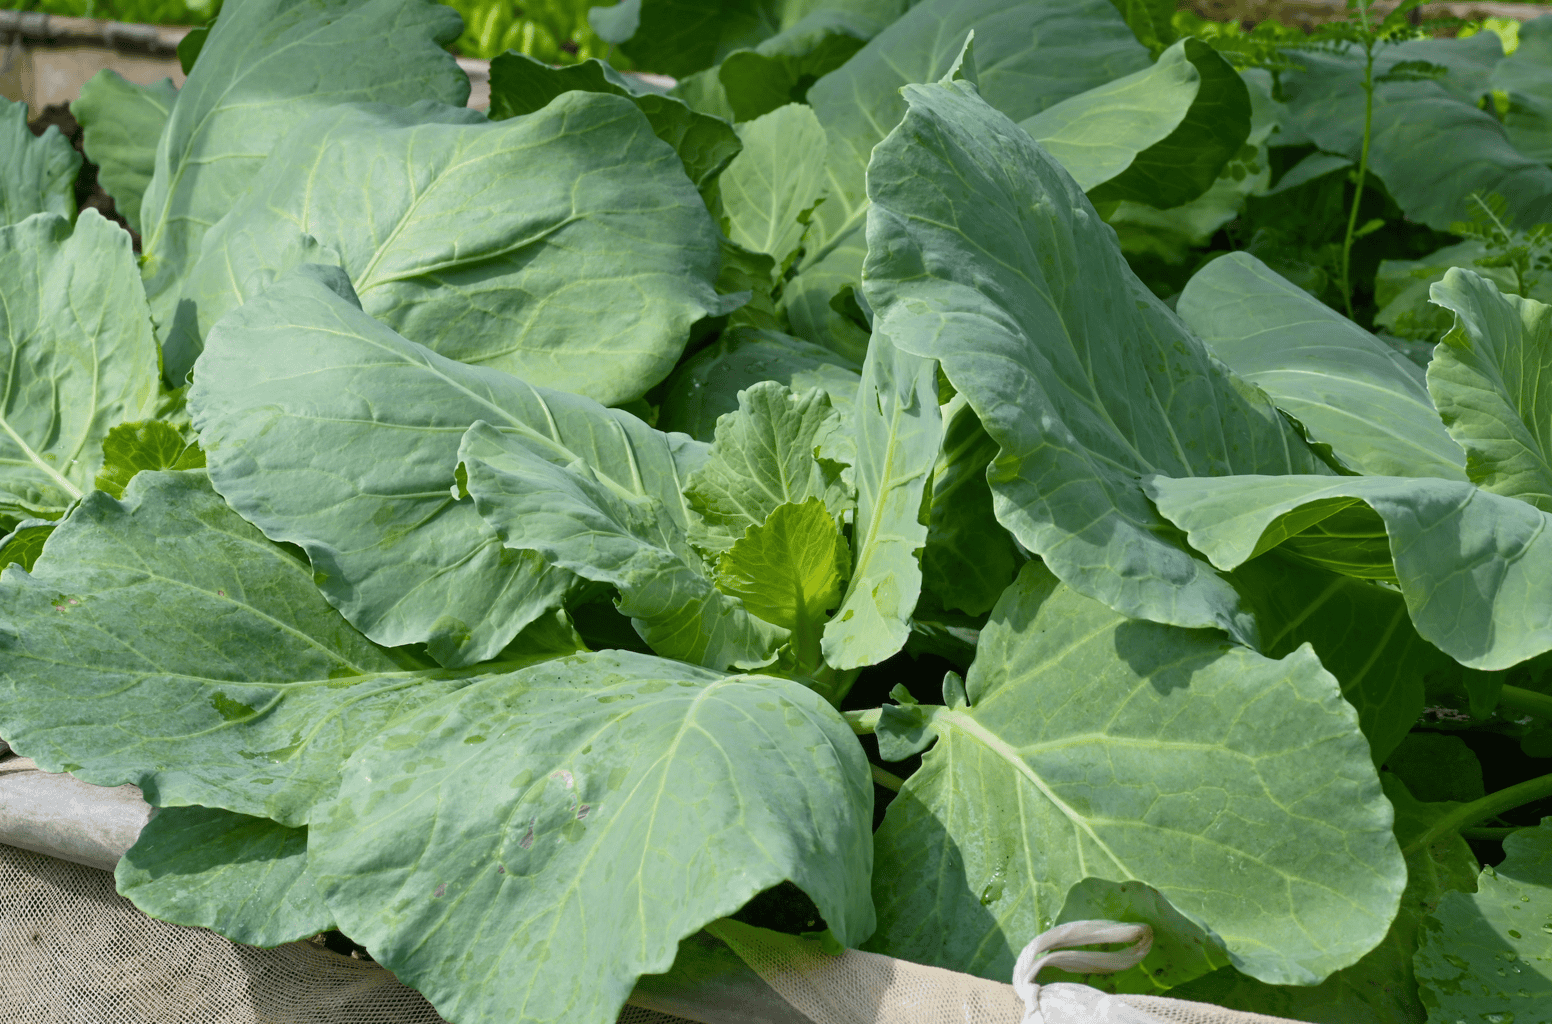
And since this plant is already about a month past transplant when you buy it, you’ll get a decent run of extra leaves, and then it’ll bolt. But don’t let that deter you from doing it because it’s still a good deal for three dollar lettuce.
7. CABBAGE CORE
Cabbage is another that will regrow but where you do it matters.
If you put a cabbage core in a bowl on your counter, it will likely push out a few leaves, but nothing really worth your time.
But if you cut it from your garden and leave the rooted stump in the ground with the outer leaves attached, the buds along that stem will grow. You’ll get smaller secondary cabbages, roughly two to four inches across.
A tip I’ve found helpful is that you can score a shallow cross on the top of the stump and that helps with regrowth.
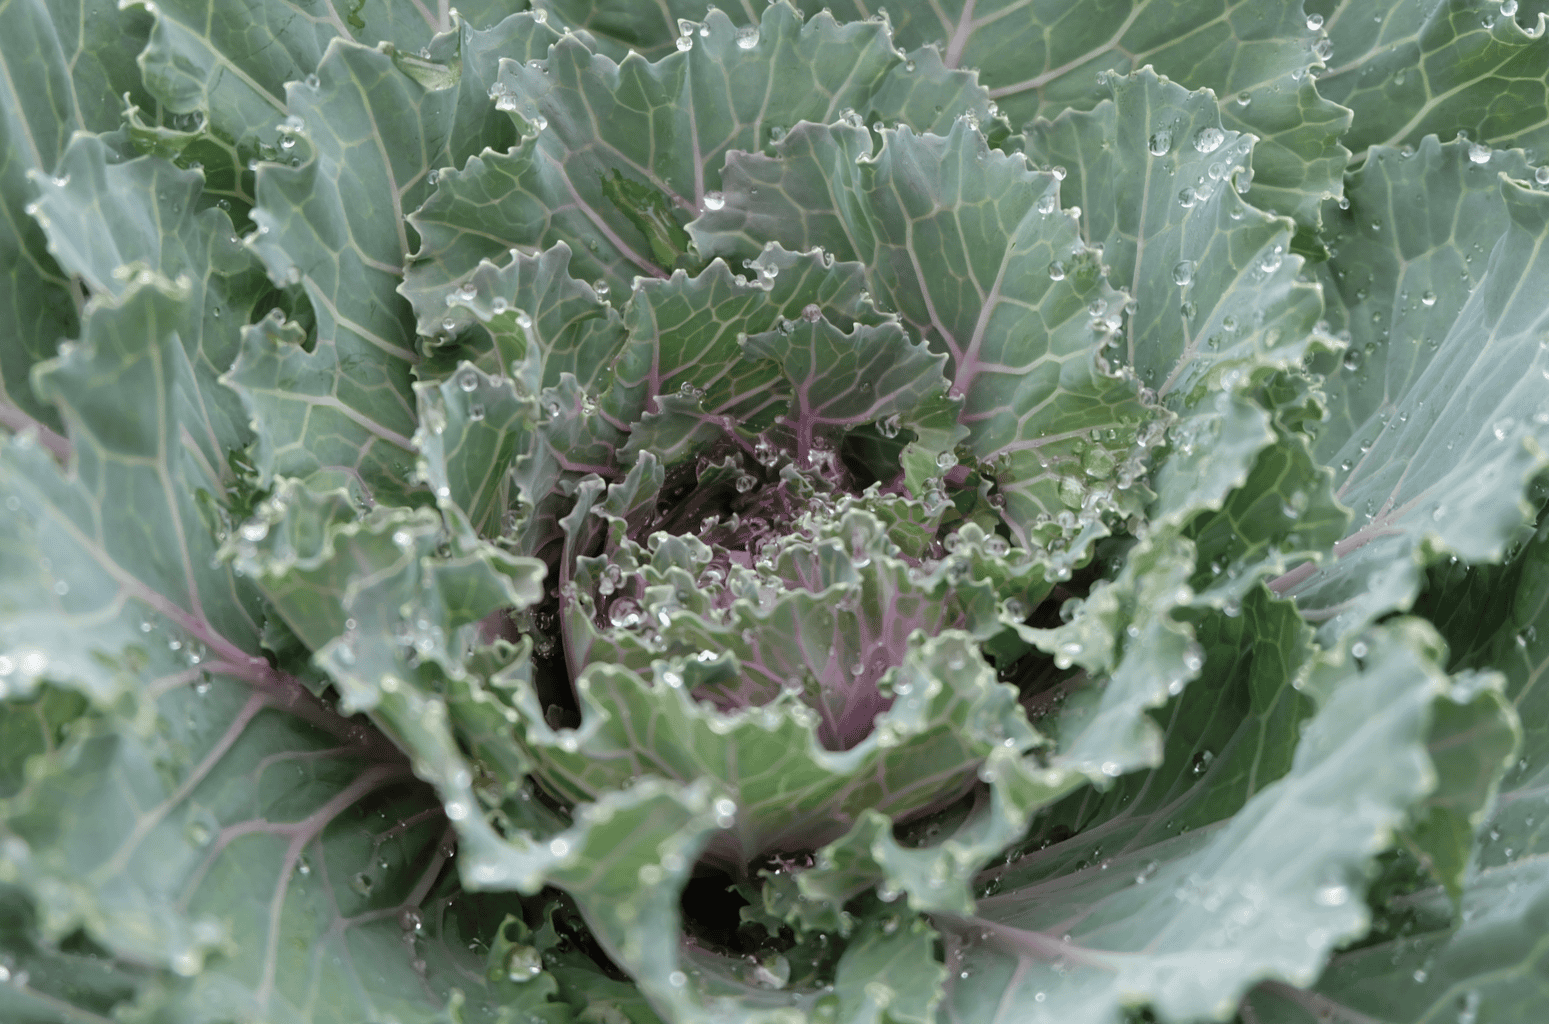
So essentially, you can get several cabbages out of just the one you have, it just requires being rooted in soil originally.
TOPS THAT GIVE YOU GREENS, BUT NO VEGETABLE
All of the following will work really well, but none of them will give you another root vegetable.
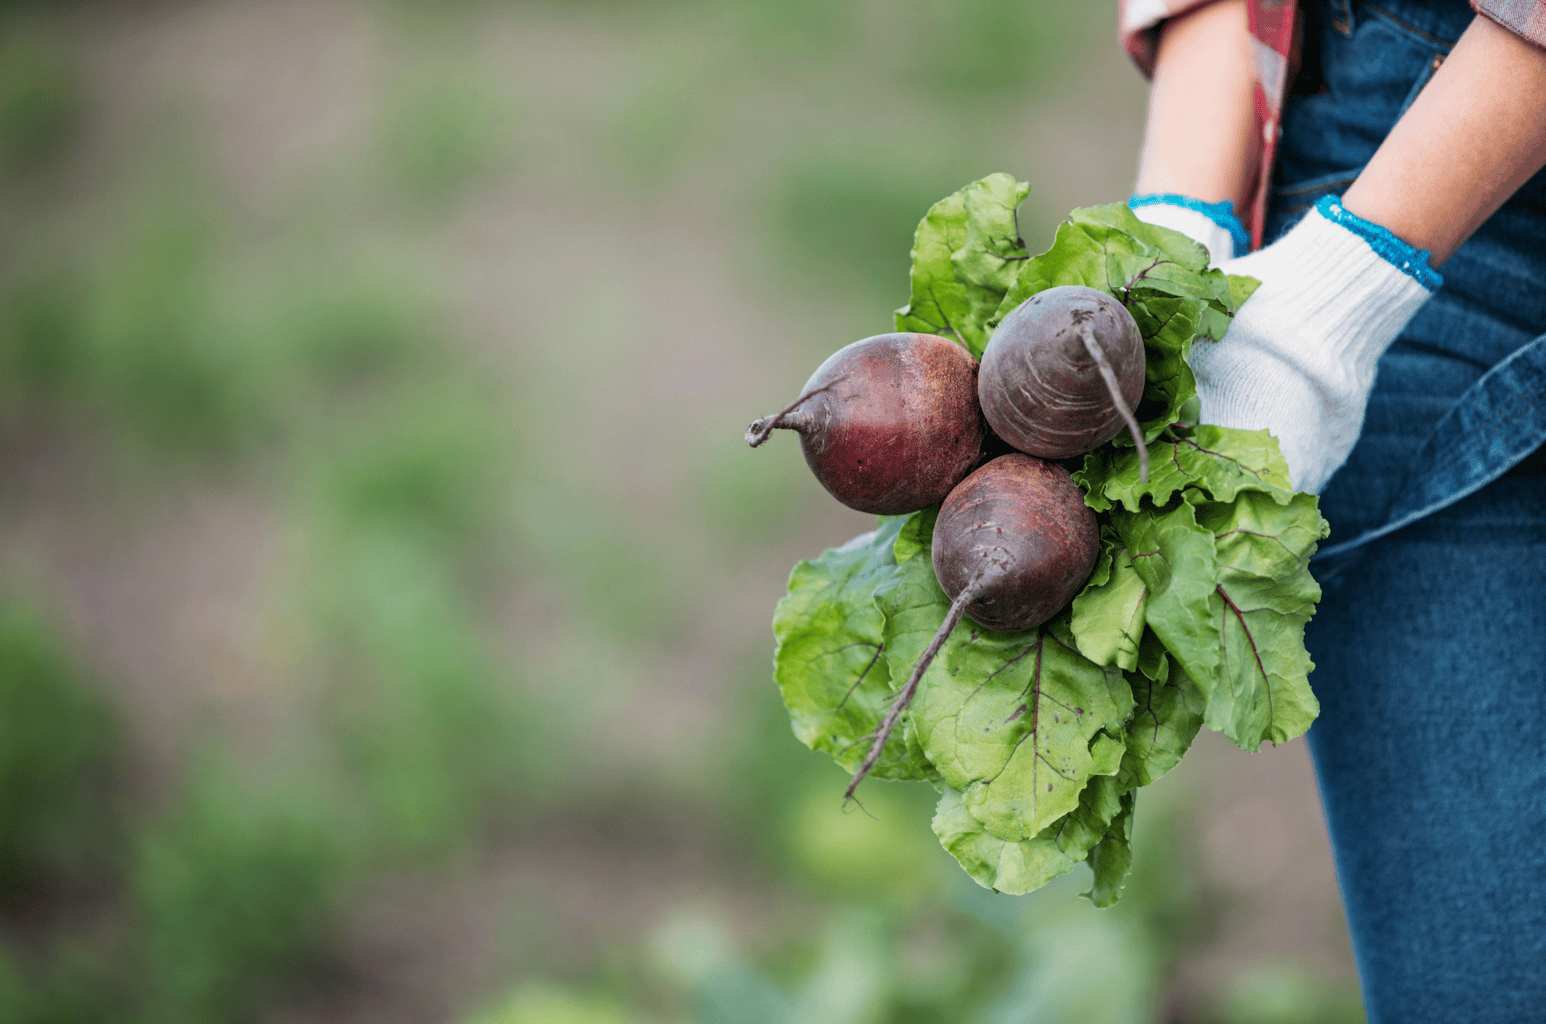
8. BEET TOPS
To work with a beet top, cut an inch off the top of a beet, and sit it crown up in a dish of shallow water. You’ll get red-veined leaves within a few days.
Again, you will not get another beet, but beet greens are really underrated.
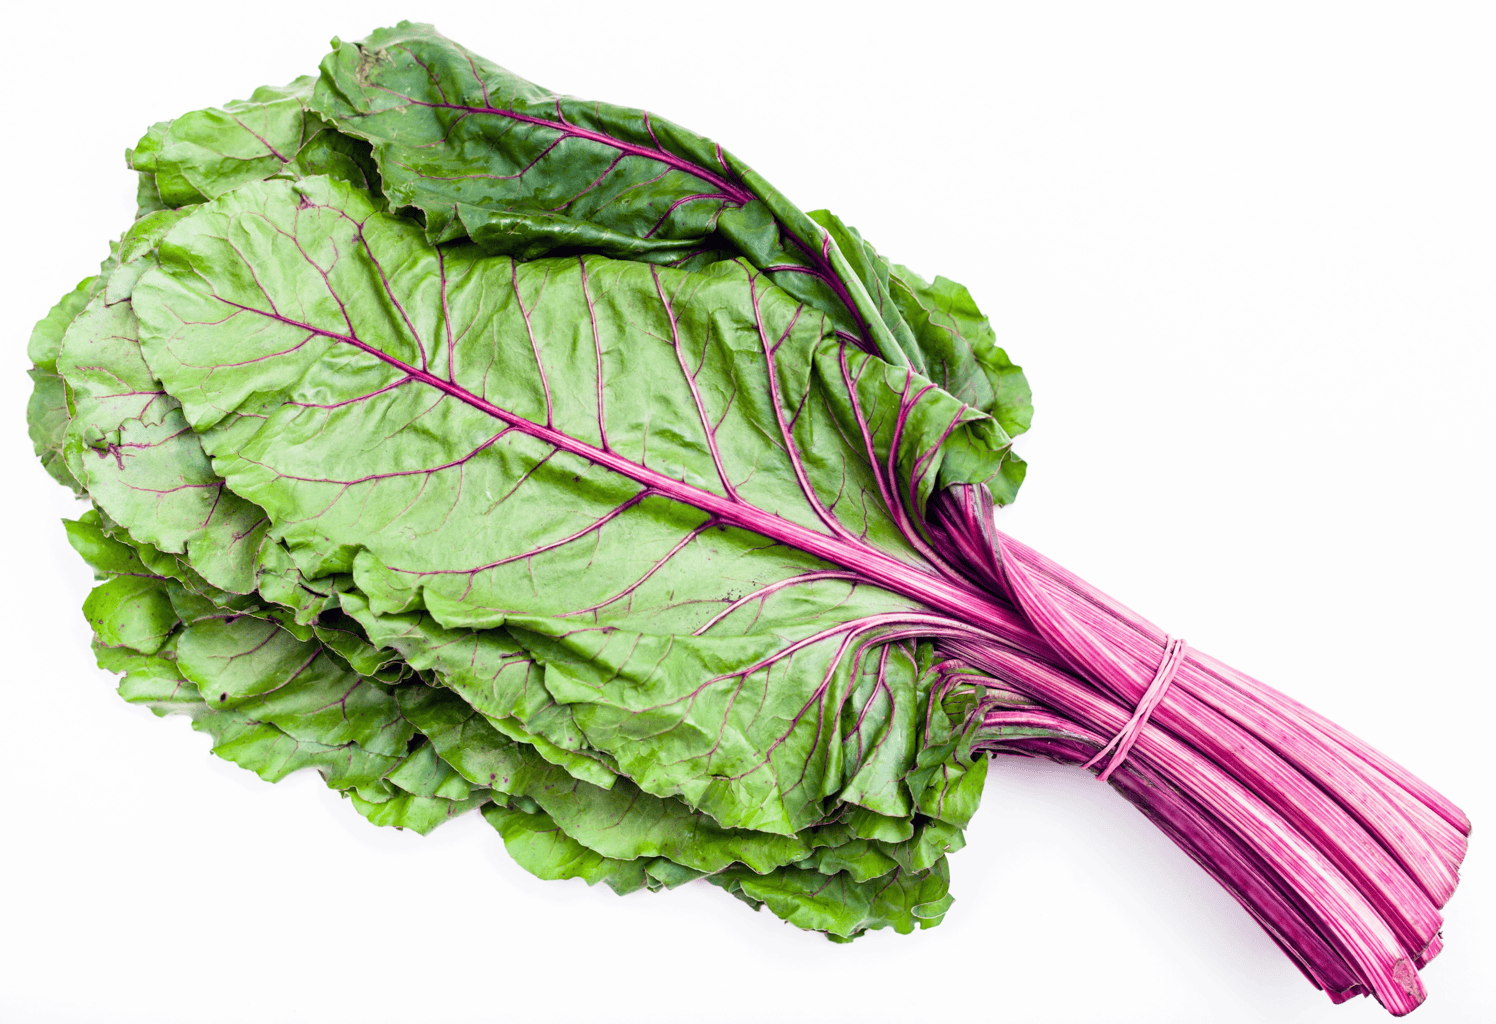
Beet greens are loaded with vitamin A and K, and they have more potassium than cooked spinach, which is surprising to most people.
I recommend sautéing them with garlic and some bacon fat. It’s absolutely delicious. If you’re going to try regrowing anything in this category, I’d try beet tops first.
9. CARROT TOPS
What worked for the beet tops will also work for the carrot tops. You cut an inch off the top, put it in shallow water, and feathery green leaves will sprout in a few days.
You won’t get any new carrots, but the carrot greens are edible.
I’ve heard people say that these greens are toxic, but it’s a myth. It’s probably because there are some relatives to carrots that are dangerous. They taste mild and slightly bitter, even a bit like parsley, and they’re great in pesto, chimichurri and tabbouleh.

Carrot is a biennial, so if you plant the top and let it grow, it’ll create an umbrella of tiny white flowers. Those flowers are great for pollination; things like hoverflies, lacewings and parasitic wasps will feed from them.
You’ll get seeds with this too, but keep in mind, if that grocery carrot was a hybrid, whatever grows next year is a bit of a toss up.
10. FENNEL BASE
I’ve heard of very few people who try to regrow fennel, but it is quite easy and I recommend giving it a try. To make it work, cut below the bulb, keep the base, and put it in a few inches of water. It’ll send up small leafy shoots that are ahhh-mazing in salads and with fish.
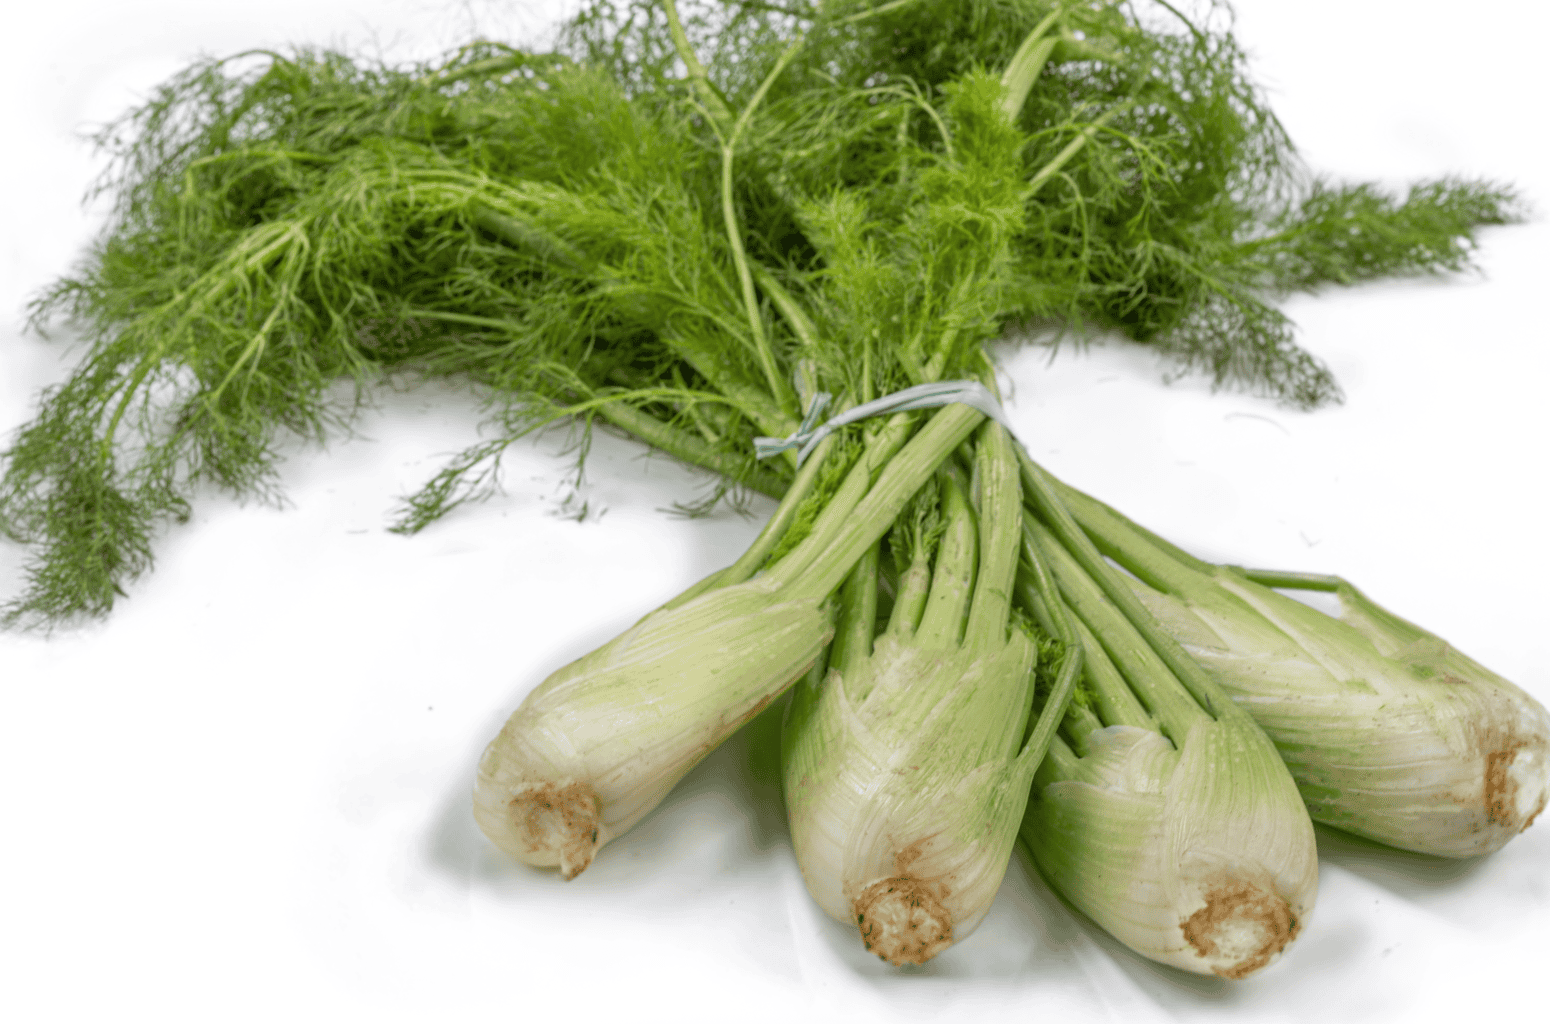
As mentioned about this set of scraps, fennel will not form another bulb, just the shoots.
But those shoots are typically very expensive and delicious. If you plant the base in your garden, the plant itself is beautiful and swallowtail butterflies will love it.
BULBS, TUBERS AND RHIZOMES: GREAT HARVESTS
For this category, expect results in several months, rather than a few days like the others. These ones are also ones that will give you a crop rather than just greens.
11. GARLIC
With garlic, if you put one clove in, you’ll get a full bulb out. This is my favorite kind of payoff.
A softneck bulb, which is what you’ll usually find at the grocery store will hold anywhere from 10 to 40 cloves whereas hardneck bulbs hold closer to 4 to 12, and they tend to handle cold winters better.
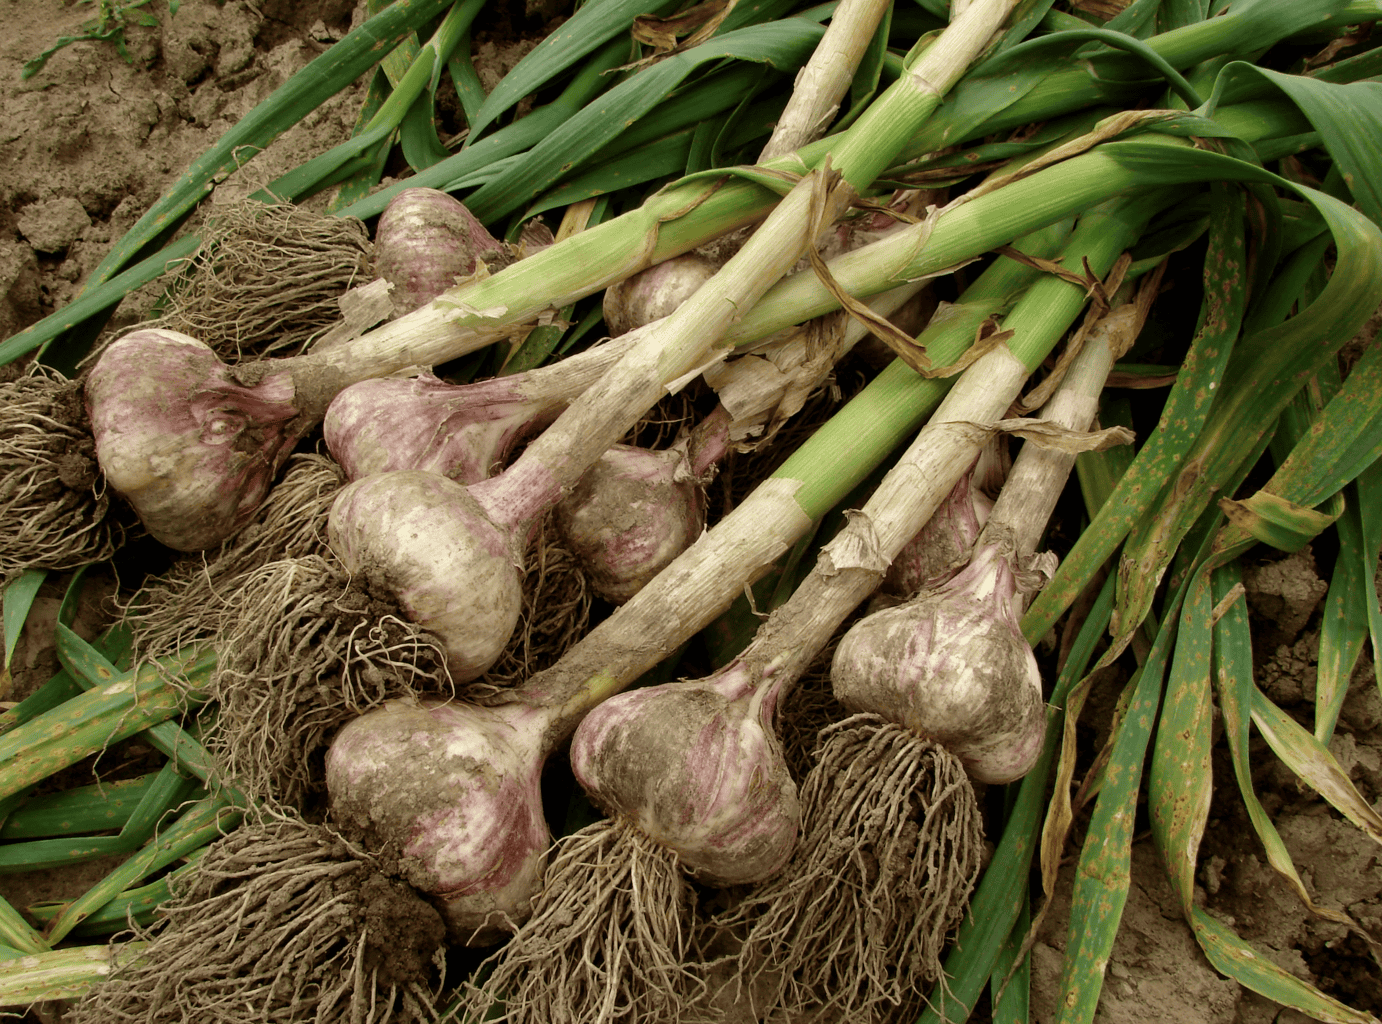
The best way to regrow is to plant individual cloves pointy end up. Put them a couple inches deep and at least six inches apart.
Fall is the best time for regrowth because roots can establish before the ground freezes and the cold will trigger proper bulbing,. From there, you’ll harvest the following summer. So keep in mind that you’ll have roughly nine months of it doing nothing. Sometimes I even forget they are there until they harvest the following summer.
Be aware that grocery-store garlic is often treated to stop it sprouting and more importantly it can carry white rot. Once you have white rot, that bed shouldn’t be used for four or five seasons.
So basically, don’t use grocery store garlic for this.
12. SWEET POTATOES
Sweet potatoes are a strong contender for being the best one on this list.
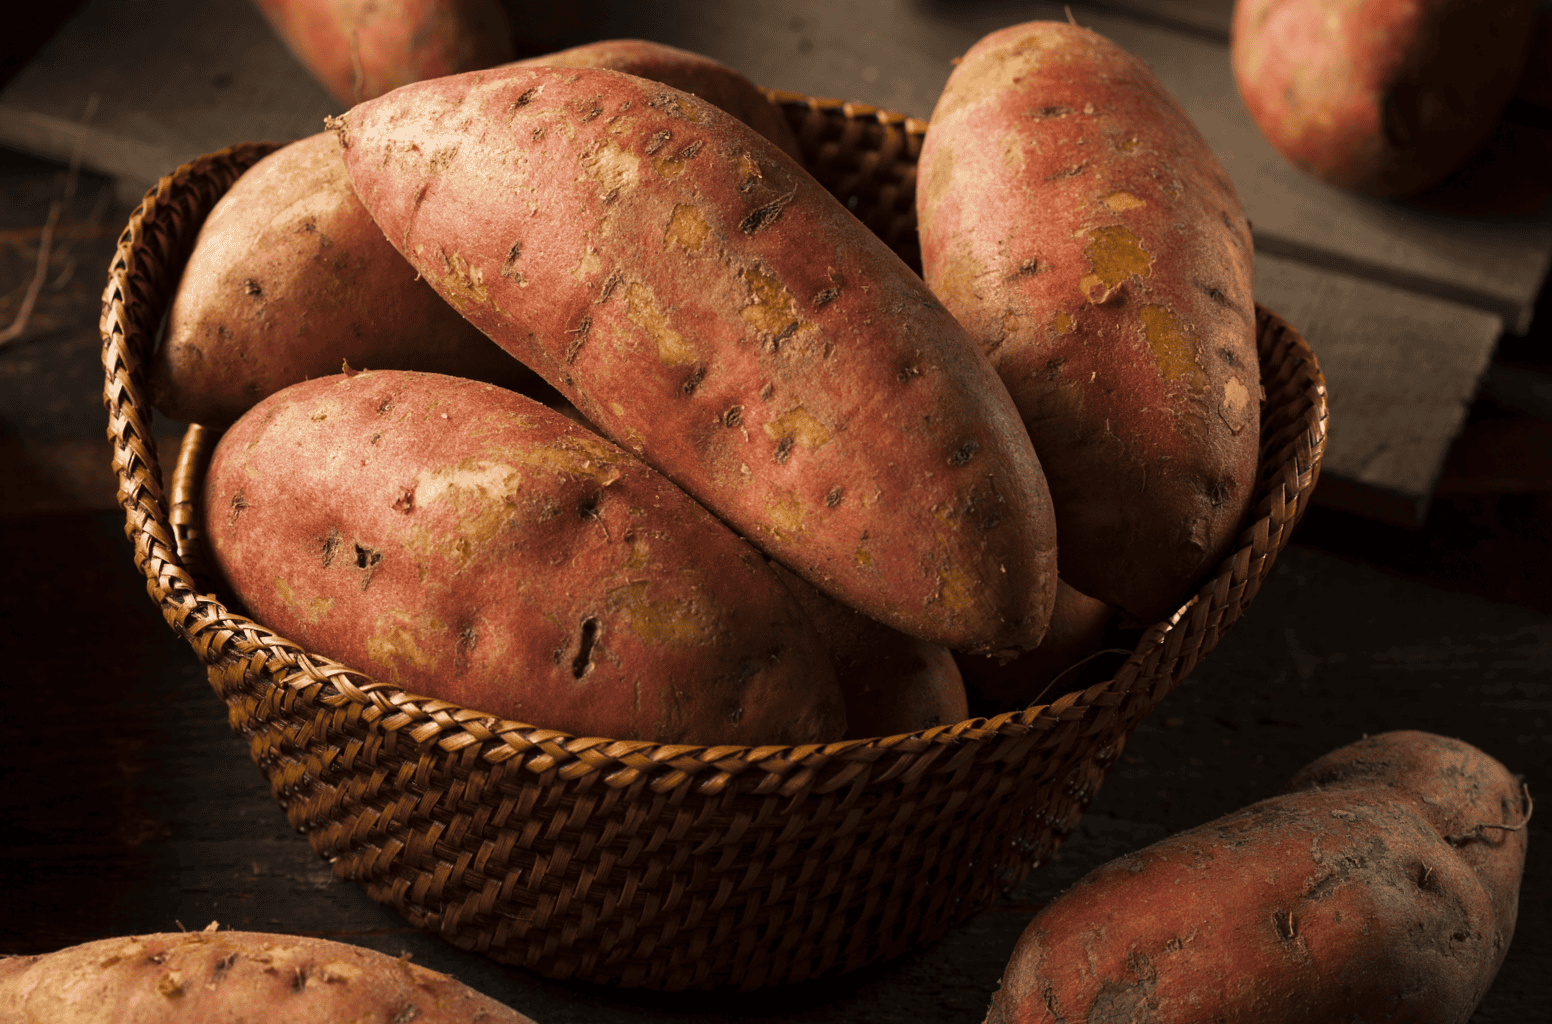
To regrow, put your sweet potato over a jar with toothpicks with the bottom half of it in water. Make sure it’s in a warm spot with plenty of light.
In about two weeks you’ll see purpleish shoots; these are called slips. When those slips become about six inches, remove them and root them in their own jar of water. That will take another week and a half or so.
From there, plant the rooted slips.
Typically, you’ll get 7 to 10 slips off of one sweet potato, and sometimes as many as 14 depending on the variety. Each of those becomes a vine, and each vine can give you multiple sweet potatoes about 90 to 120 days later.
Important Tip: Wash the sweet potato really well before you start, and try to buy organic ones if you can. When you buy them in stores, they are usually treated to stop them from sprouting in storage, and that’s actually what we DON’T want here.
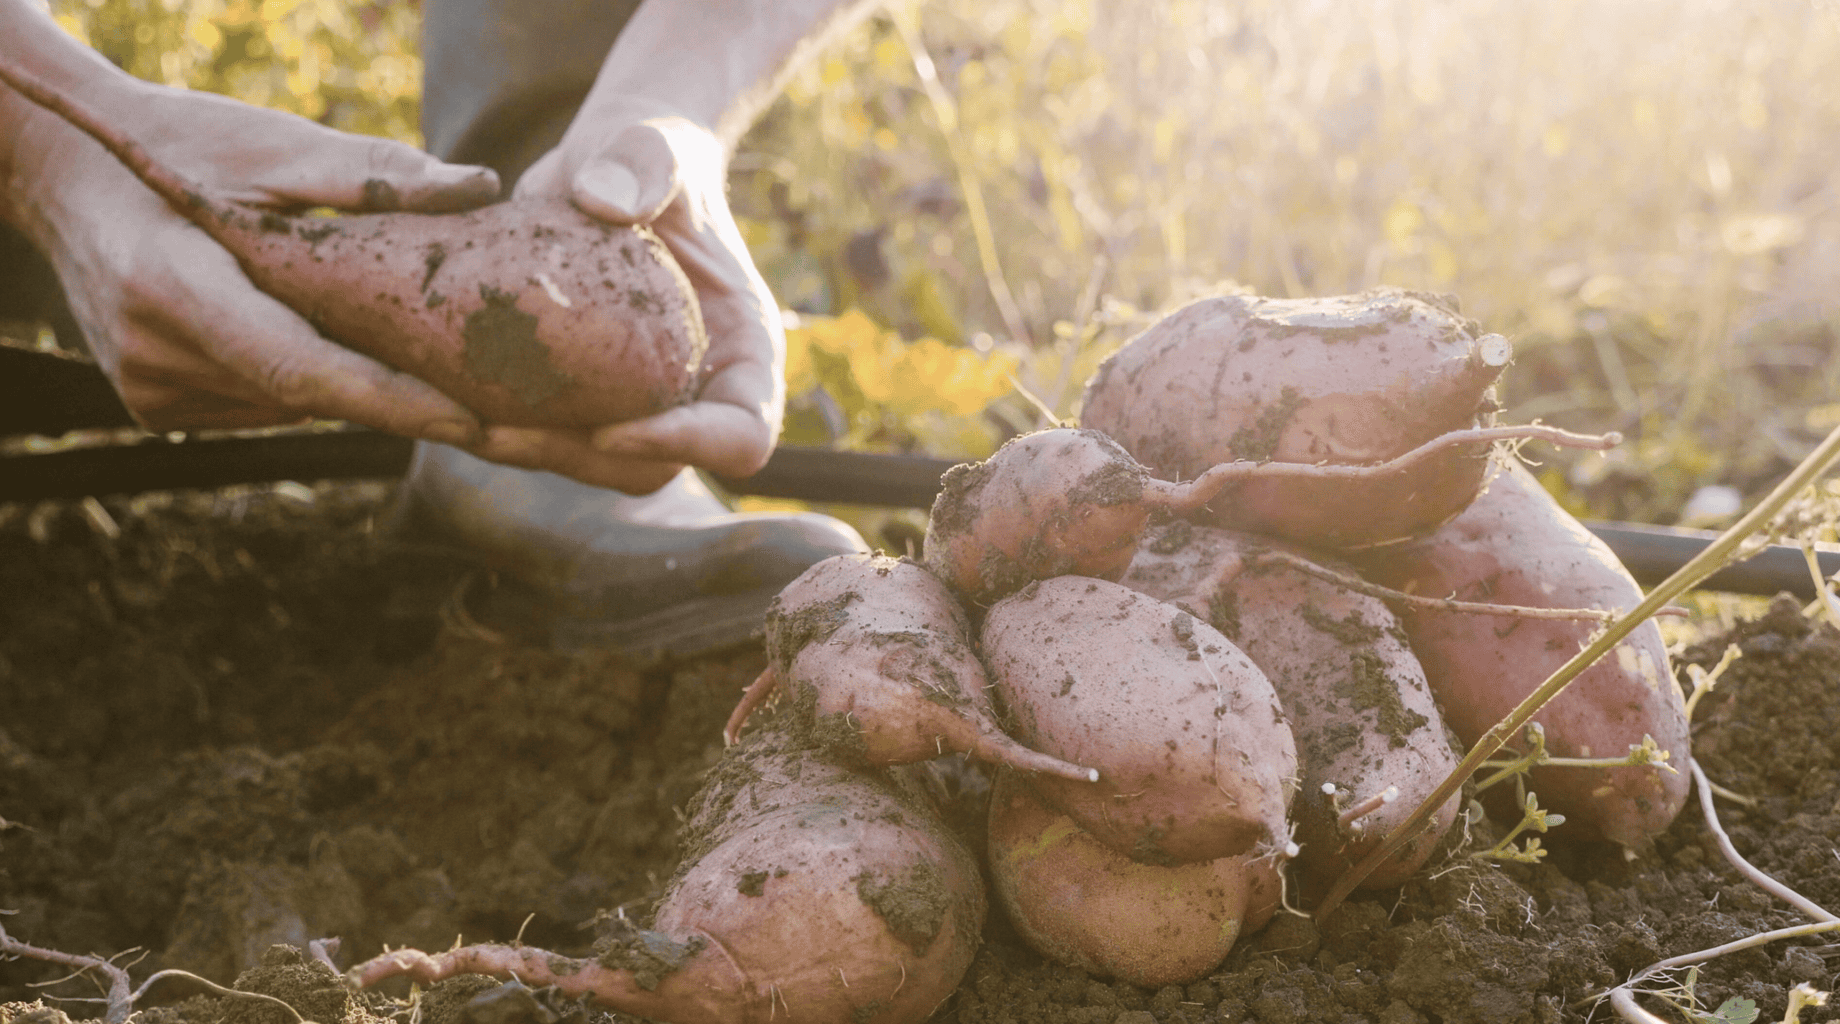
And quick tip that I think is relevant.. sweet potato leaves are edible and good, and you can cook them like spinach.
13. GINGER AND TURMERIC
To regrow ginger or tumeric, you’ll generally follow the same steps. And for these, you can work with the ones that come straight from a grocery store.
When you’re choosing them at a store, pick thick, firm pieces with visible bumps on them. Those bumps are growth buds, and you need at least two per piece if you’re planning to plant them.
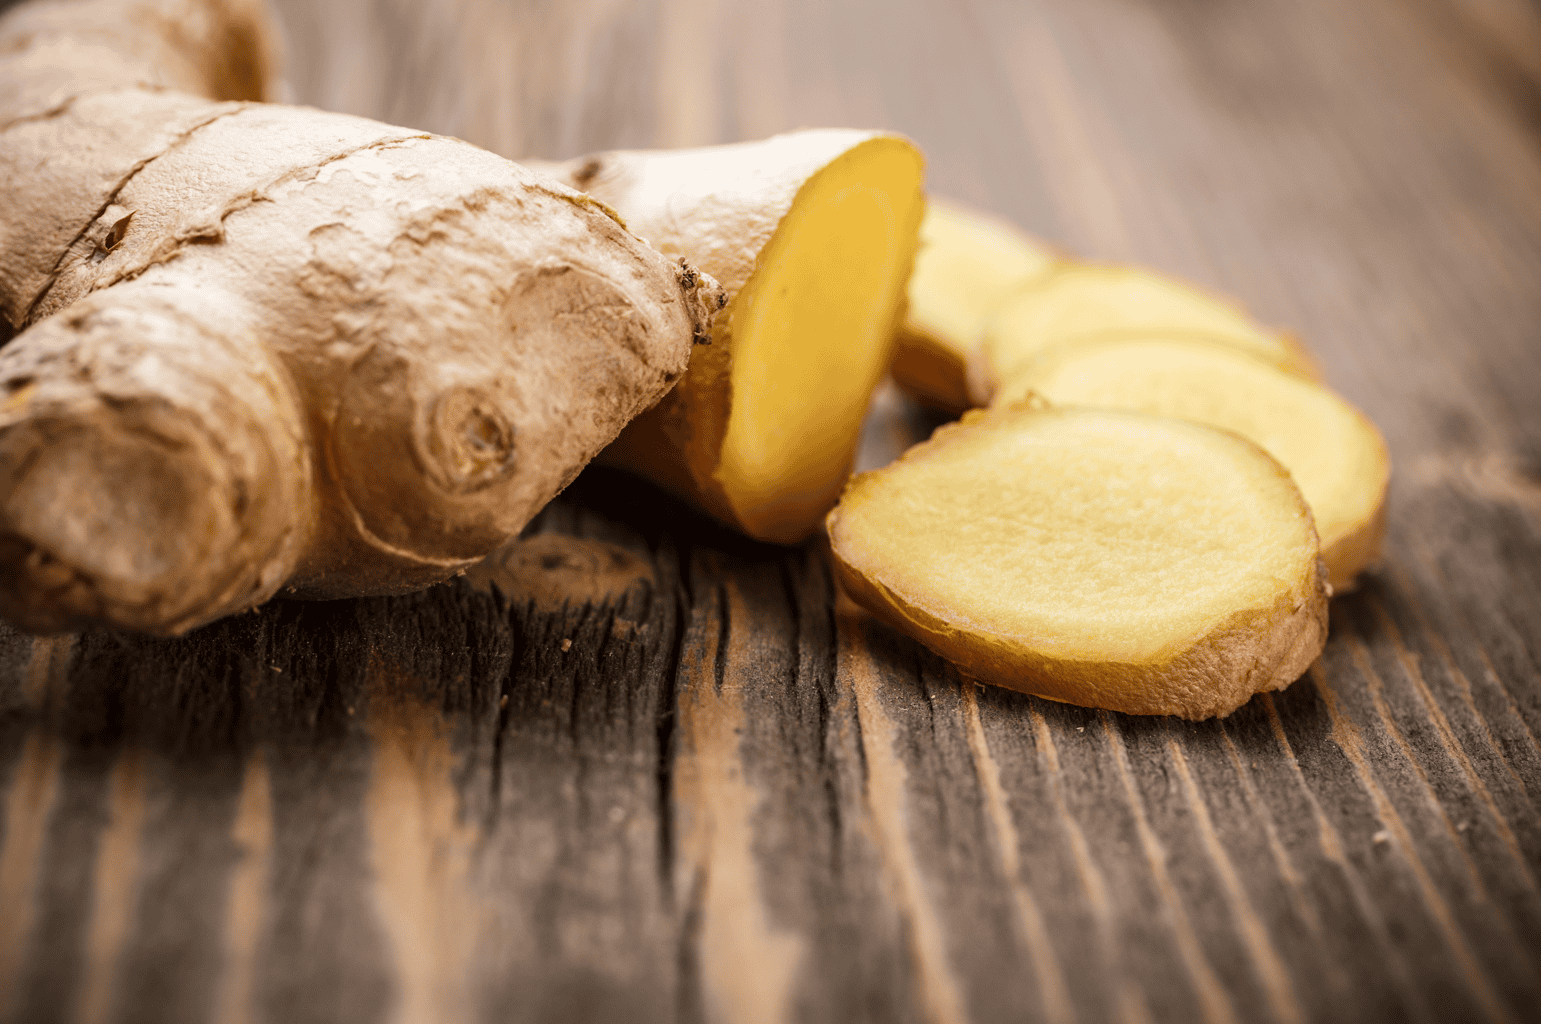
Like sweet potatoes, give the tumeric or ginger a good wash because the ones bought from a store usually have a growth treatment applied.
Once you’ve washed it, break or cut it into chunks, and let the cut surfaces dry overnight. Then plant it about an inch deep in a wide shallow pot with soil. Make sure the buds are pointing upward.
For these to regrow, they’ll need warmth; soil above 68 degrees is recommended to get it going, but ideally in the mid-70s. And instead of a full spotlight of sun, aim for bright shade, especially if you’re in a hotter climate.
Baby ginger is ready around four months while a full mature harvest takes 8 to 10 months.
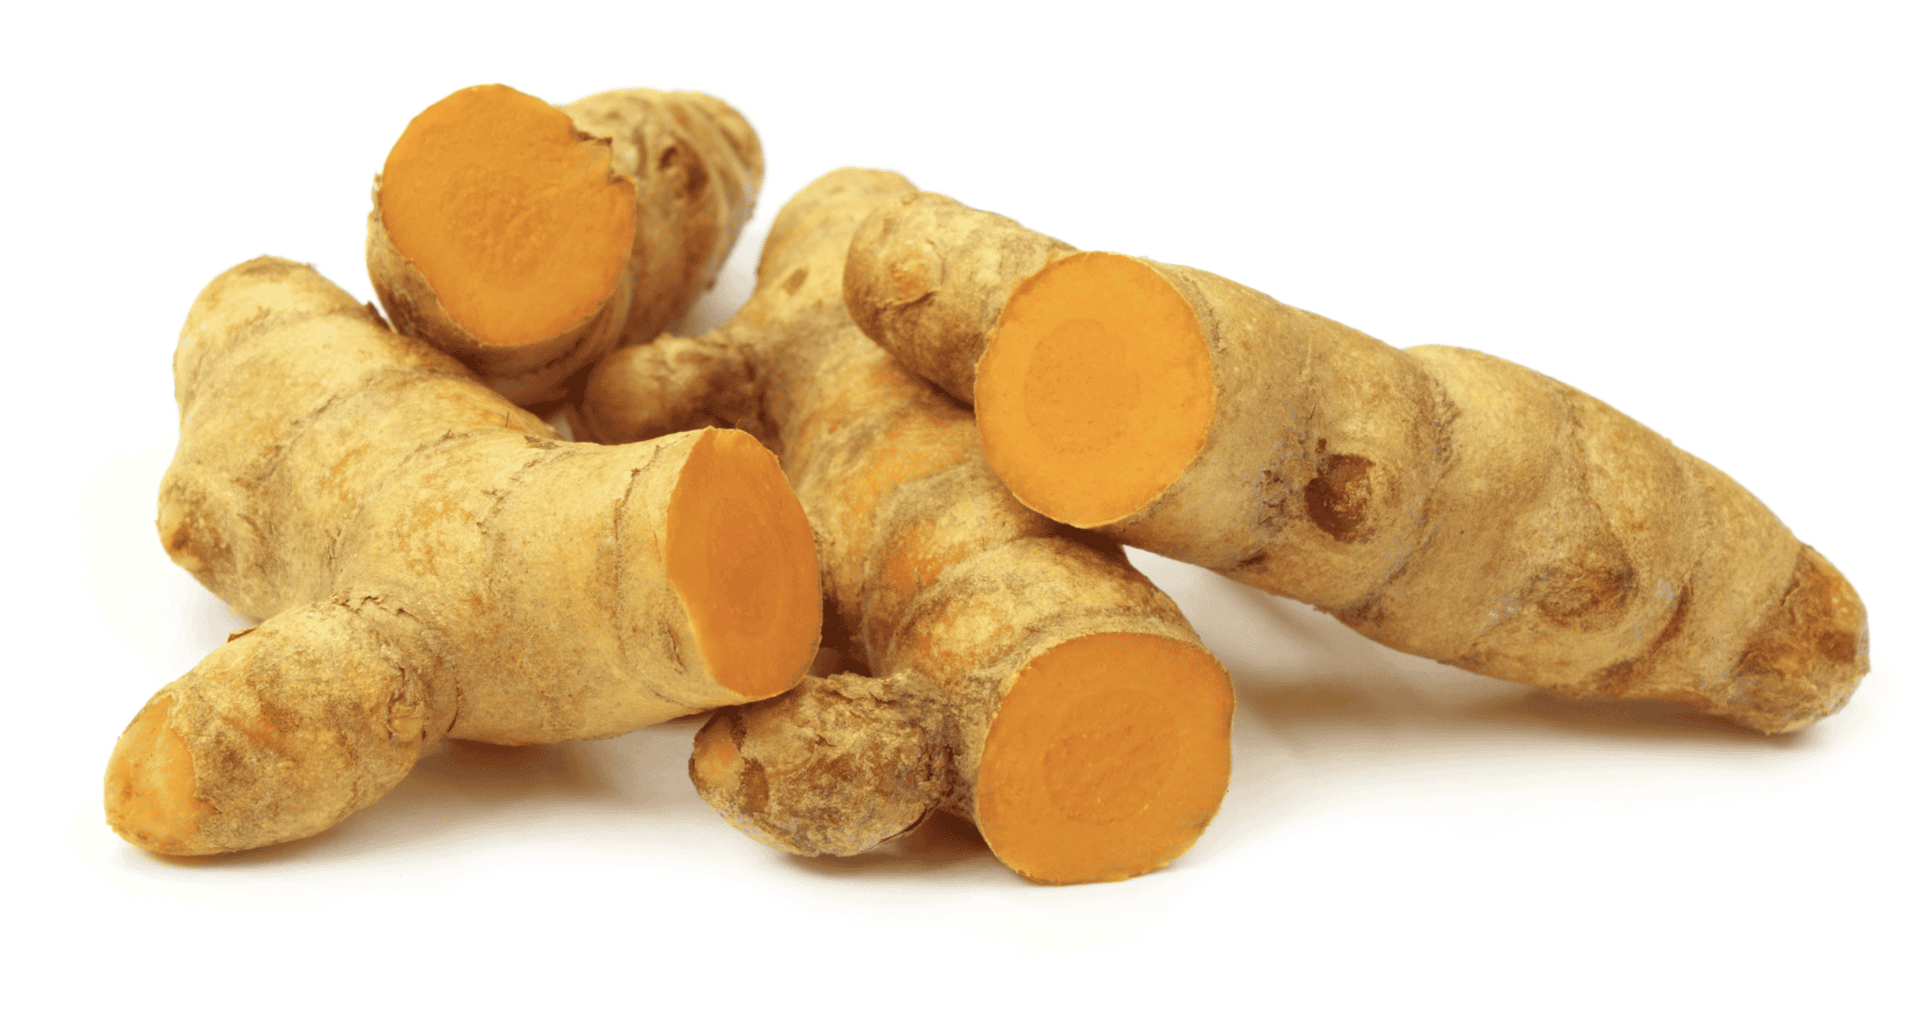
I realize that’s a long time, but the plants are worth growing, too. You’ll get big tropical leaves, and they’re easy. Grow them in a container anywhere as long as you bring them in before it gets cold.
OTHER CUTTINGS
14. OTHER HERBS
Most people have tons of basil and use very little of it. If you need it for one recipe, what happens to the rest of it? I’ll tell you what, it becomes more free plants if you decide to regrow it.
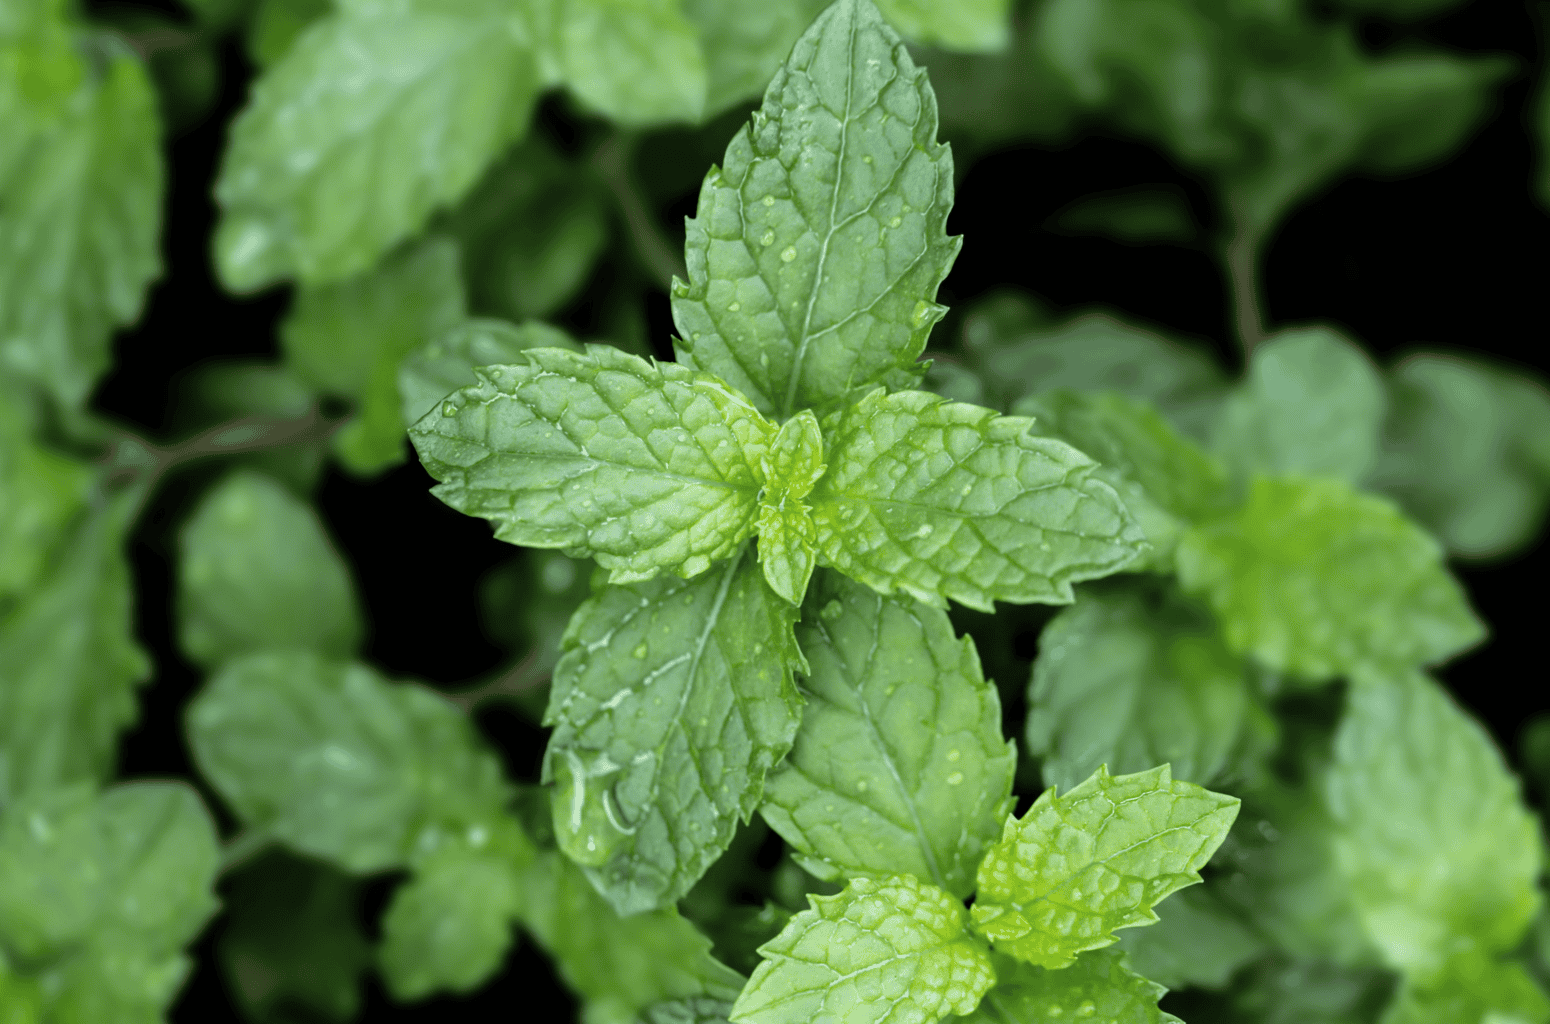
Take a green, non-woody stem about four inches long, strip the lower leaves so the nodes are exposed, and put it in water. Basil and mint are really easy for this.
Roots will usually show up in one to two weeks depending on how warm and bright the spot is.
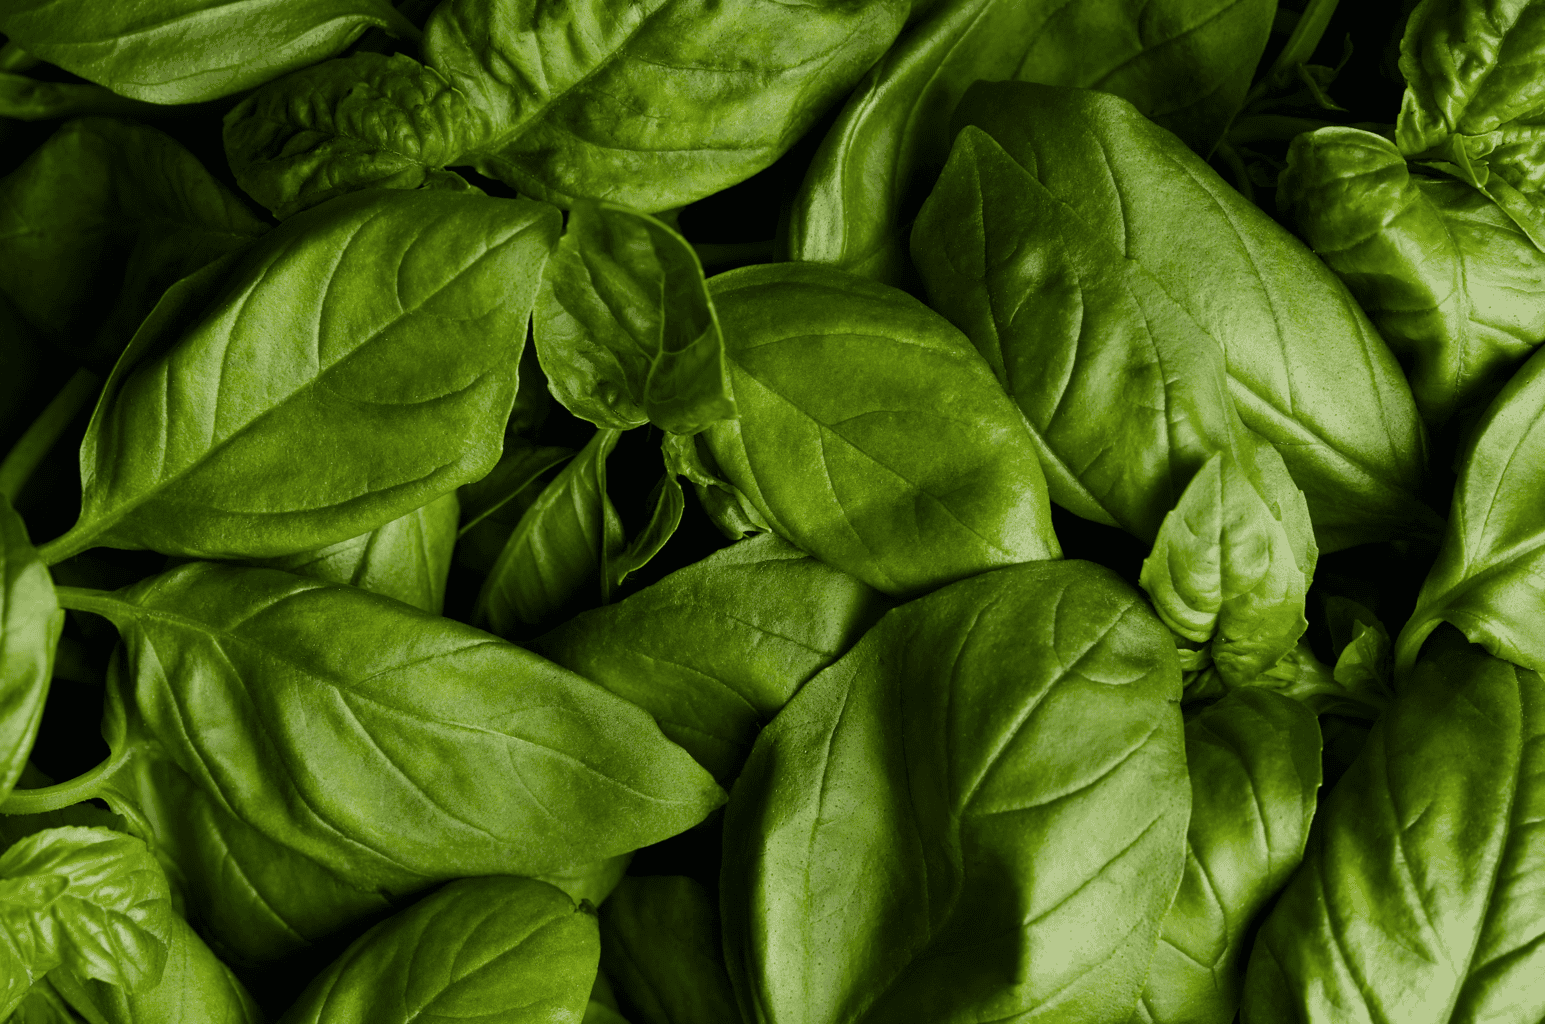
Oregano, thyme and sage all root too, it’ll just be slower, and they do better in a potting mix than in a glass of water.
Rosemary can be done, but it’s definitely more difficult. So honestly, if you do want rosemary, I’d just buy the plant.
Mint can work, too, but it spreads by underground runners and it will take over your entire garden bed. Because of that, I recommend growing it in an above-ground container. Even if you try to sink a bottomless pot into the soil, the mint will just go over the rim of it and spread.
And one quick note: I’ve seen a lot of people ask about cilantro. Cilantro does not root from cuttings.
It’s an annual with a taproot and it is very finicky about having its taproot messed with. Instead, grow cilantro from a seed.
15. PINEAPPLE TOP
Here’s a fun one, but it’ll take time, so you need patience and low expectations from this one.
Pineapple can be regrown, and to do it, twist off the leafy crown, peel away the bottom few leaves to expose an inch or so of bare stem, and let it dry for a day. Then root it in water or plant it straight into a well-draining mix. Roots will take about five to eight weeks.
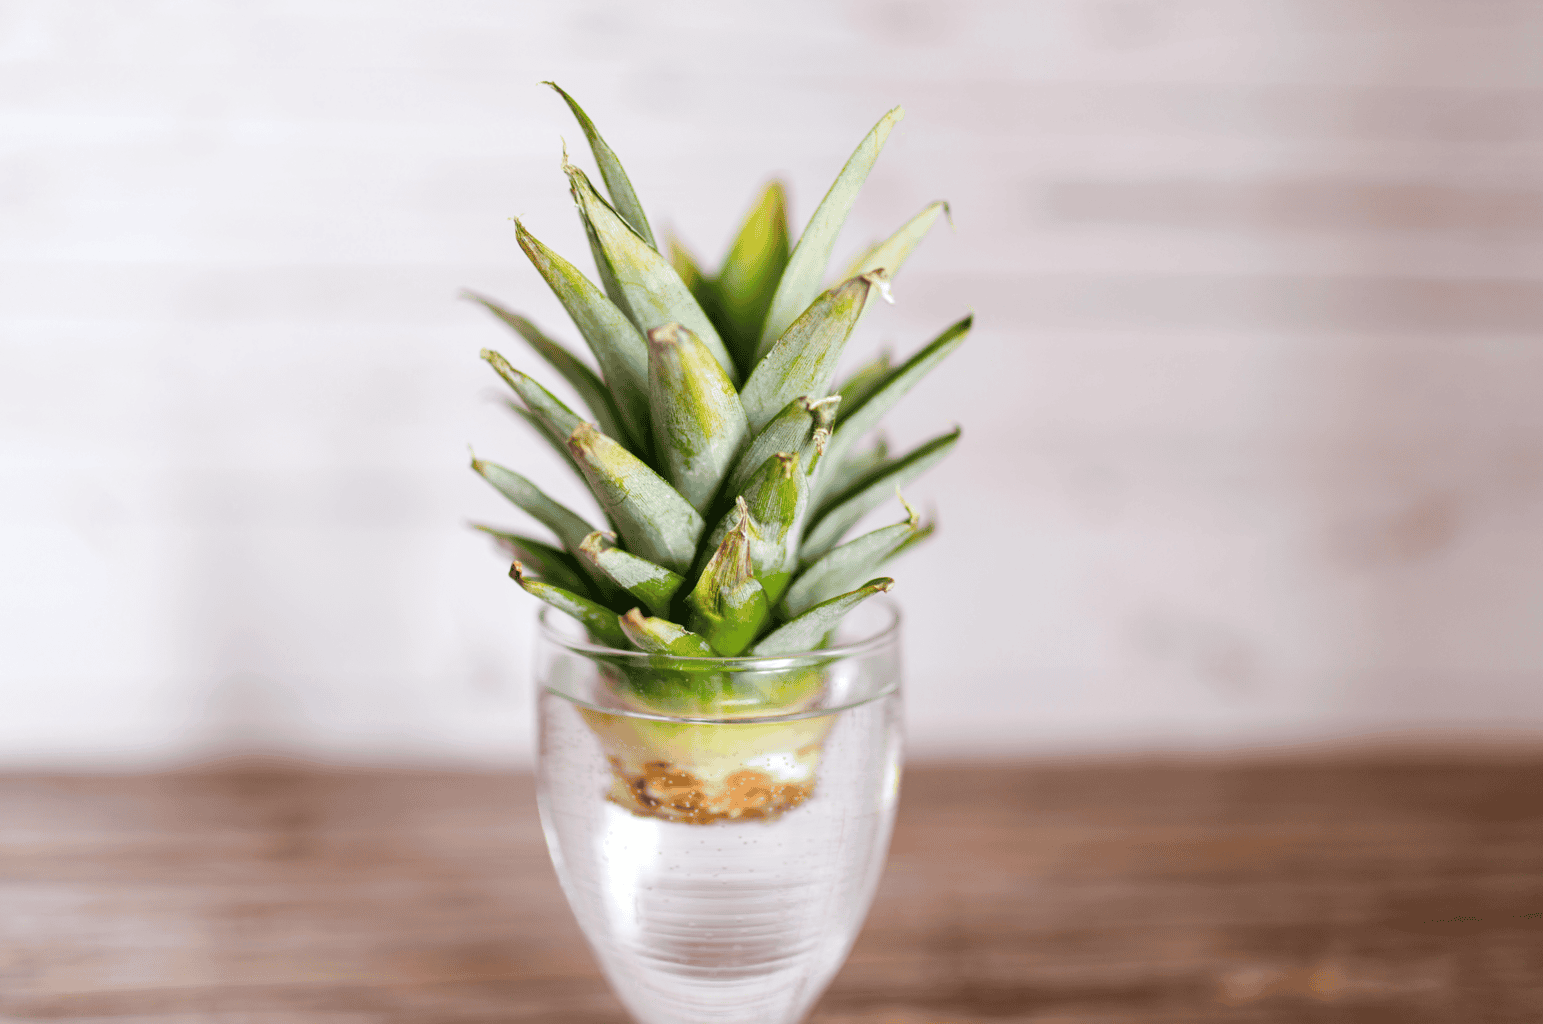
Pineapple makes a great houseplant; it’ll get to three or four feet across.
As far as the timeline, 18 months is the bare minimum I’d say, but probably closer to 24 to 36 months, maybe longer. But the truth is, you can actually force it to flower.
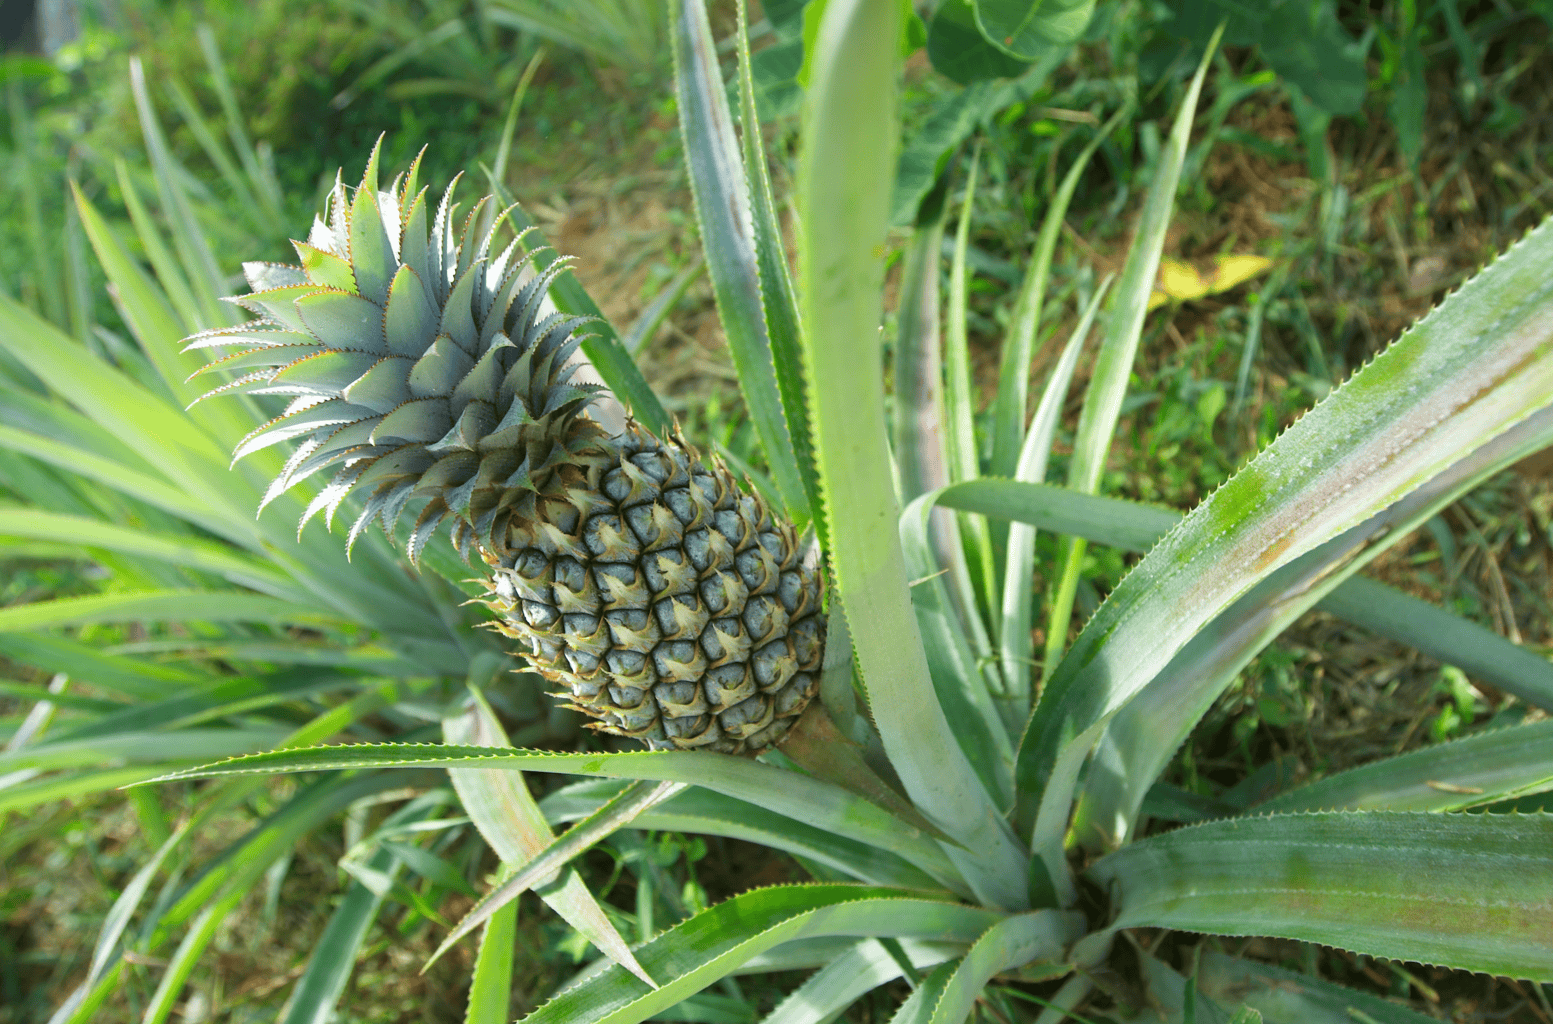
Once the plant is a decent size, just tuck a few slices of ripe apple down into the center of the rosette and cover it loosely for a few days. The apple gives off ethylene, which will trigger the flowering. Neat, eh?
Five to seven months after it flowers, you’ll get a pineapple. You’ll probably get a small one, but a lot of people say they are the sweetest and best pineapples, so it’s worth trying.
THINGS THAT DON’T WORK
Alright, now it’s time to bust some myths. You’ll hear a LOT of things in homesteading groups, but I want to set the record straight about what does and doesn’t work.
CARROTS AND BEETS WILL NOT REGROW A ROOT
I know we covered this already above, but I want to say it one more time because people have been relentless about this.
When you cut the top off a carrot, you’re removing the taproot’s growing point and what’s left can make leaves and fine feeder roots, but not the root. This also goes for beets, turnips and radishes.
ONE ONION WILL NOT BECOME EIGHT ONIONS
This claim is everywhere and it’s just not true. I feel like more and more people are relying on hearsay and AI rather than testing these things themselves, and unfortunately it spreads a lot of misinformation.
With onions, you can plant the base of a bulb onion and you’ll get green shoots. And they are tasty and worth growing, but that’s all you’ll get and they run out after a few months when the stored energy is gone.
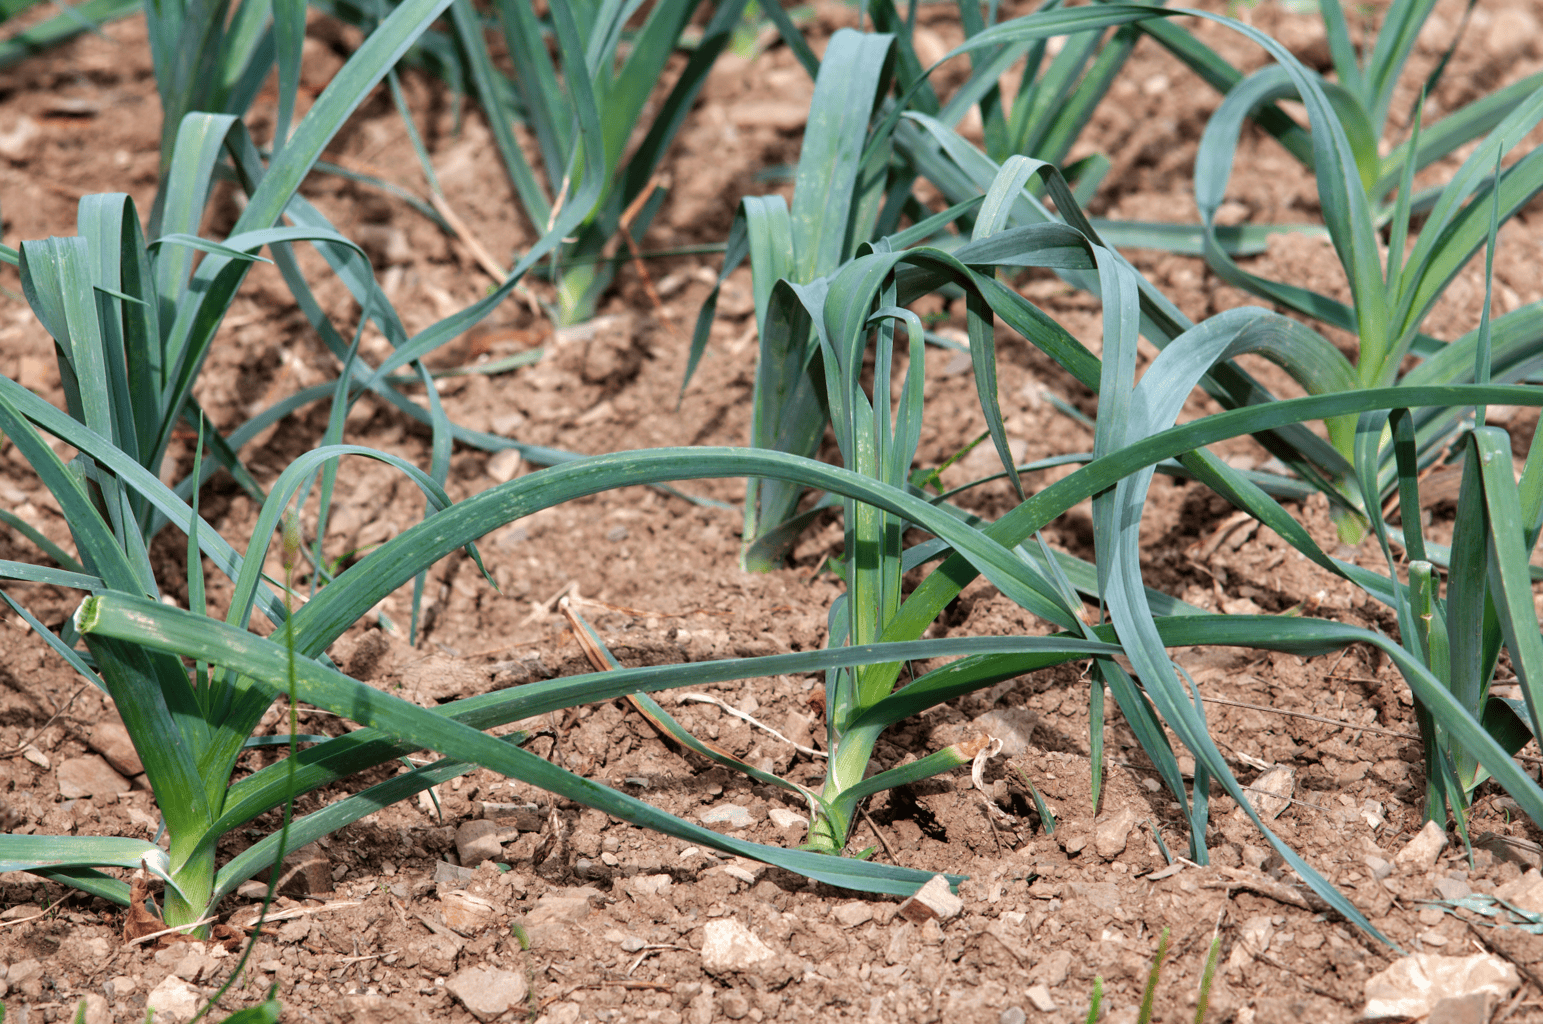
Common onions make one bulb. And a bulb that’s been sitting in cold storage has already been vernalized, so it’s more likely to bolt to seed than to bulb up.
The plants people are thinking of are shallots and multiplier onions. If you give shallots wide spacing, one bulb can produce a cluster of 10 to 15, which is neat.
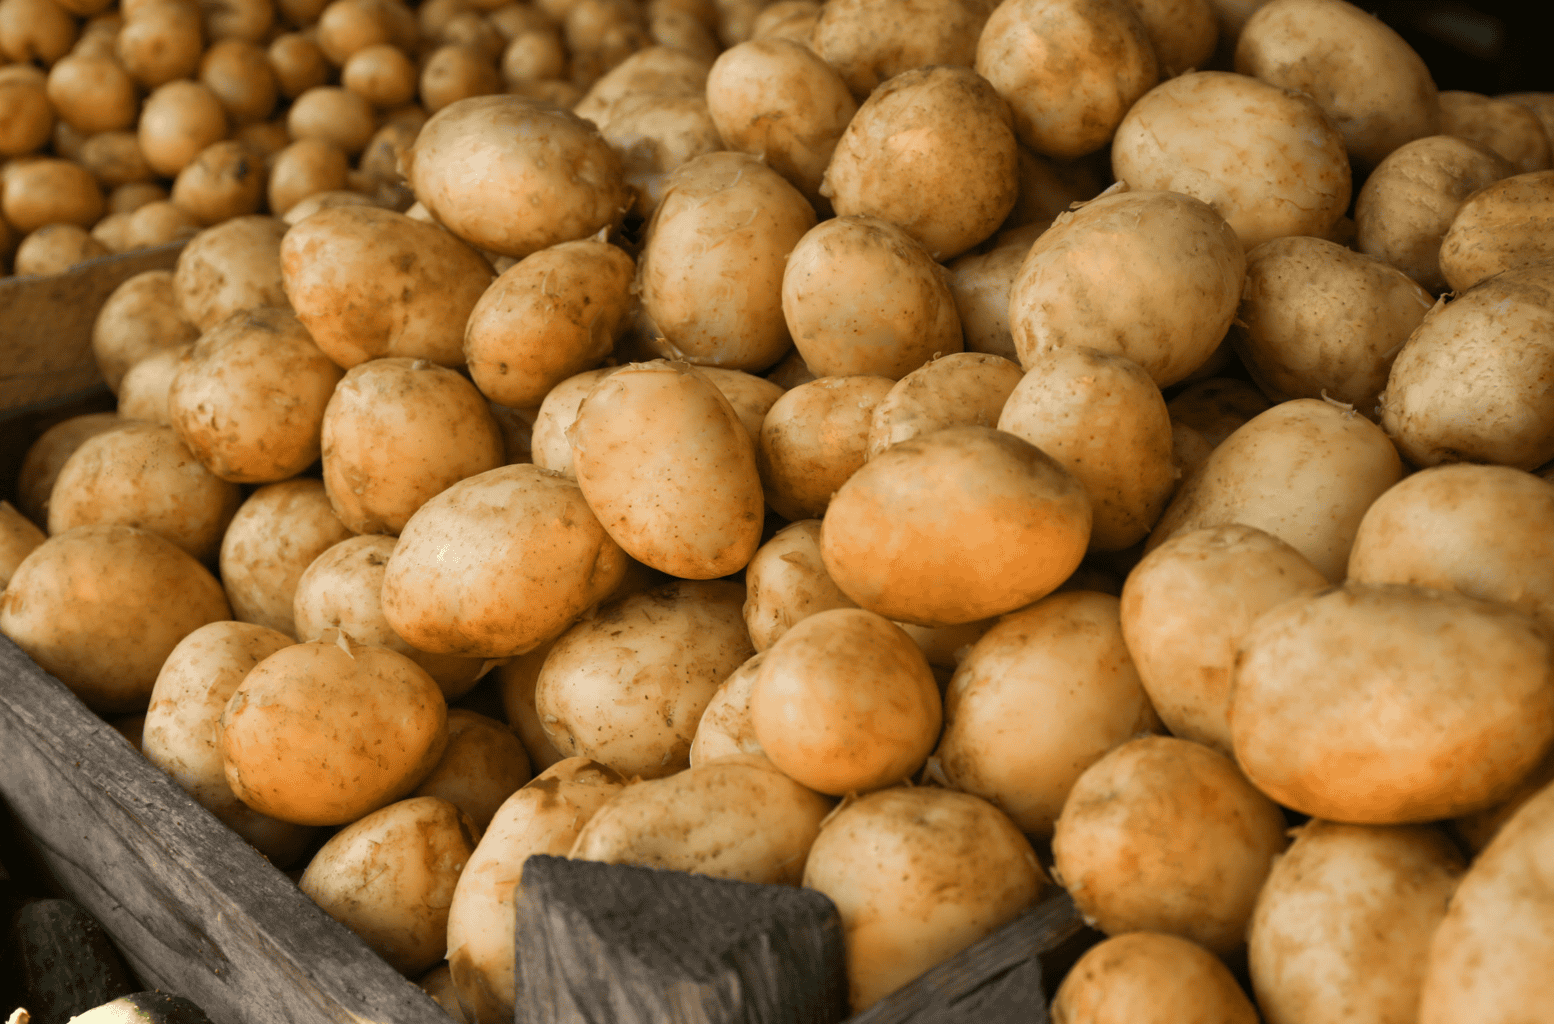
GROCERY STORE POTATOES ARE A GAMBLE, AND THE LEAVES ARE TOXIC
Grocery store potatoes are often treated with sprout inhibitors, but that makes them slow and weak but not dead. You’ll know this is true when you find an old bag of forgotten potatoes in your pantry and the sprouts are out of control haha.
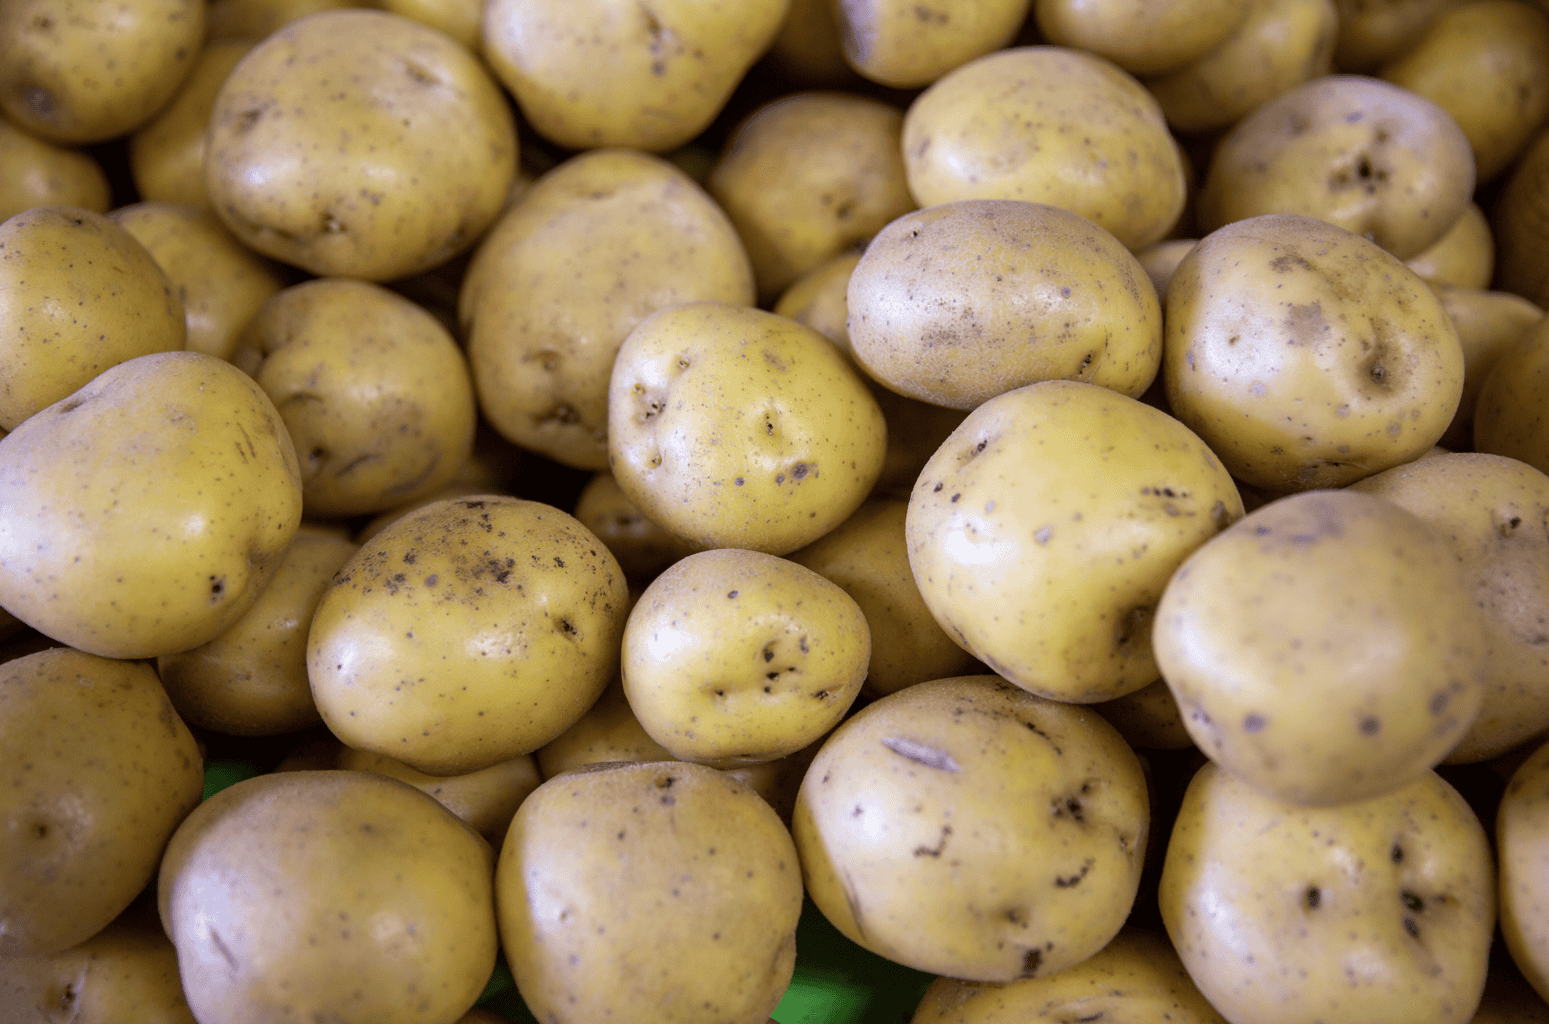
But the real issue is that grocery potatoes can carry late blight, blackleg and ring rot, and once you introduce soil-borne wilt fungi to your bed they can stay there for up to seven years.
That’s why you should buy seed potatoes instead. If you want to plant a sprouted potato anyway, do it in a container with fresh soil and keep it away from where you might be growing tomatoes.
And now about toxicity.. Potato leaves and stems are toxic. All the green parts of a potato plant contain solanine, and according to NC State, the poison severity is high.
NOBODY IS WAXING YOUR LETTUCE TO STOP IT REGROWING
I see this everywhere: scrape the base because it’s been waxed to prevent regrowth. Nope, there’s no evidence for that.
Lettuce and celery aren’t on the list of commonly waxed produce. Not to mention, waxing exists to hold moisture and prevent bruising, and in the US waxed produce has to be disclosed at retail.
It also doesn’t make sense to do it. Regrowth comes from the growing point tucked inside the crown, not from the cut surface, so coating the bottom wouldn’t stop it even if someone did it.
IMPORTED PRODUCE IS NOT SECRETLY IRRADIATED TO KILL THE SEEDS
I just don’t know where people get these conspiracy theories, but they are wrong. Don’t waste your energy.
Irradiation is one of several optional quarantine treatments, and it’s applied only to specific commodities from specific origins. Importers also have the option to use fumigation or cold treatment instead.
The doses used are calibrated to stop insect pests from emerging, but not to sterilize seeds. And in the US, irradiated food has to carry the Radura symbol and a “treated with radiation” label. It’s the law.
When grocery store seeds don’t grow, the reason is almost always because the fruit was picked underripe, or it’s a hybrid, or it’s a variety bred to be seedless.
FRUIT TREES FROM SEED TAKE DECADES
Avocado pits sprout beautifully and make a nice houseplant, but they also take 5 to 12+ years to fruit.
And a seedling from a Hass pit will not be a Hass, because that seed came from cross-pollination. Commercial trees are grafted for this reason. And if you’re in a cold climate, treat yours as a houseplant instead.
Apples are the textbook example of not coming true from seed. Seeds from a Granny Smith give you a cross between Granny Smith and whatever pollinated it, and the odds of getting something that tastes like the parent apple are slim.
Citrus is an interesting exception. Most citrus seeds are polyembryonic meaning they contain extra embryos formed from the mother plant’s own tissue, which are clones of her.
So an orange seedling often is true to type, but you’ll be waiting up to a decade for fruit.
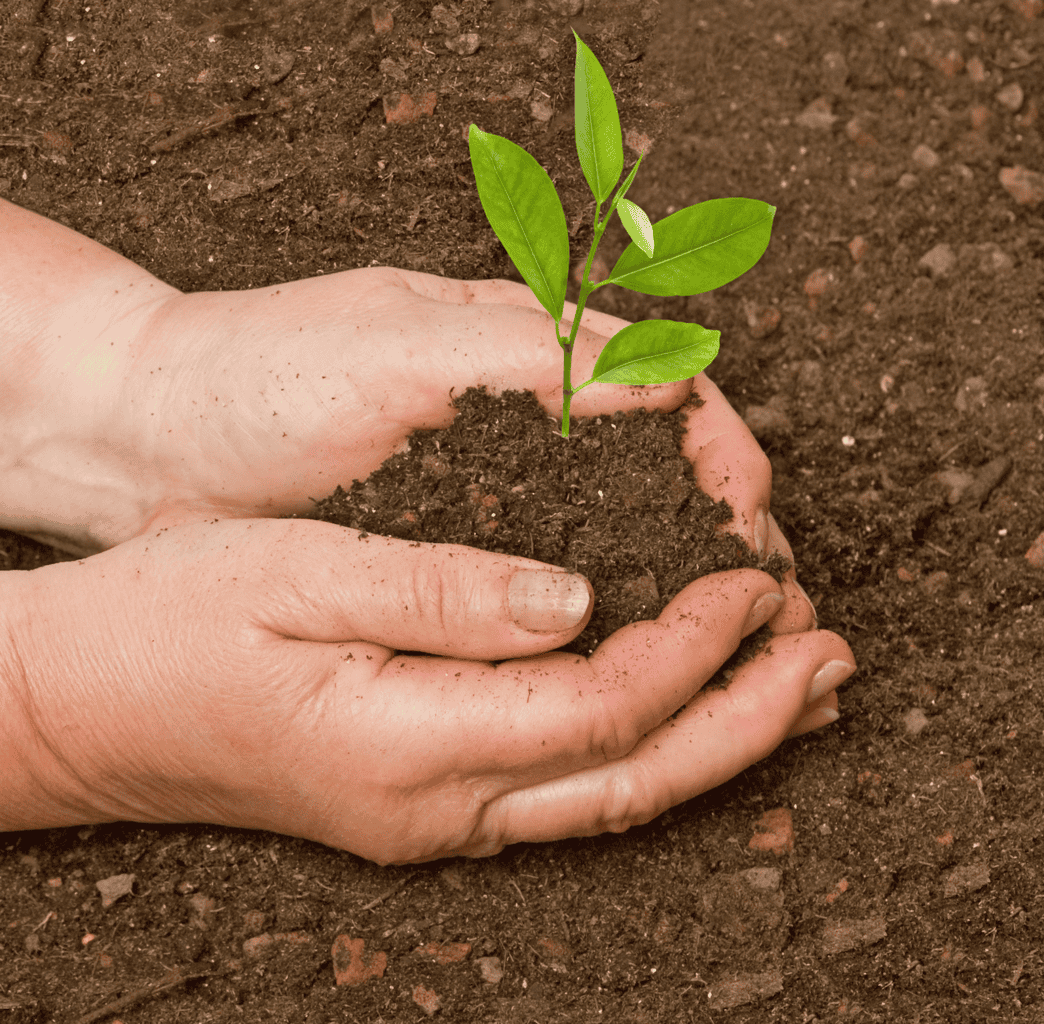
Another interesting one.. kiwi needs a male and a female plant to fruit, and you won’t know the sex of a seedling until it flowers years later. If you’re using a known female cutting with a male nearby, you’ll still be waiting for at least 3 years.
A SAFETY NOTE ABOUT SQUASH SEEDS
If you save seeds from squash or pumpkins, know that cucurbits cross-pollinate readily and crossing with wild or ornamental gourds can produce fruit with dangerous levels of cucurbitacins. It’s uncommon but it causes vomiting and cramping.
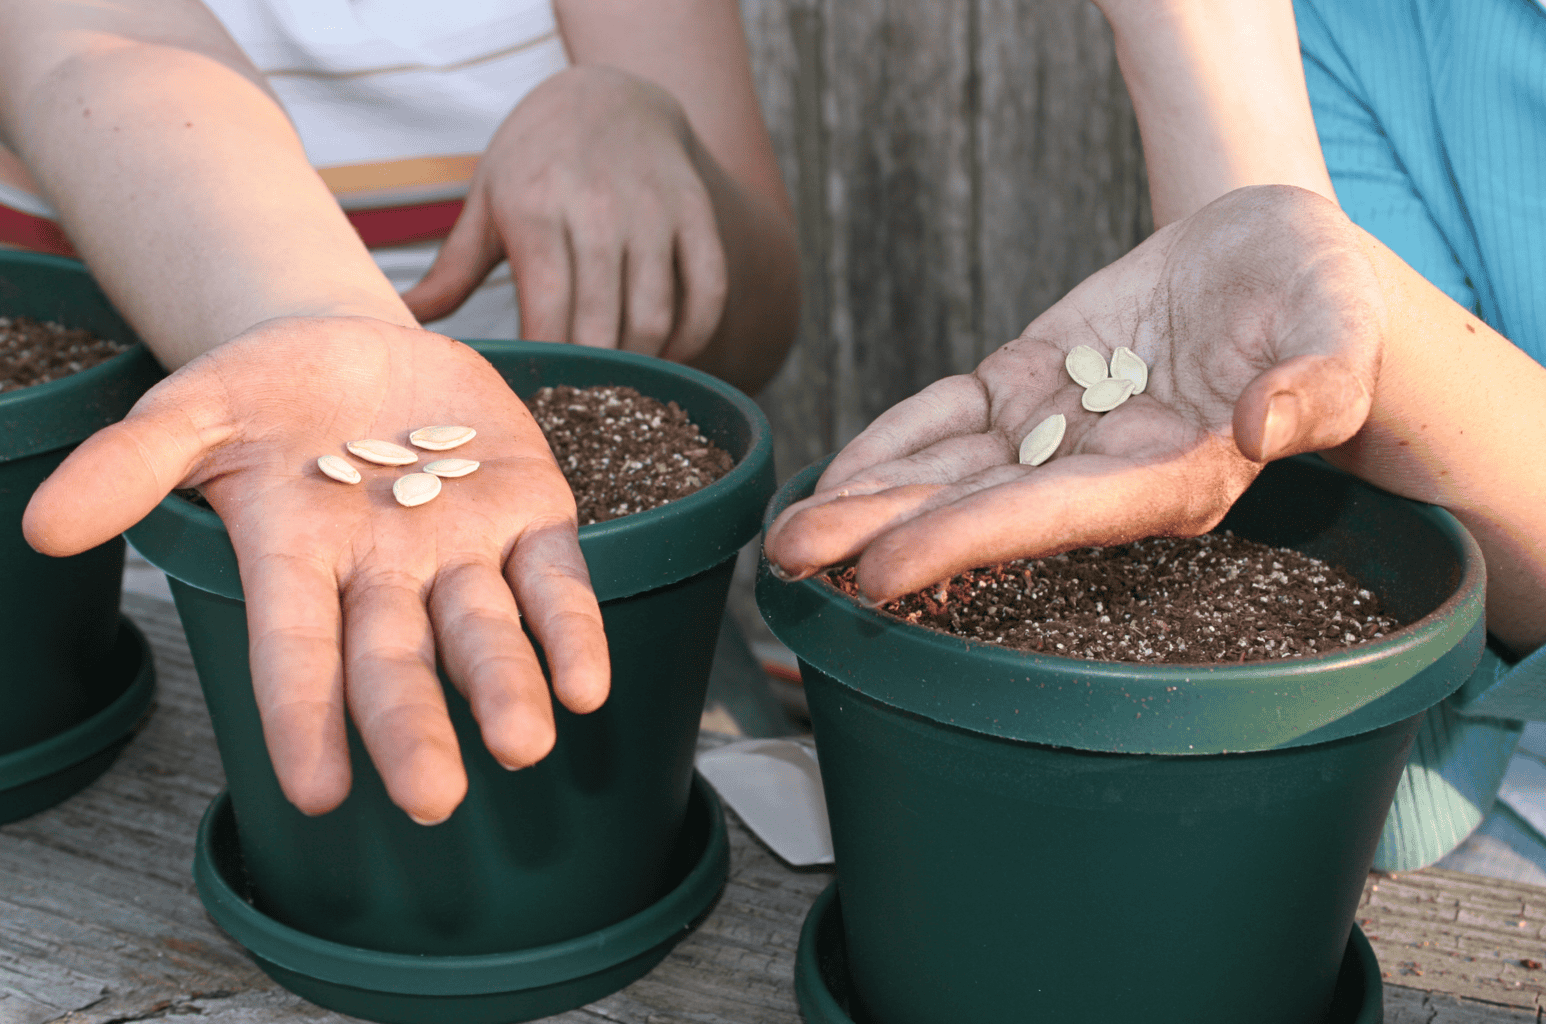
So, taste a small bite first. If it’s bitter, spit it out and throw the whole thing away. If it’s bitter, eat it.
WHAT SHOULD YOU REGROW?
The easiest are green onions, sweet potatoes and garlic.
Green onions work for instant gratification, sweet potatoes work for the volume that you’ll get, and garlic is for the return on just one clove. Start with these options first before jumping into the others.
That said, the ones that only give you leaves are still worth it. Beet greens, carrot tops, and celery leaves are foods you typically pay for and throw away when you don’t use it all. So you might as well try regrowing.
Happy gardening and homesteading!
