
We’ve seen the sourdough community grow rapidly over the past 6 years, and I’m thrilled for it. But with the growth I’ve seen a lot of countering opinions and bad advice. Of course, that comes with the territory. And although I love to hear input from others, I think it’s important to sort out what’s right and wrong so that people can understand the hobby better and bake better sourdough.
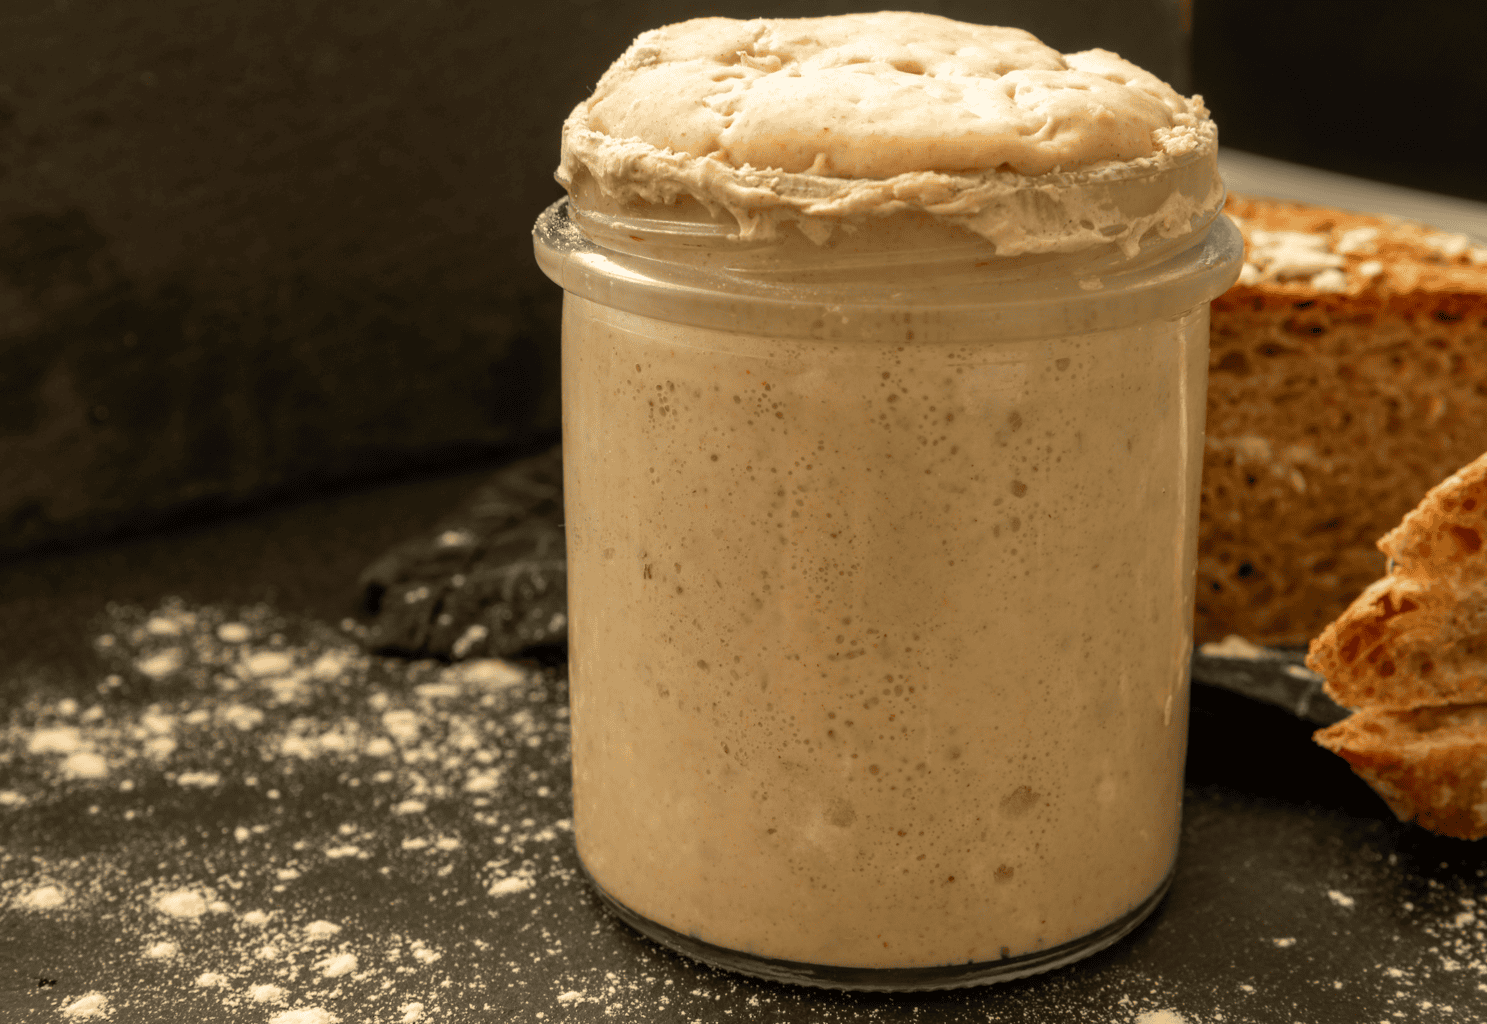
With any good sourdough loaf comes sourdough starter. The ingredients for starter are simple, so it’s not the complexity of the recipe that gets a lot of beginners tripped up. It’s the skill itself.
I’ve seen countless people throw away a perfectly good starter because they thought it was dead, or bake a brick of a loaf with a starter that wasn’t ready to bake in the first place.
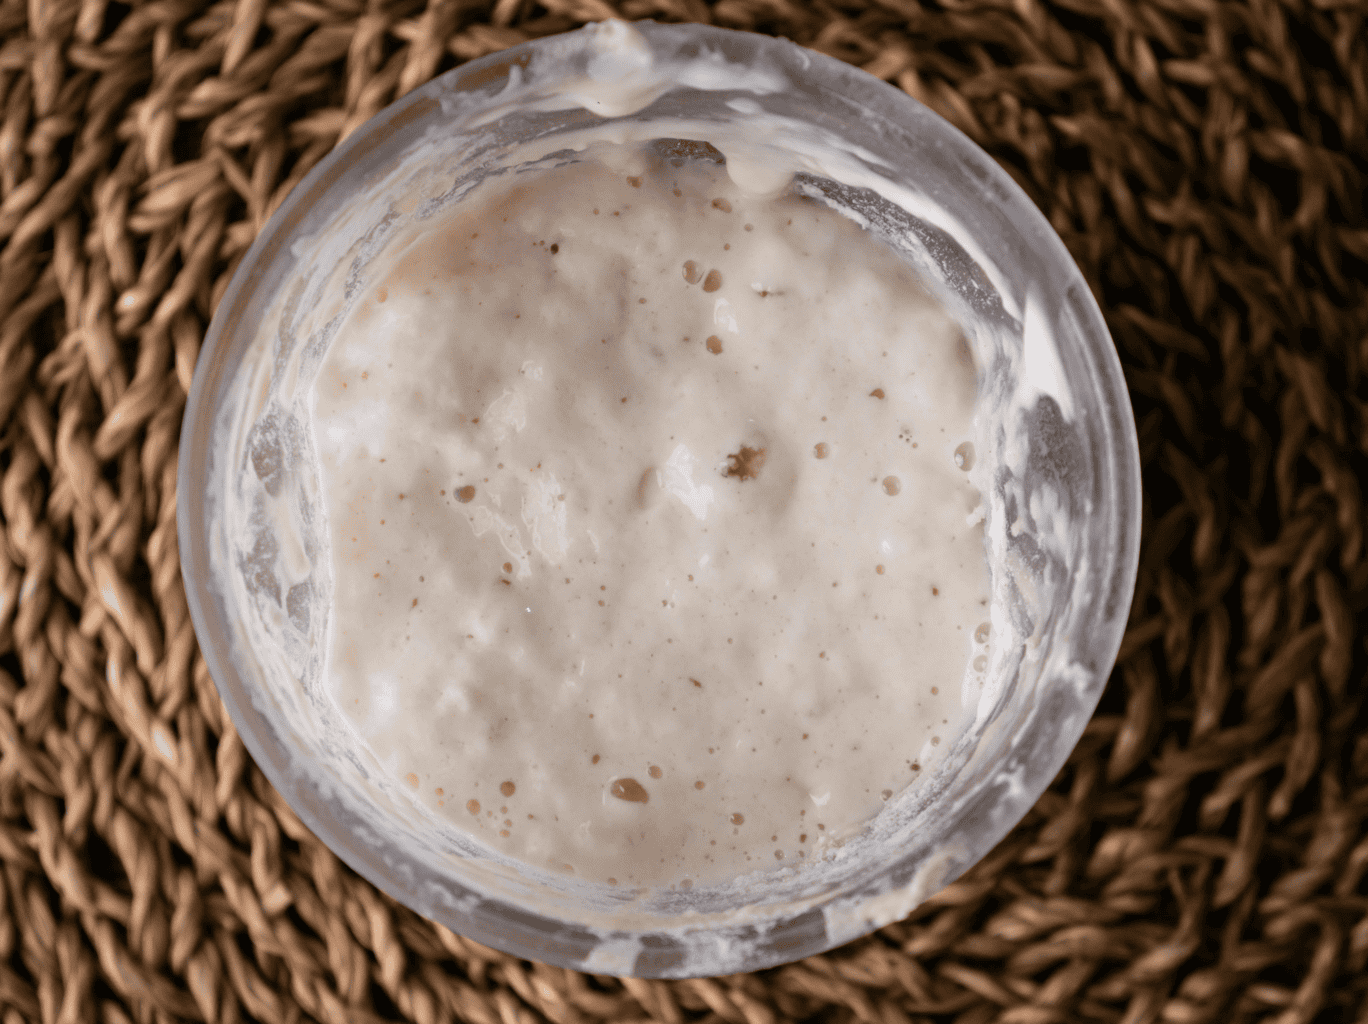
So let’s go through each right and wrong below. Here are 15 things beginners tend to get wrong and what you should do instead.
Bubbles Don’t Mean It’s Ready
❌ WRONG: You see bubbles in the jar and decide your starter is ready
✅ RIGHT: Waiting until it completely doubles in size after a feeding.
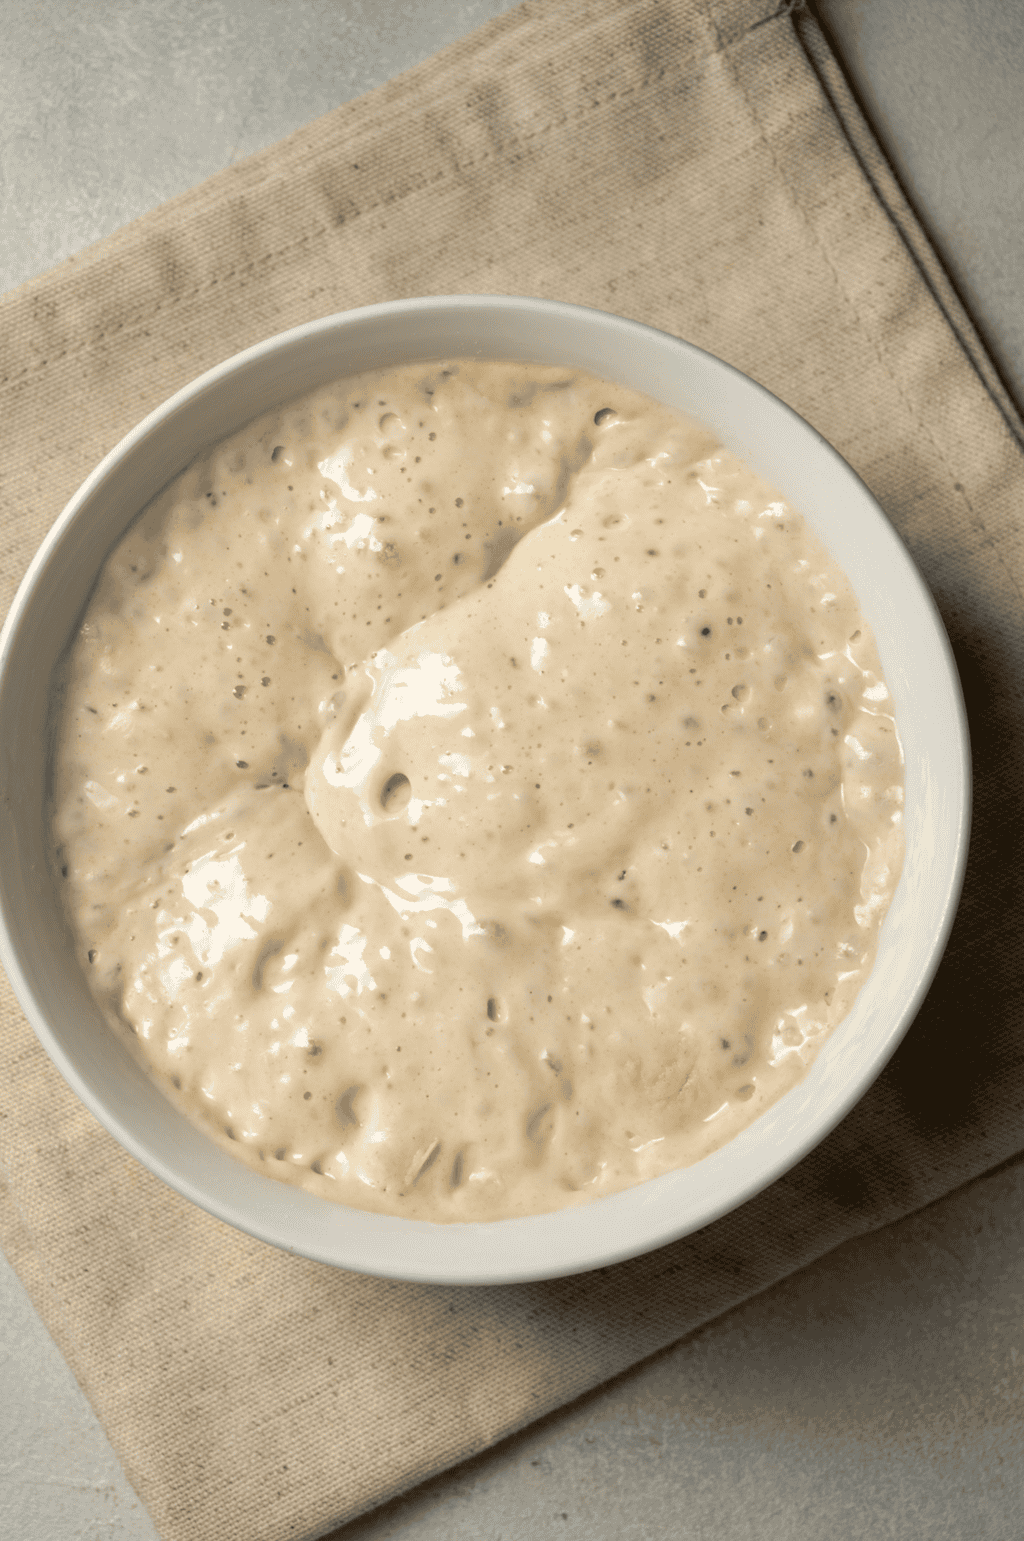
This is a major one. A lot of newcomers believe that bubbles mean your starter is ready, but really bubbles just show that something is happening in there. It does not mean the yeast is strong enough to lift a loaf of bread.
On the other hand, if your starter can double itself in the jar, it can double your dough. Typically a starter that only bubbles usually gives you a pretty flat and dense loaf.
A rule of thumb is that your starter is ready when it’s bubbly and doubling in volume within about 6 to 8 hours of feeding, but this should be consistently and not just once. If yours hasn’t double, it isn’t finished yet, so keep feeding it.
Measuring By Cups Instead of Weight
❌ WRONG: Scooping flour with measuring cups and eyeballing the water.
✅ RIGHT: Using an inexpensive kitchen scale and feeding it by weight.
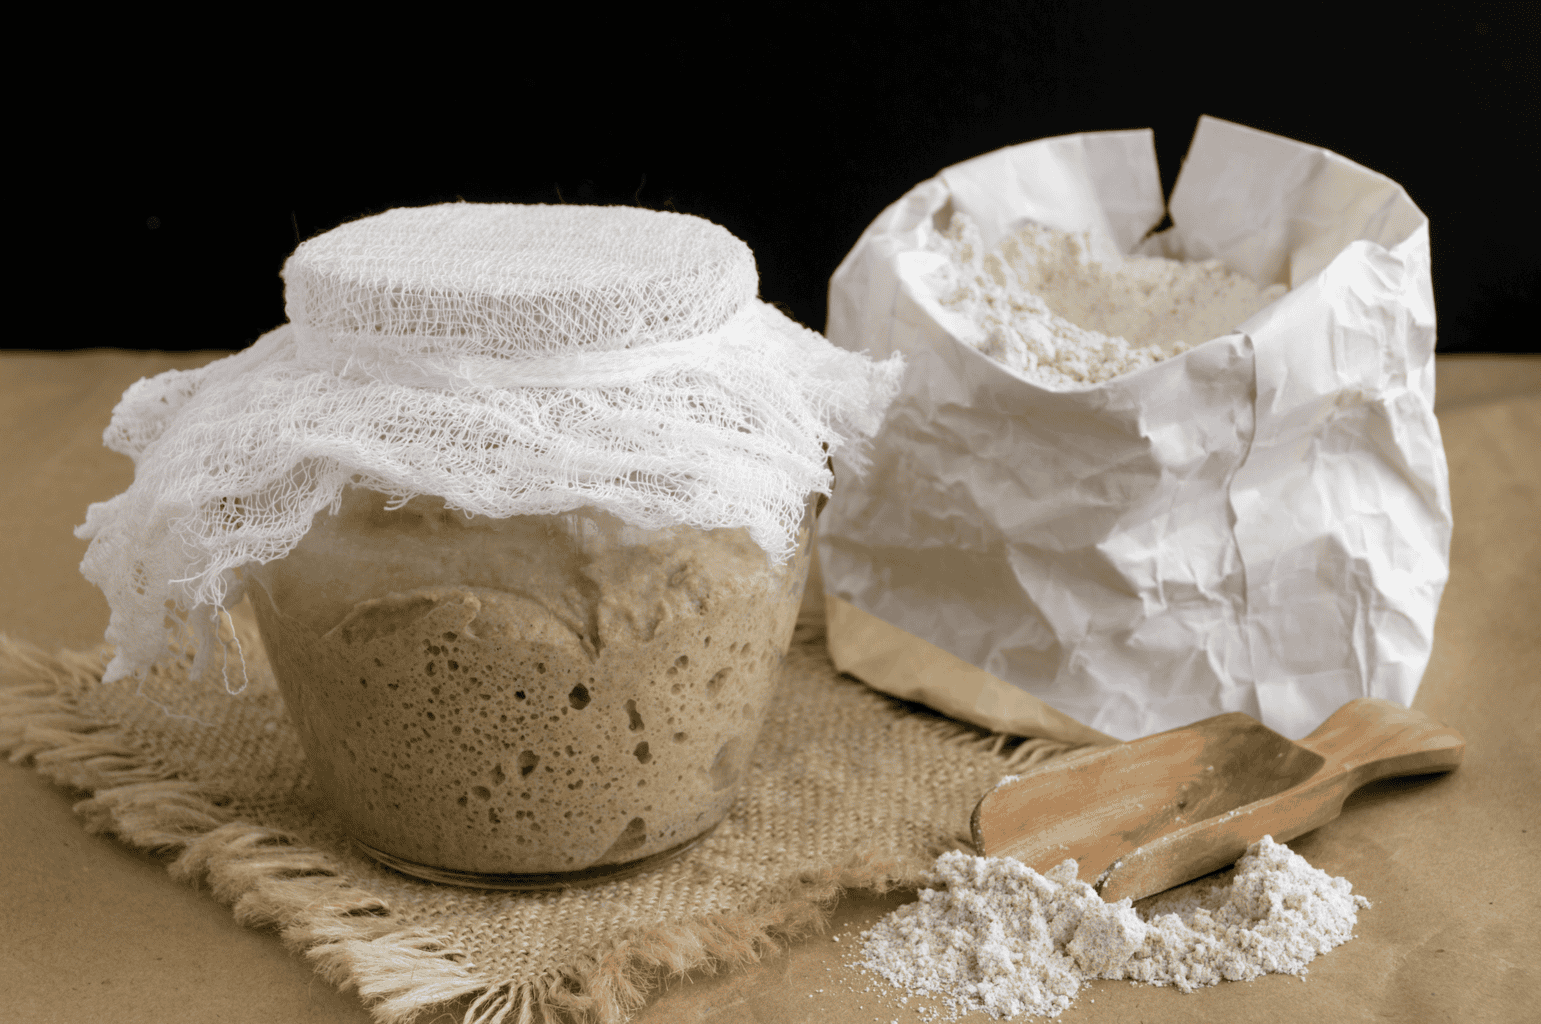
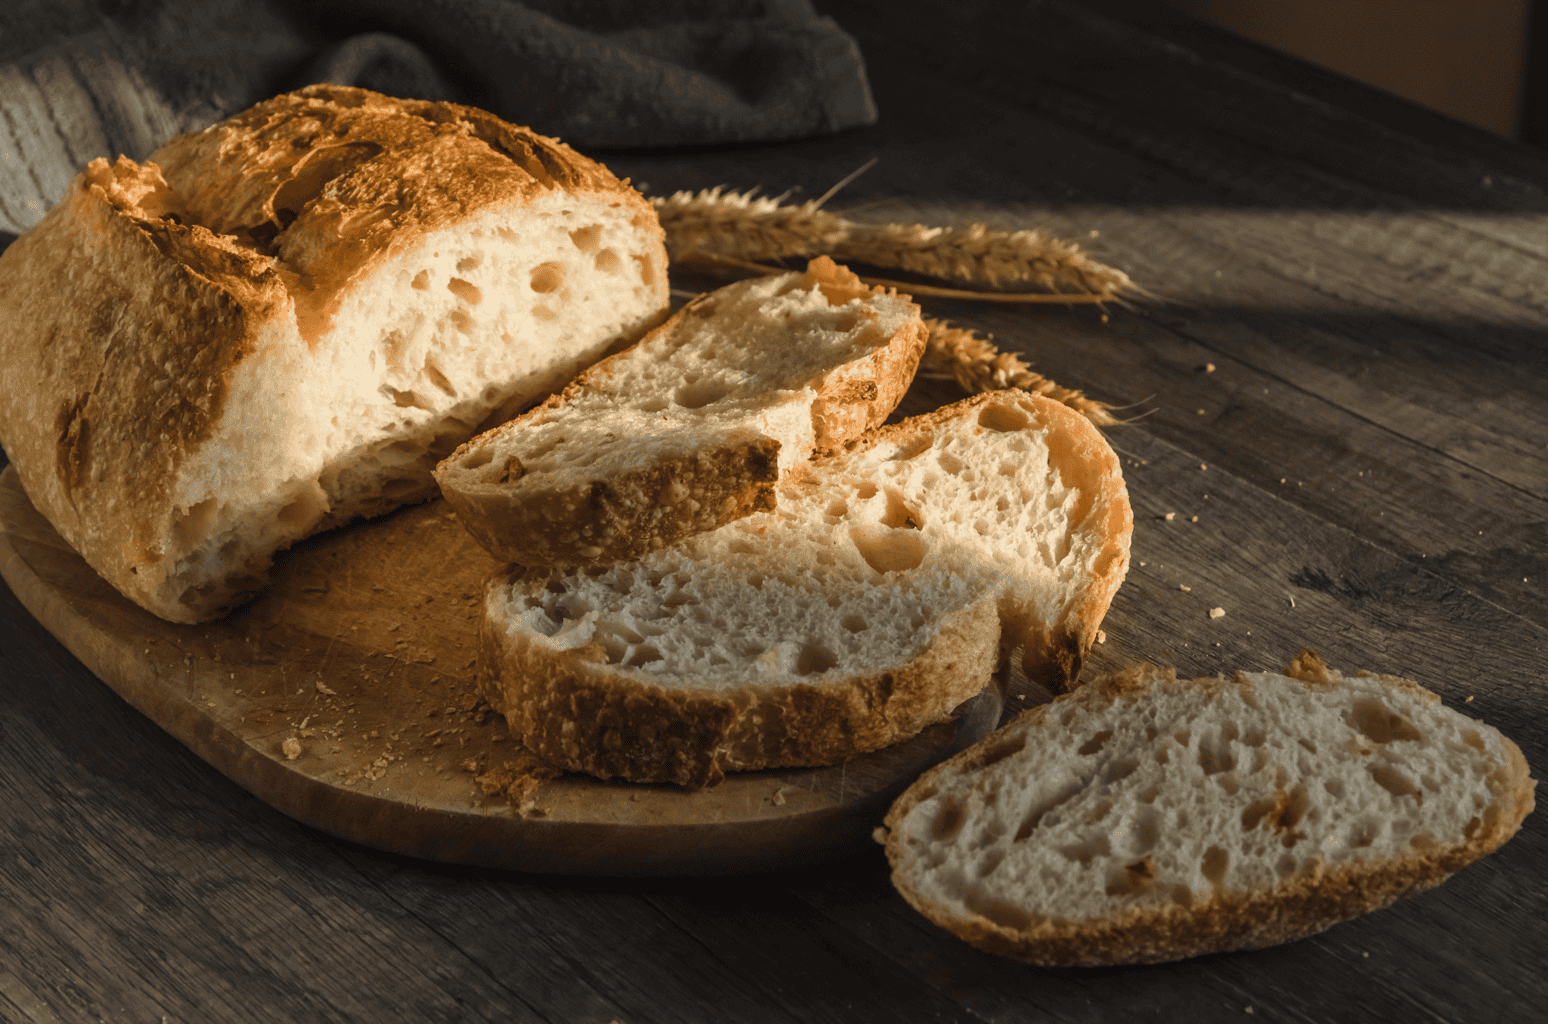
A cup of flour can vary a lot depending on how you scoop it, whereas a scale can give you exacts and make your feedings a whole lot easier. Ratios are your friend when it comes to sourdough, so use your scale based on the following:
- 1:1:1 means 20 grams starter + 20 grams flour + 20 grams water
- 1:2:2 means 25 grams starter + 50 grams flour + 50 grams water
Keeping Way Too Much Starter In The Jar
❌ WRONG: Letting a big jar of starter grow and grow, and then feeding it a small amount every day.
✅ RIGHT: Keeping only a small amount and giving it a big feeding.
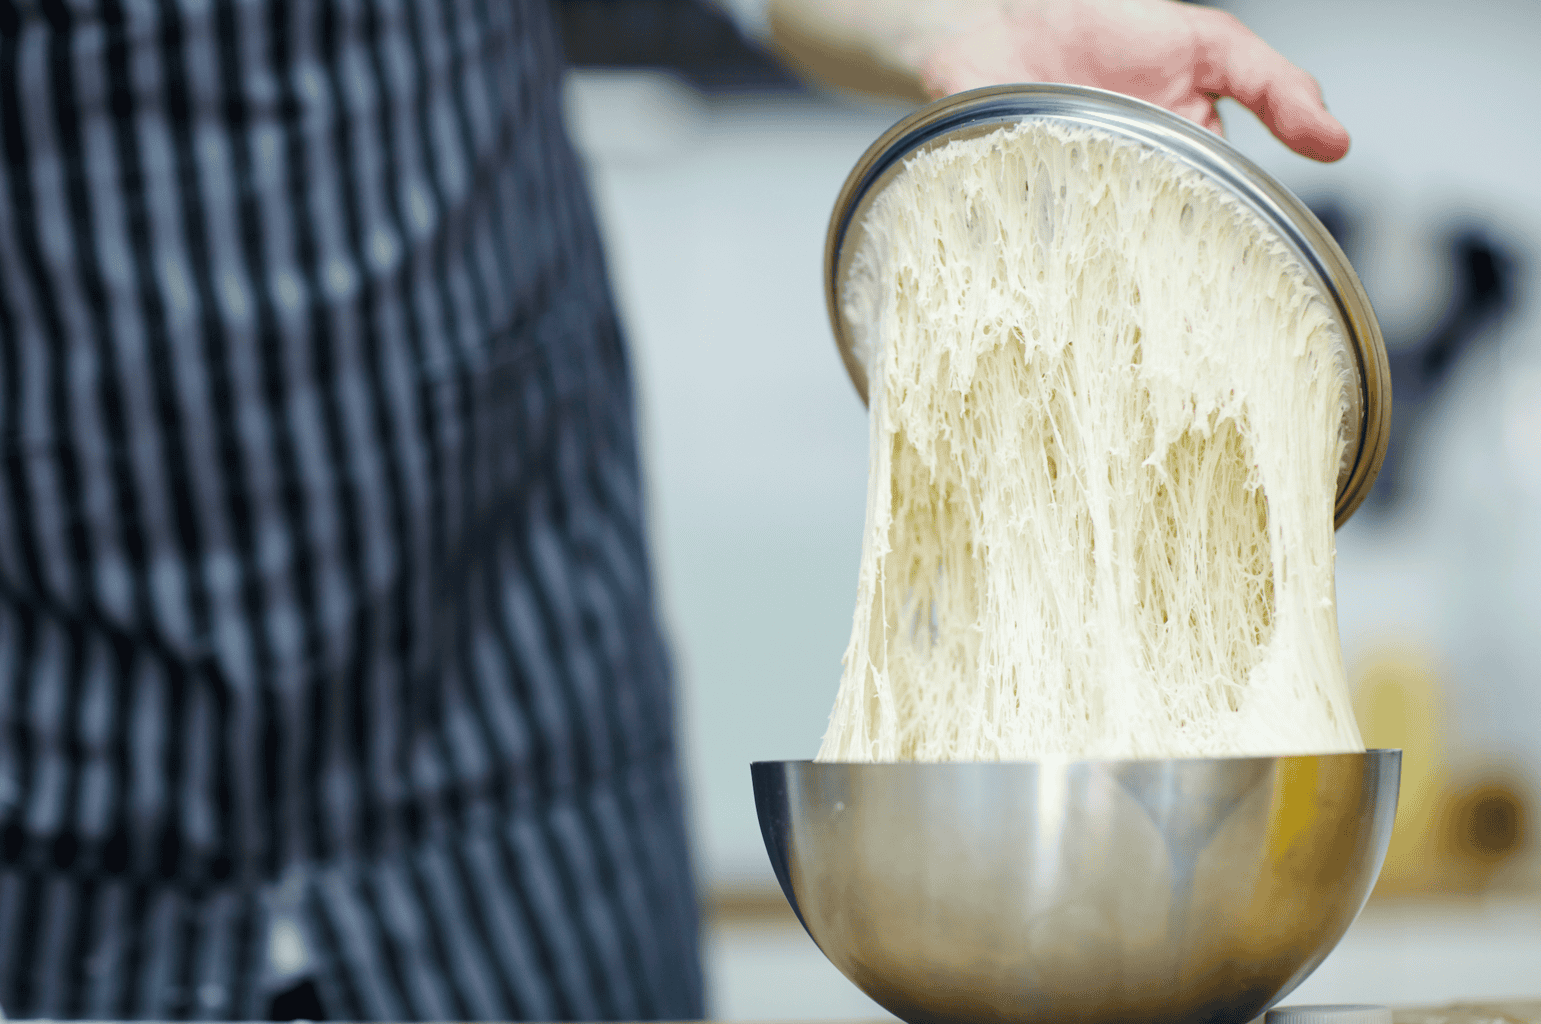
A lot of starters that were once in great shape go bad because of this very reason.
If you have a bunch of starter and only give it a small amount of fresh flour and water, you’re not giving it enough. There just isn’t enough food to feed everything. Therefore the yeast can’t grow enough to double, and the whole batch will slow down.
To reset this, take about 25 grams in a jar and put the rest to the side. That first batch of 25 grams should be fed with 50 grams of flour and 50 grams of water.
Your once-sluggish starter will then bounce back within a day or two.
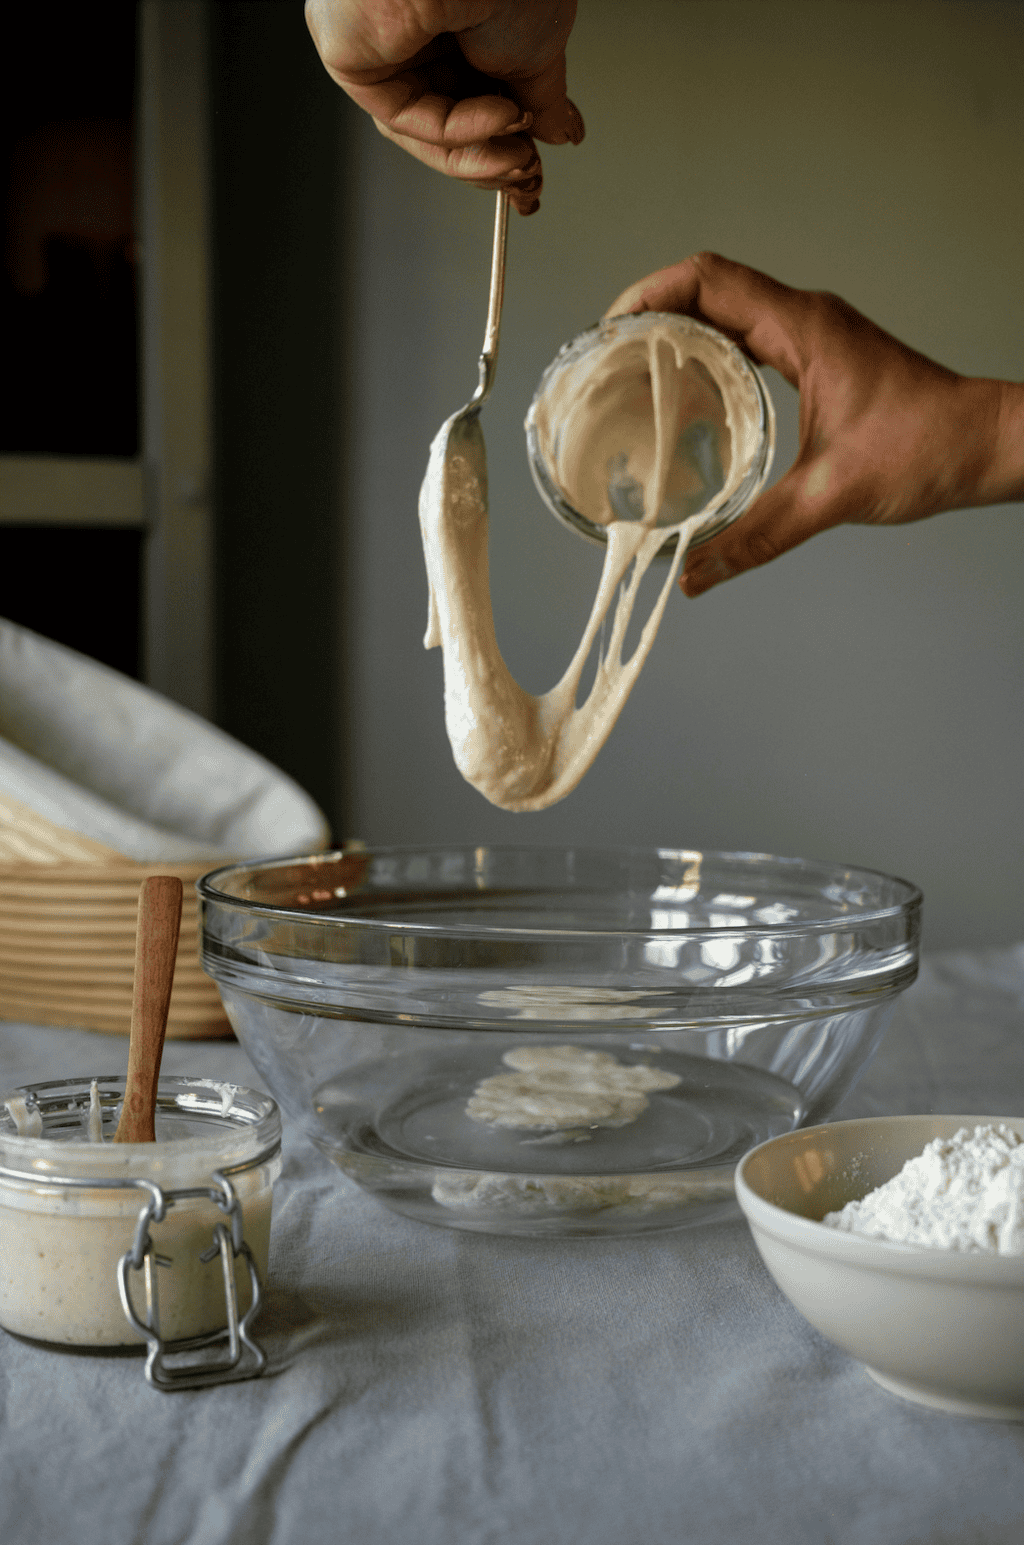
If you’re worried you won’t have enough for baking, you can always build it up. You can do that the night before baking by feeding a small amount of starter a bigger feeding (like 20 grams starter with 50 grams each of flour and water) and you’ll have plenty of enough for your recipe, and maybe a little to keep.
Panicking When a New Starter Stops
❌ WRONG: Throwing out a brand new starter because it bubbled like crazy on day 2 or 3, then went flat.
✅ RIGHT: Knowing that this is a the “false start” and continuing to feed it.
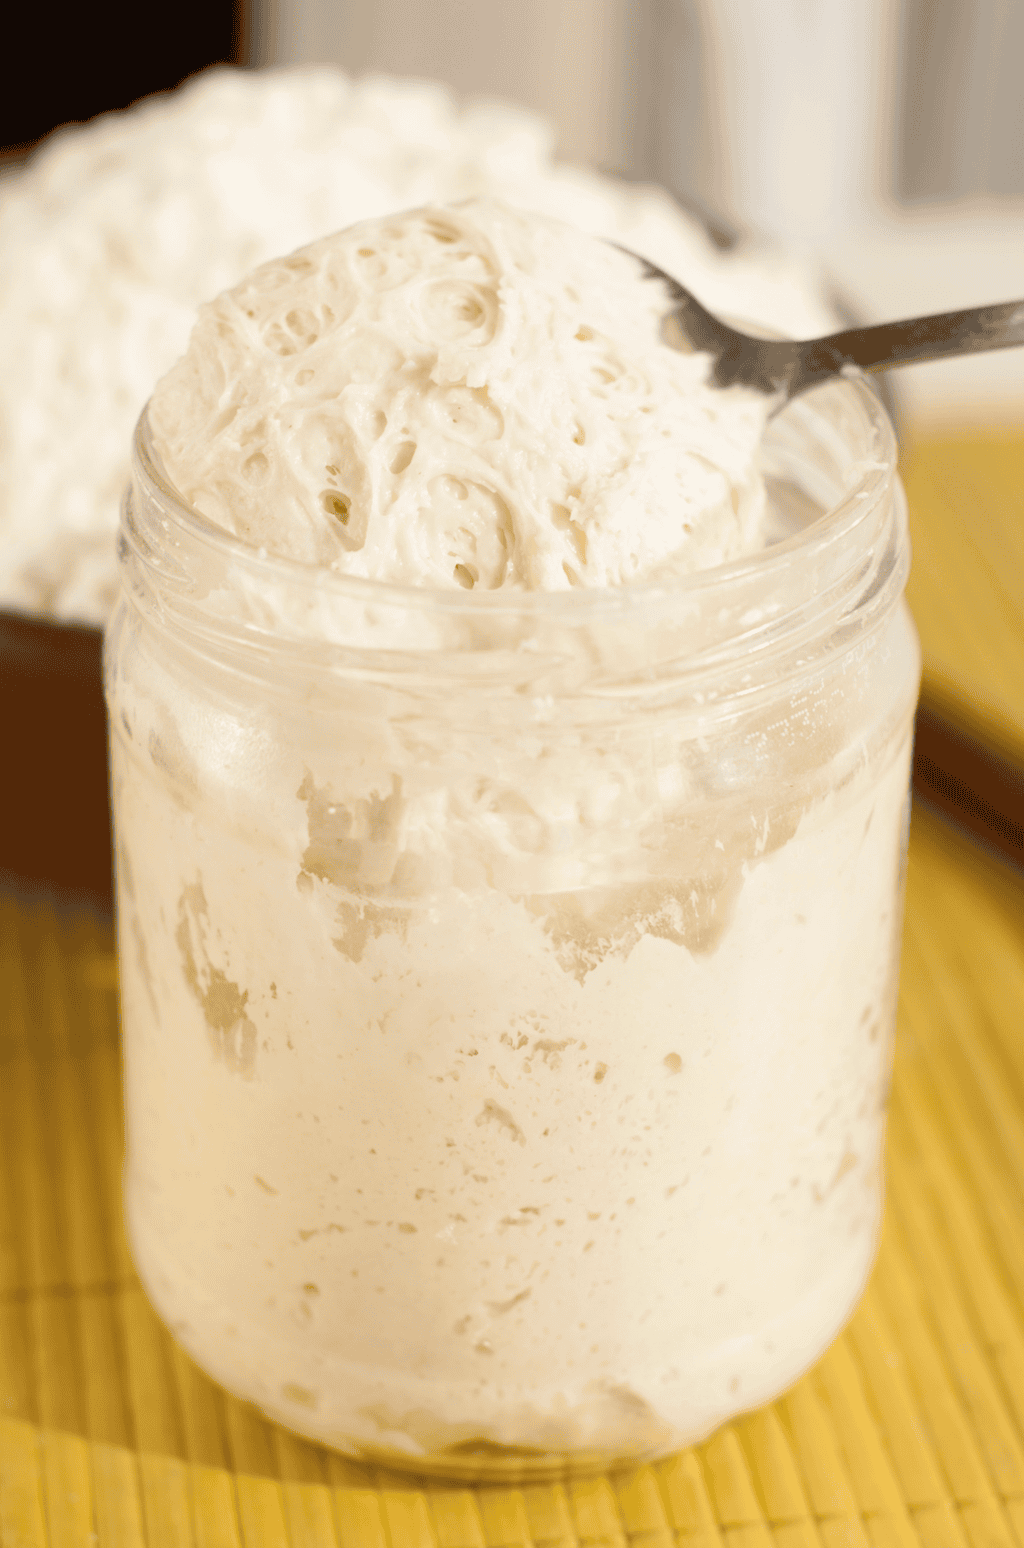
This certainly caught me the first few times. Within the the first few days, bacteria (which lives naturally on grain) starts to produce a lot of gas. So, your starter may double and even triple in size, and you’ll think, “oh heck yeah, I nailed it!”
Then around day 4 or 5, it gets flat and stops bubbling. And that’s because your jar becomes more acidic and the bacteria will die off. This is totally normal and it’s actually what you want to happen because the yeast and acid bacteria that you want to stick around will start to take over the starter. The yeast and acid bacteria grow more slowly, which is why it takes a bit longer.
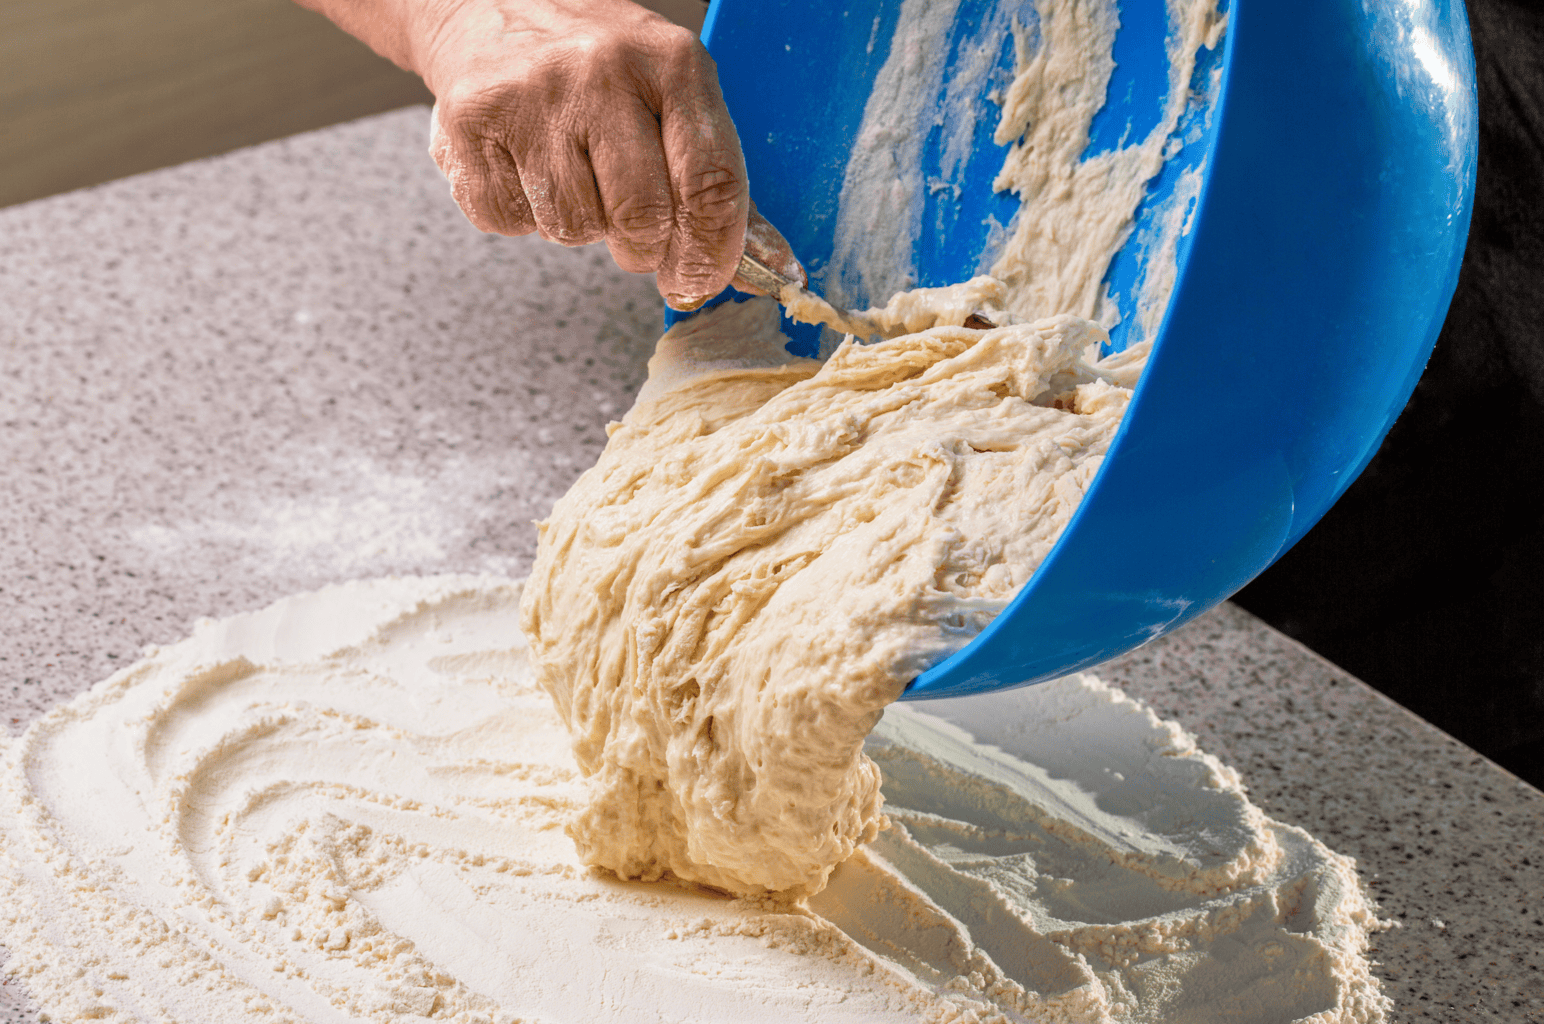
So if this happens to you, and it almost always does, just keep feeding it. Most starters will take anywhere from 7 to 14 days to become ready, and some take even longer.
Using Your Starter After It Already Collapsed
❌ WRONG: Letting your starter rise and fall all the way back down.. then mixing it into your dough.
✅ RIGHT: Using it at its peak, or just barely after.
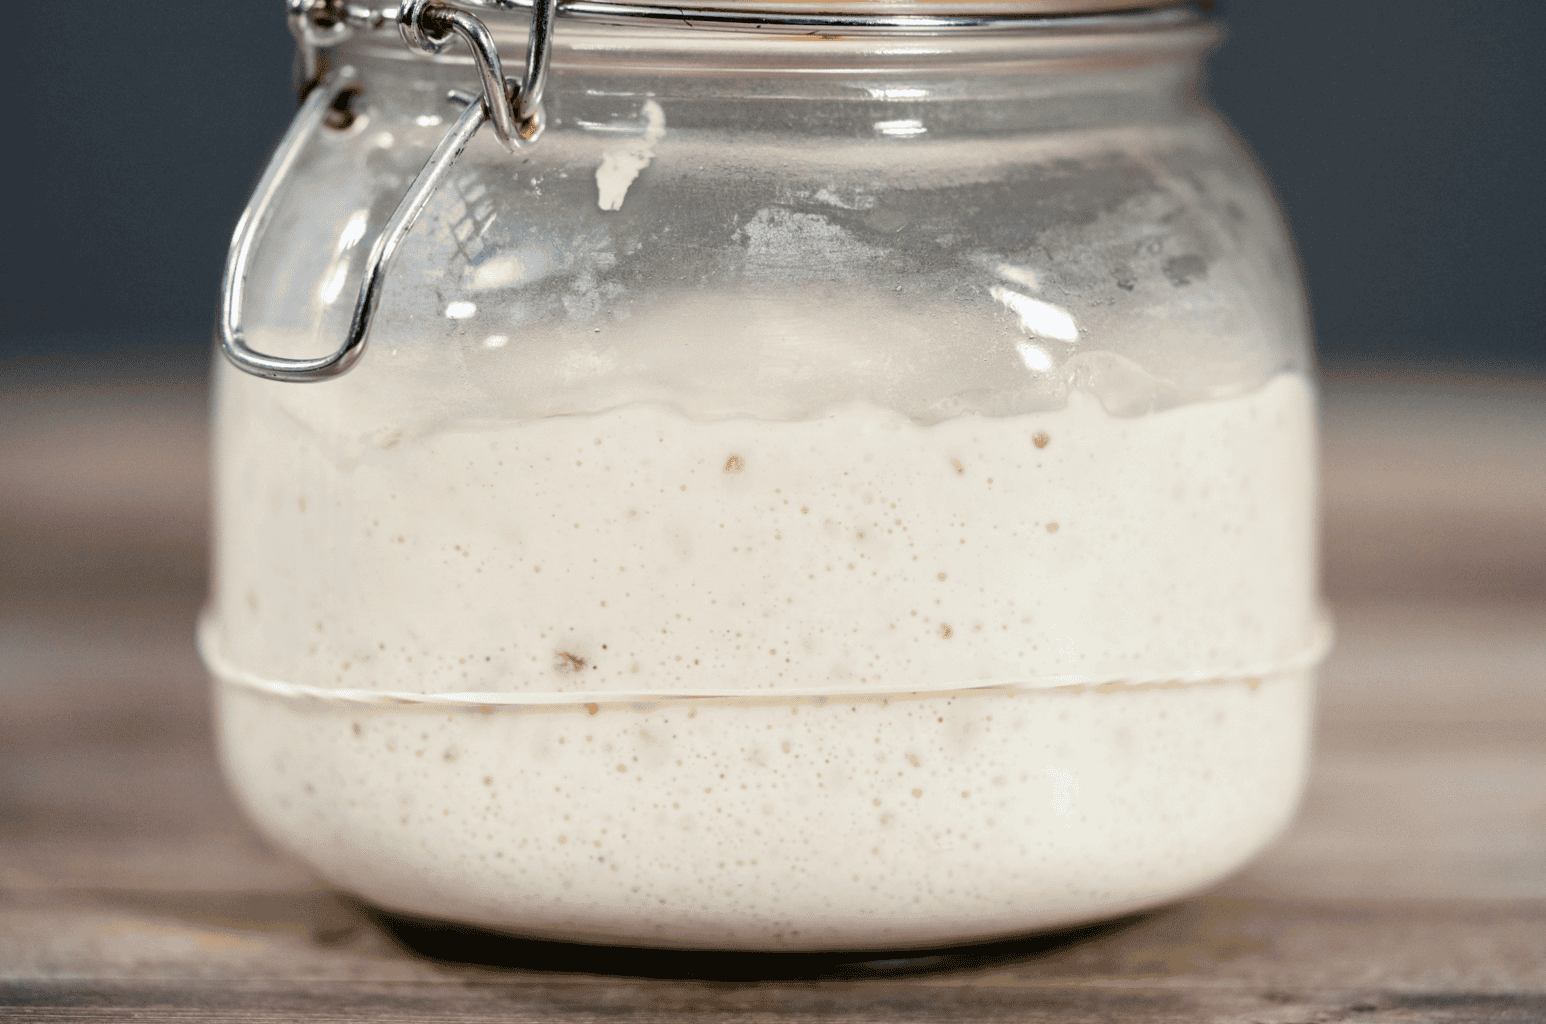
A healthy starter will rise, puff into a domed top, and then eventually it’ll run out of food and sinks after a feeding. Therefore, the sweet spot for using it to bake is at or near that high point. That’s when it’s light and full of gas.
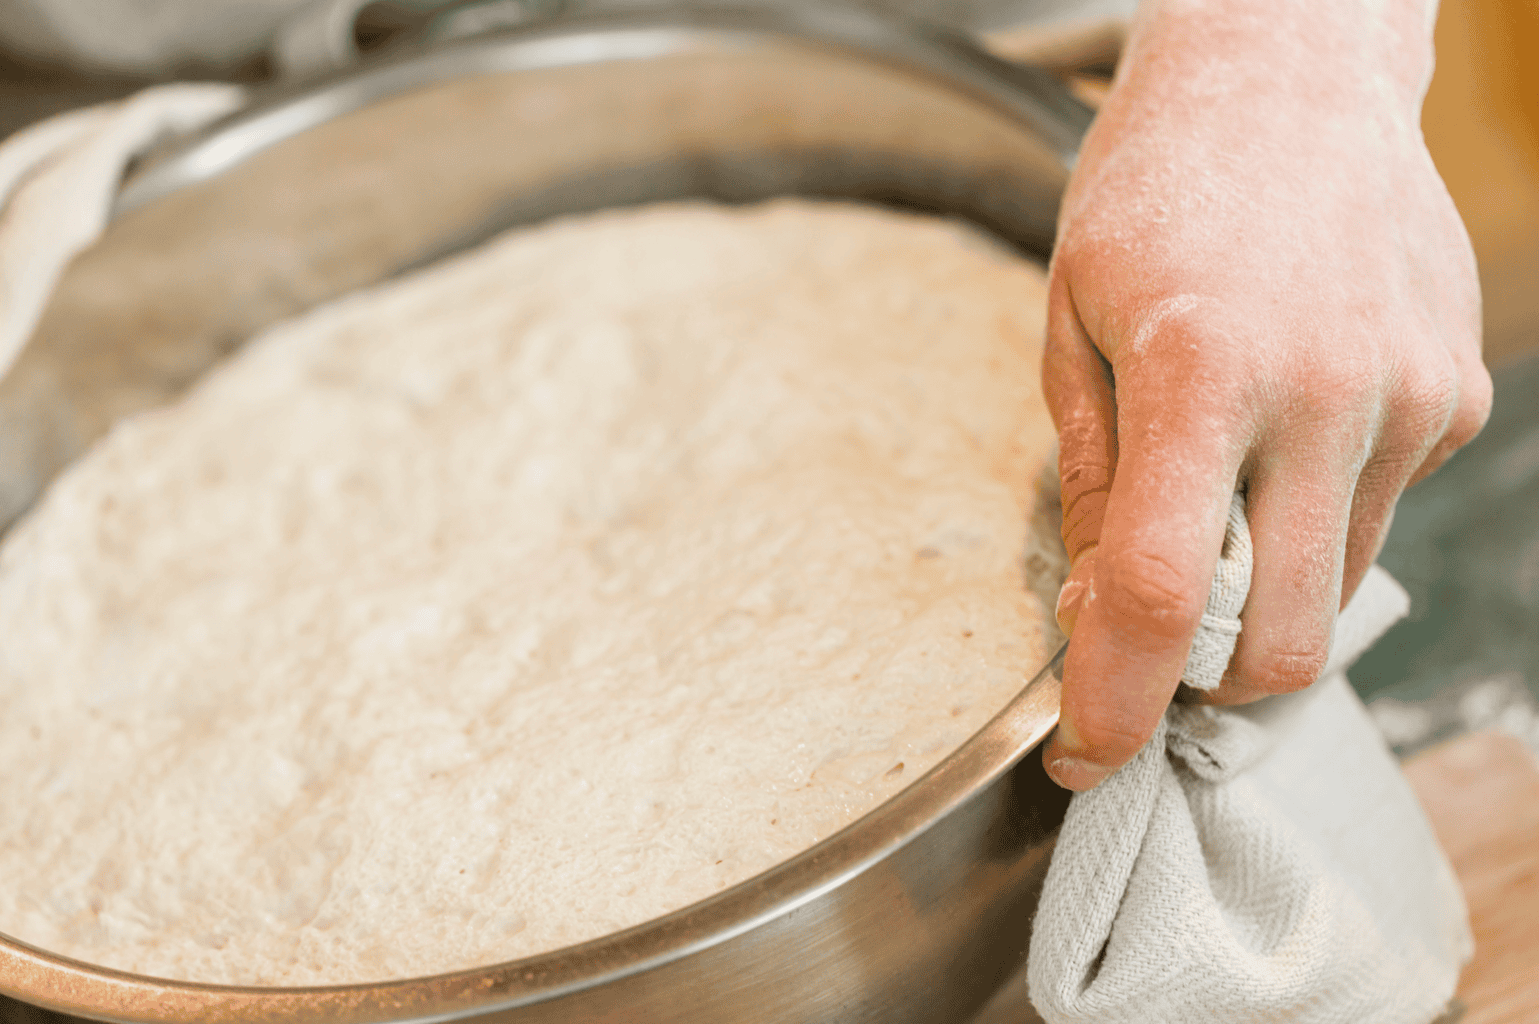
The easiest way to know when this happens is to put a rubber band (or a line of dry-erase marker) around the jar where the starter’s level is after feeding it. Then you can see when it has doubled and also whether it’s holding up or has started to fall. That’s your queue to use it.
Only Using The Float Test (And Trusting It)
❌ WRONG: Putting a spoonful of starter in water thinking it will tell you everything you need to know.
✅ RIGHT: Eye it and smell it first, and use the float test as a backup at most.
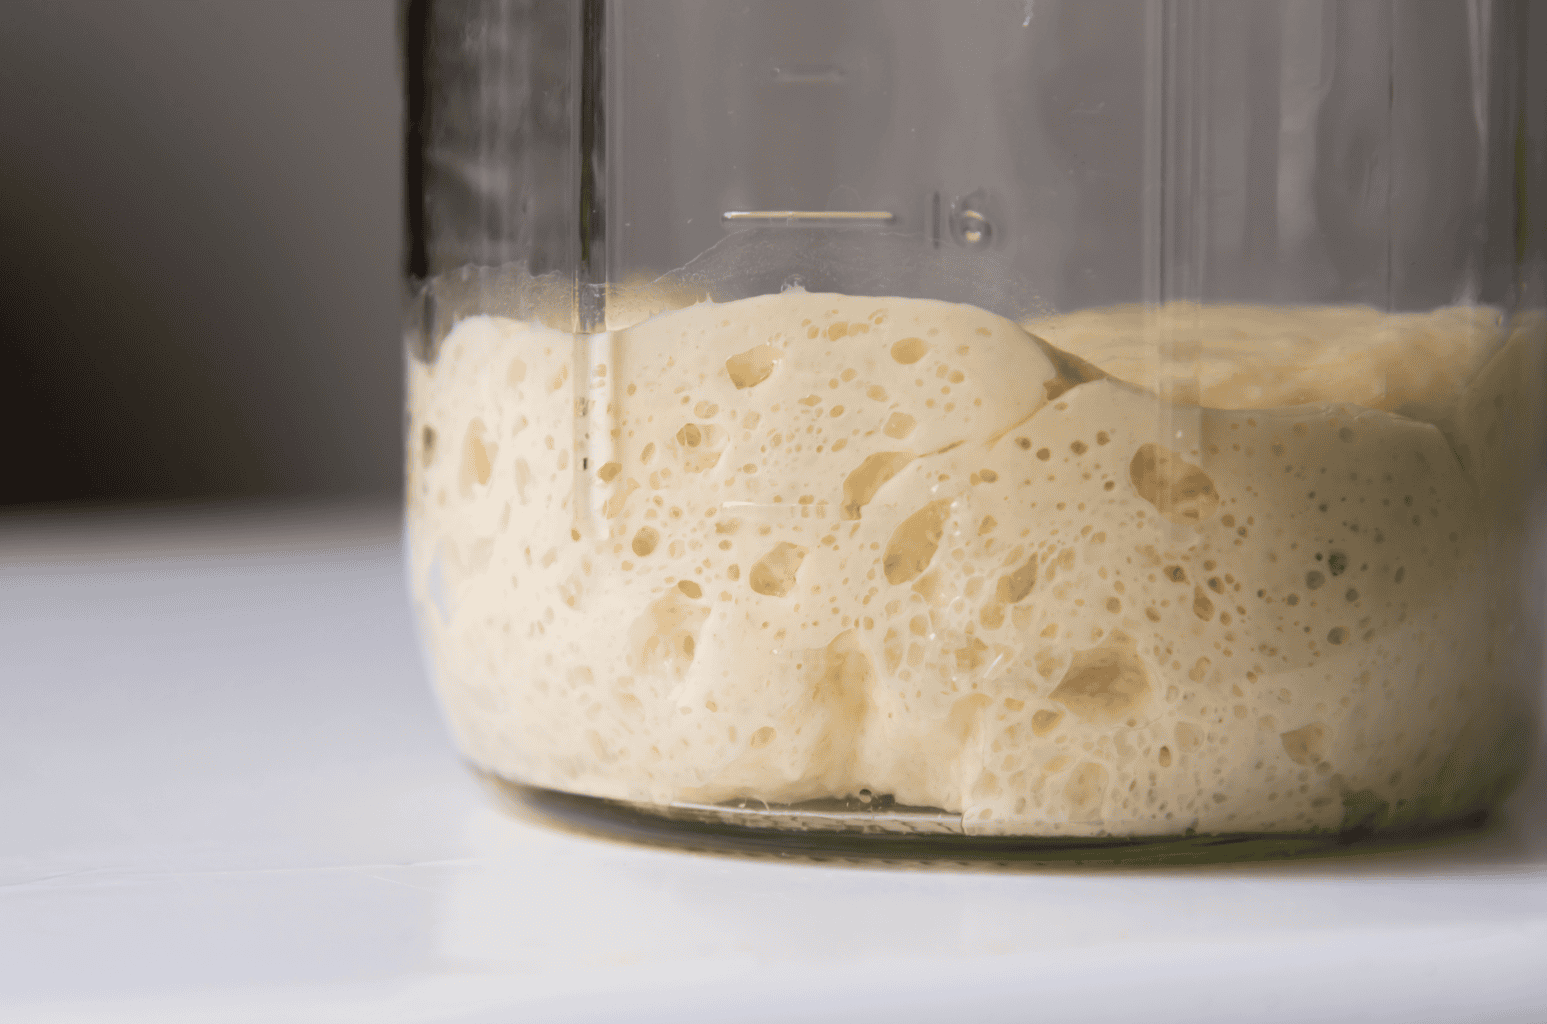
The float test is supposed to show you that your starter is gassy because that’s when it’s supposed to float. And yeah, sometimes it works, but thicker starters will often sink even when they’re actually ready. I’ve also seen starters that are past their peak still float.
So a better check is to see if it doubled, is domed/full of bubbles all the way through, and smells tangy. If it checks those boxes, you have starter that is ready to go.
Keeping Your Starter Somewhere Chilly
❌ WRONG: Leaving your starter somewhere cold.
✅ RIGHT: Finding a spot that’s ideally somewhere in the mid 70s°F.
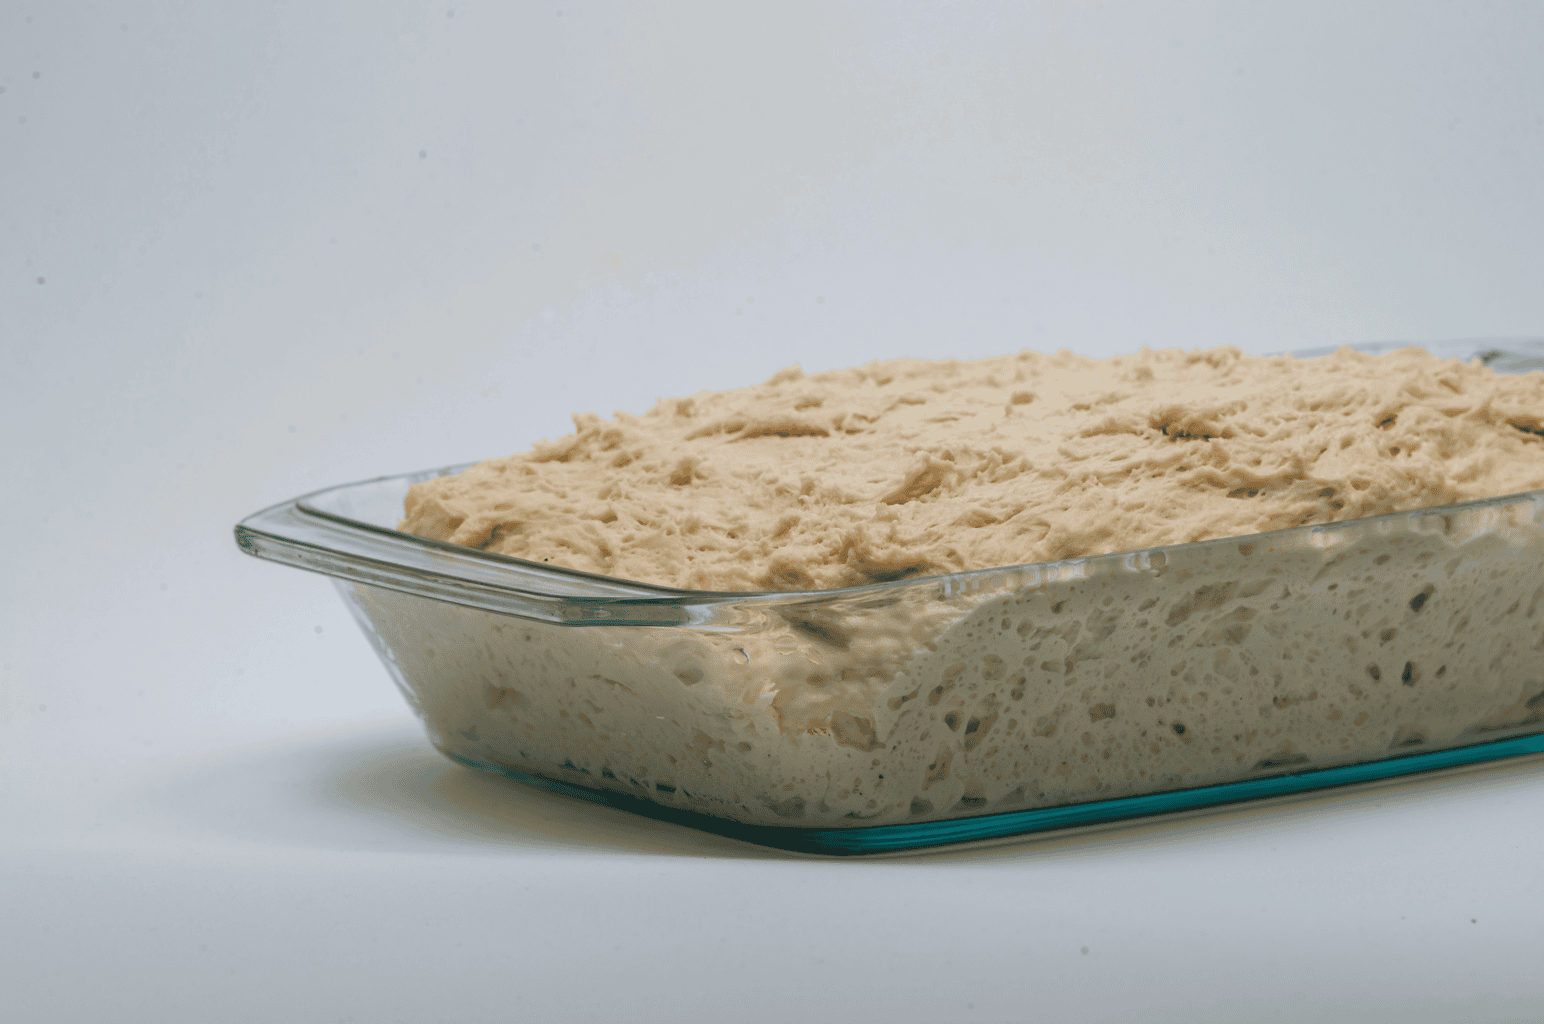
Ask any sourdough enthusiast and they’ll tell you that temperature changes everything. Even a colder kitchen can double (or triple) the time it takes your starter to be ready. This is true for the changes of the seasons, too. My starters always do better in summer than winter. It just takes longer.
Here are a few ways I keep things rather warm for my starter:
- Place your starter it in your oven with the light on – make sure no one preheats your oven for a different dish!!!
- Feed your with warmer water instead of cold tap water. I usually aim for 80 degrees Fahrenheit if possible.
- Put it on top of your fridge or near, but not on, a heat source
Obviously you have to make sure you don’t overdo it, but warmth does help a lot. Just don’t overdo it. Keep in mind, a starter that becomes too hot for long stretches of time can get too stressed and the bacteria will grow faster than the yeast.
Only Feeding White Flour To A Struggling Starter
❌ WRONG: You stick with plain all-purpose flour when your starter isn’t doing well.
✅ RIGHT: Using whole wheat or rye to give it a boost.
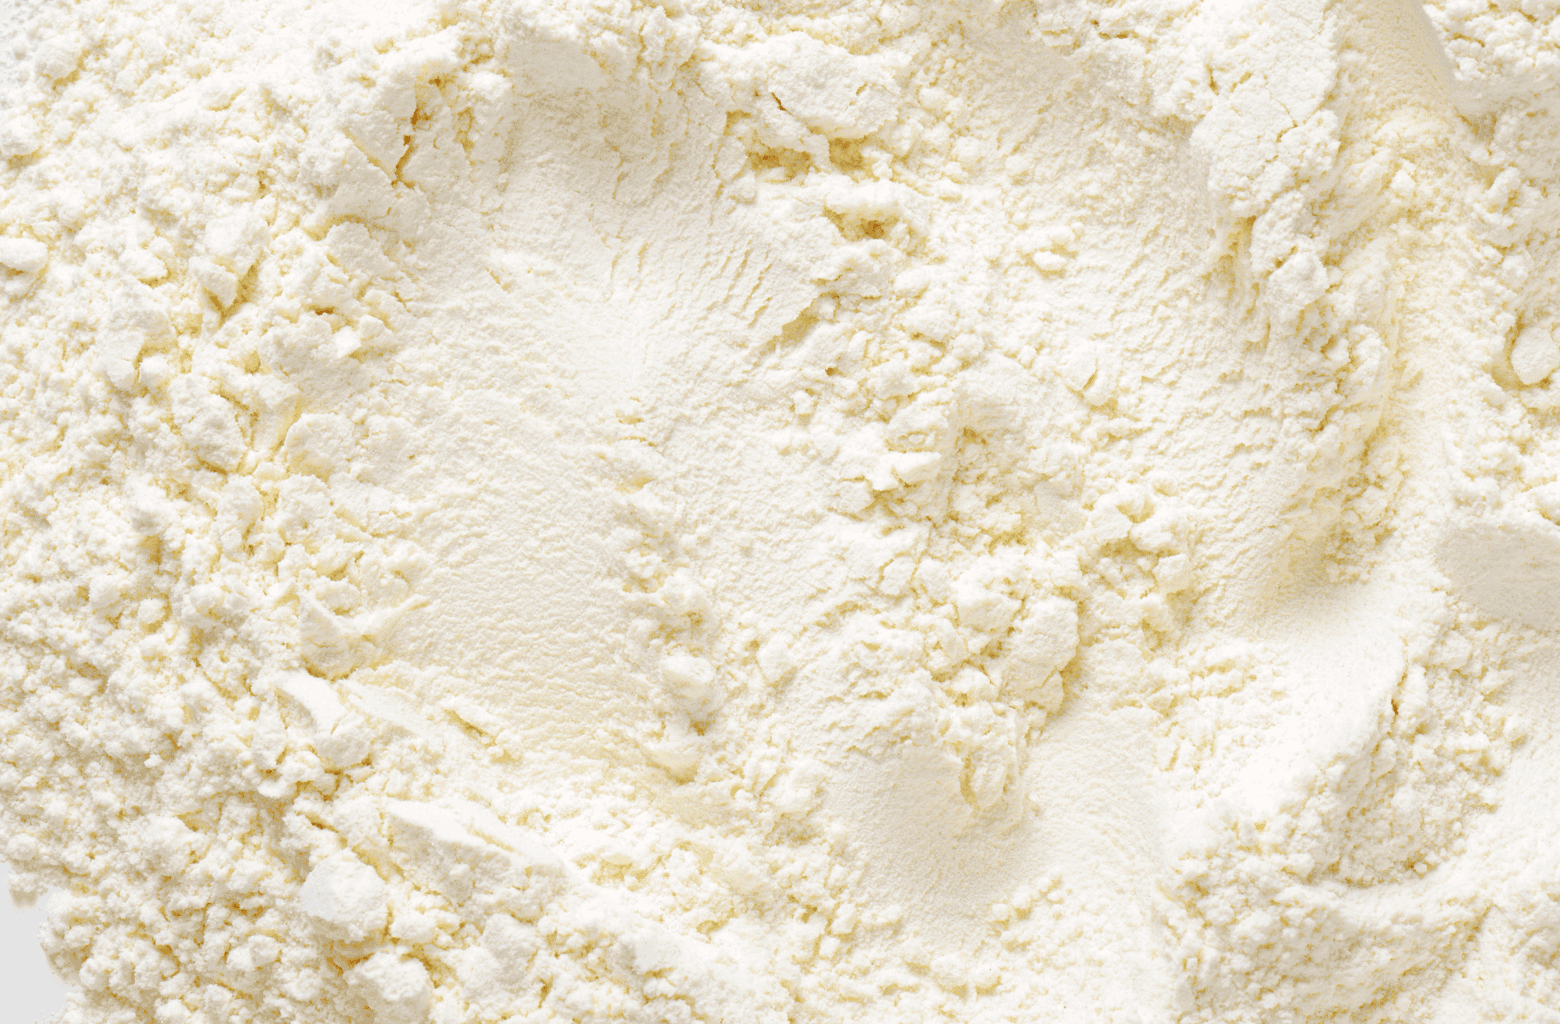
Whole grain flour can give you more natural yeast and bacteria, so they tend to ferment faster than white flour. They are especially helpful to use when you’re starting a new starter or trying to bring an older one back.
You don’t have to go all in with whole grain flour, but even if you did half and half with your typical flour, that can be plenty. And no, your bread will not taste like whole wheat bread, so you don’t have to worry.
Worrying About The Liquid on Top
❌ WRONG: Throwing out your starter because you see a dark liquid on top.
✅ RIGHT: Recognizing hooch, which means your starter wants to be fed.
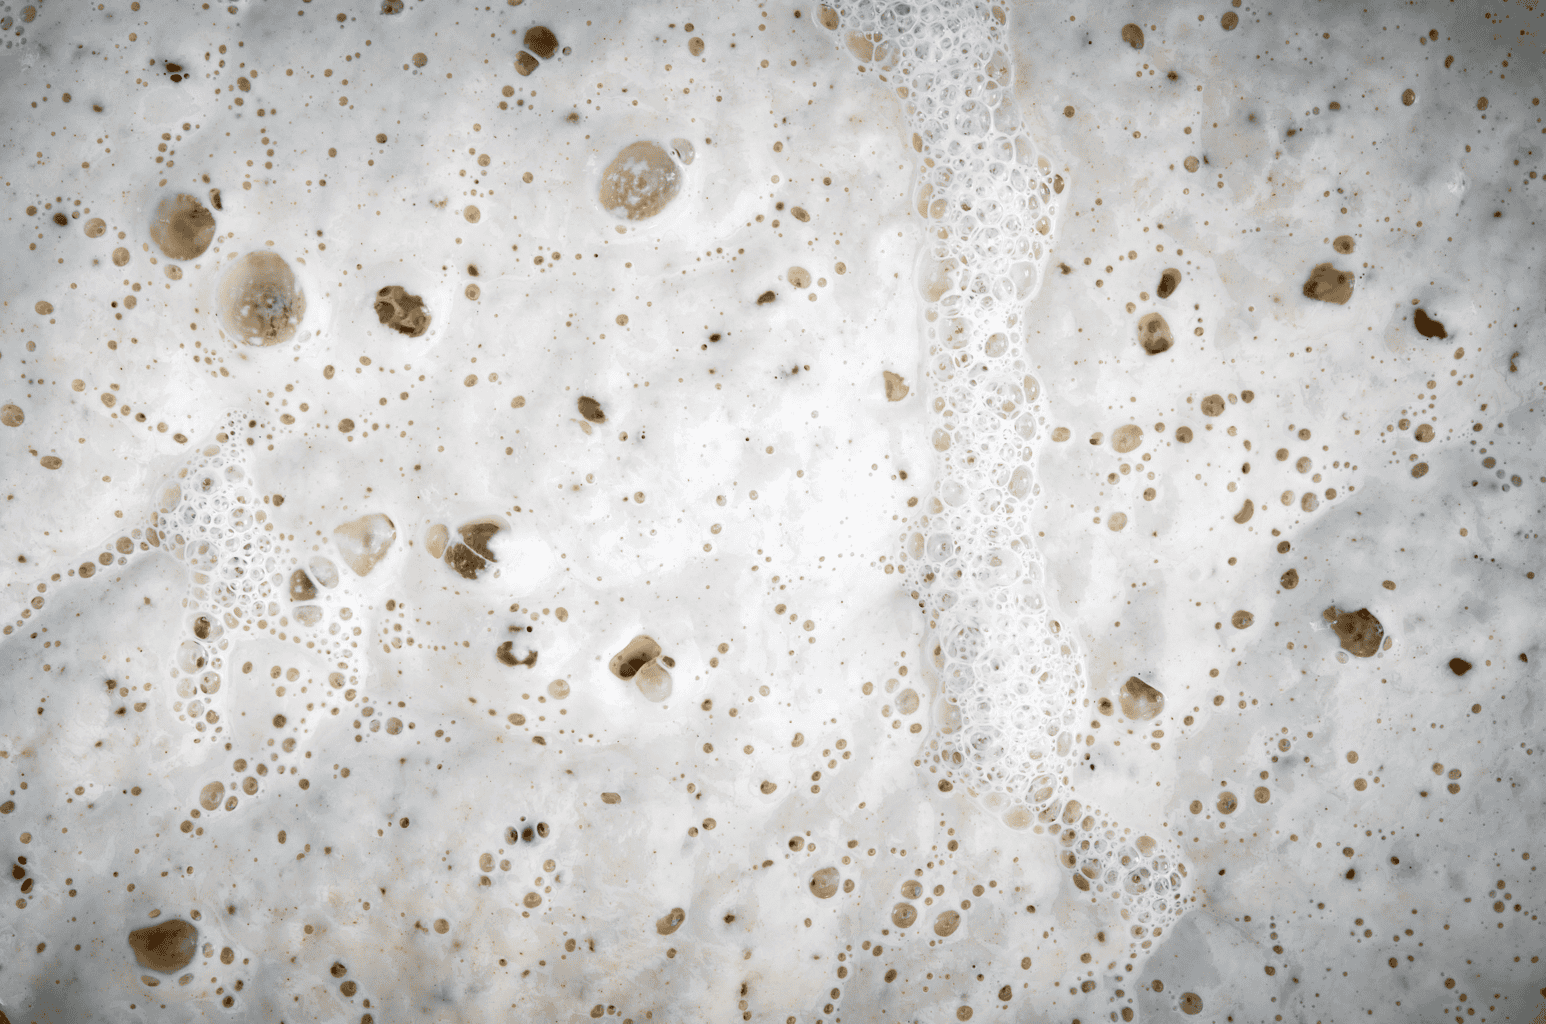
Hooch starts to collect at the top of starter and it’s mostly fermented/alcoholic liquid that just means your starter has run out of food. Hooch can look clear, gray, brown, or even almost black. It’s very common to see hooch on top after your starter has been in the fridge.
All you need to do is pour it off or stir it back in. Pouring off your hooch will give you a milder flavor (less tangy); many bakers perfer to do this. But either way, you can just pour it off or mix it in and feed it.
Overly Judging The Smell
❌ WRONG: Throwing out your starter because it smells weird.
✅ RIGHT: Knowing that most weird smells mean that your starter is hungry.
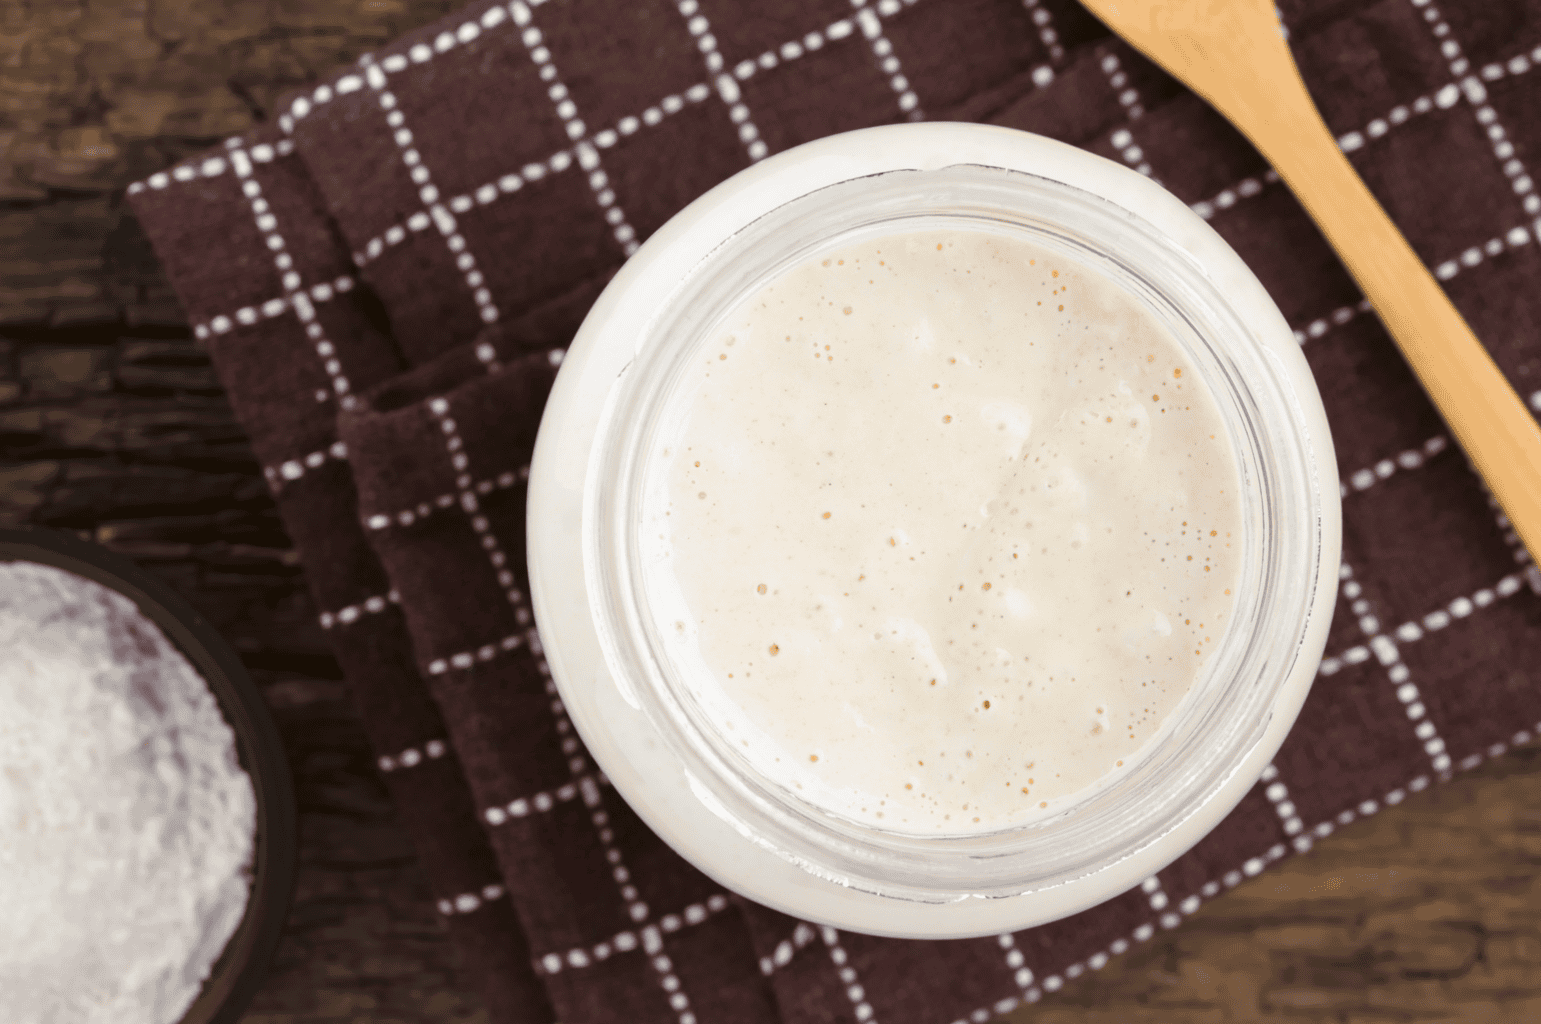
If your starter is healthy, it will smell tangy, like yeast, and a little sweet. It’s kind of like beer or yogurt, but there are other smells that are normal too like:
- Nail polish remover or acetone: This means that your starter is hungry, so feed it more and/or more often.
- Vinegar: This is also a starter that’s hungry. It could also mean that your starter has been in the fridge for a while.
- Stinky feet or funky cheese: This is actually common, and it tends to happen in brand-new starters because the good microbes are still taking over. This smell will fade as the starter grows.
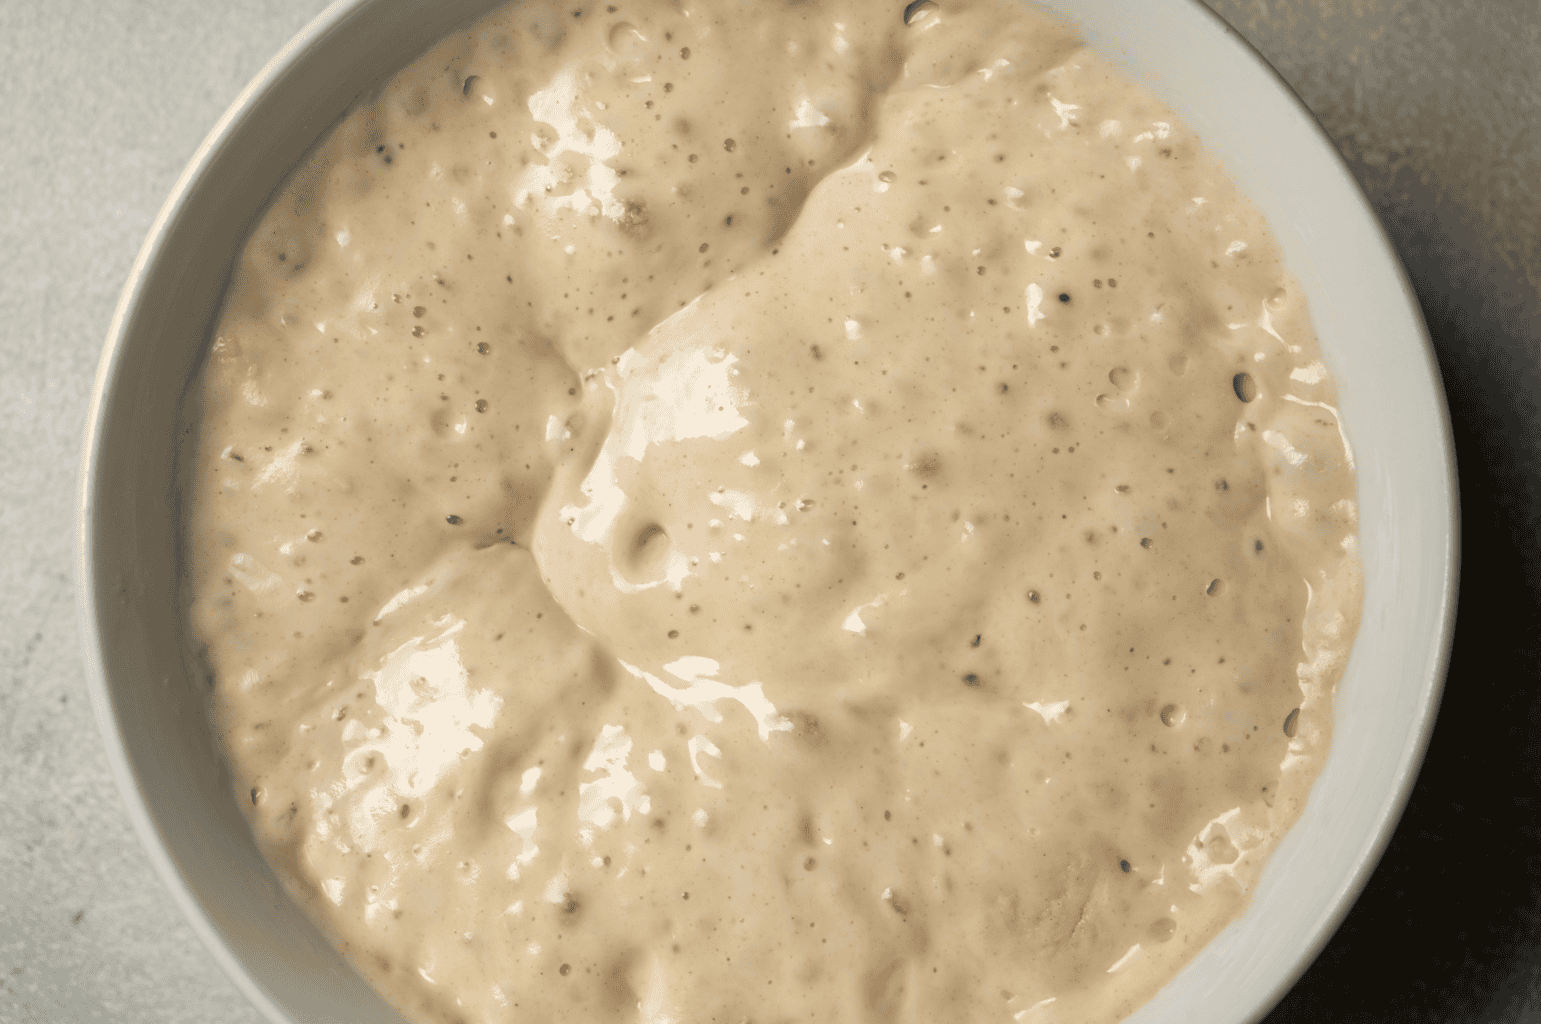
The only time you should be freaked out by the smell is if it smells truly rotten.
Not Knowing When To Throw It Out
❌ WRONG: Trying to keep or grow a starter that’s gone bad.
✅ RIGHT: Learning when to be done with it.
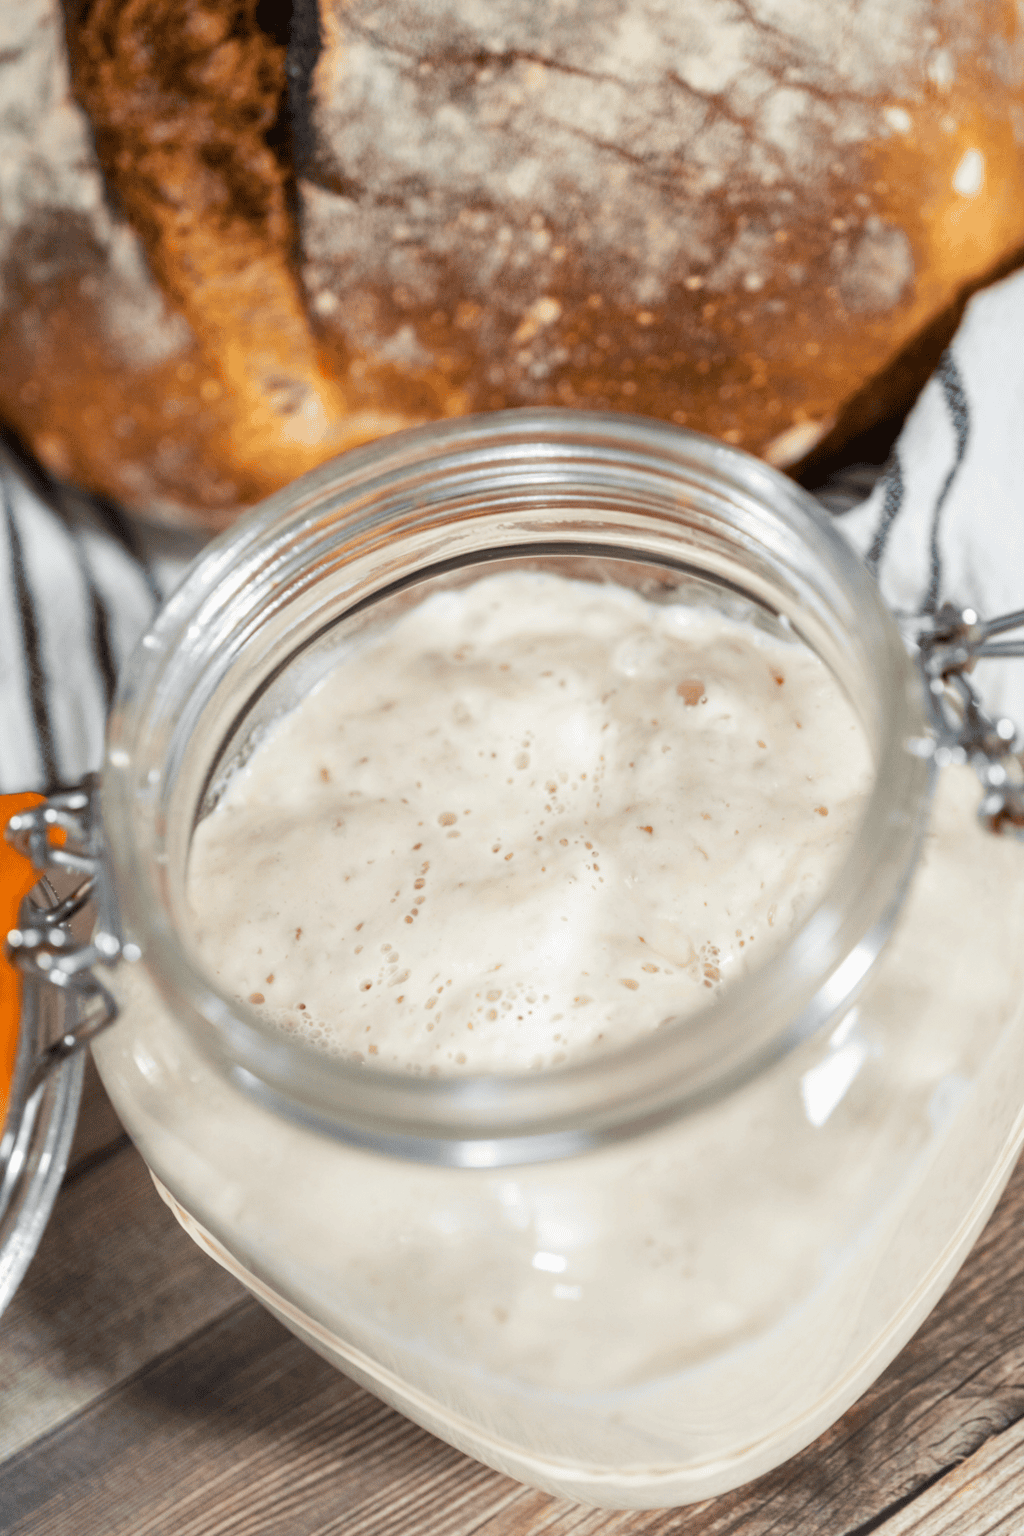
Listen I get it.. starters are tough, but it’s pretty hard to kill one completely, on accident. That said, there are a few signs that would mean it’s time to throw it over and start a new one:
- Fuzzy mold like what you’d see on old bread or cheese
- Pink or orange streaks or spots. This is bacteria that you don’t want.
- A putrid, rotten smell that’s clearly different from the normal sour or alcoholic smell.
If you see any of the things mentioned above, throw it all out, and begin again. And maybe get a new jar.
Leaving It On The Counter Without Feeding It
❌ WRONG: Keeping your starter at room temperature but only feeding it every few days.
✅ RIGHT: Feeding your starter that stays on the counter everyday and keeping your starter in the fridge if you’re only an occasional baker.
If you leave your starter on the counter, it’ll eat through food fast. So, if you leave it for a few days without feeding it, you’ll have a runny, soupy starter covered in hooch. Therefore, if you keep it out on the counter, plan on feeding it once a day, or twice a day if your house runs warm.
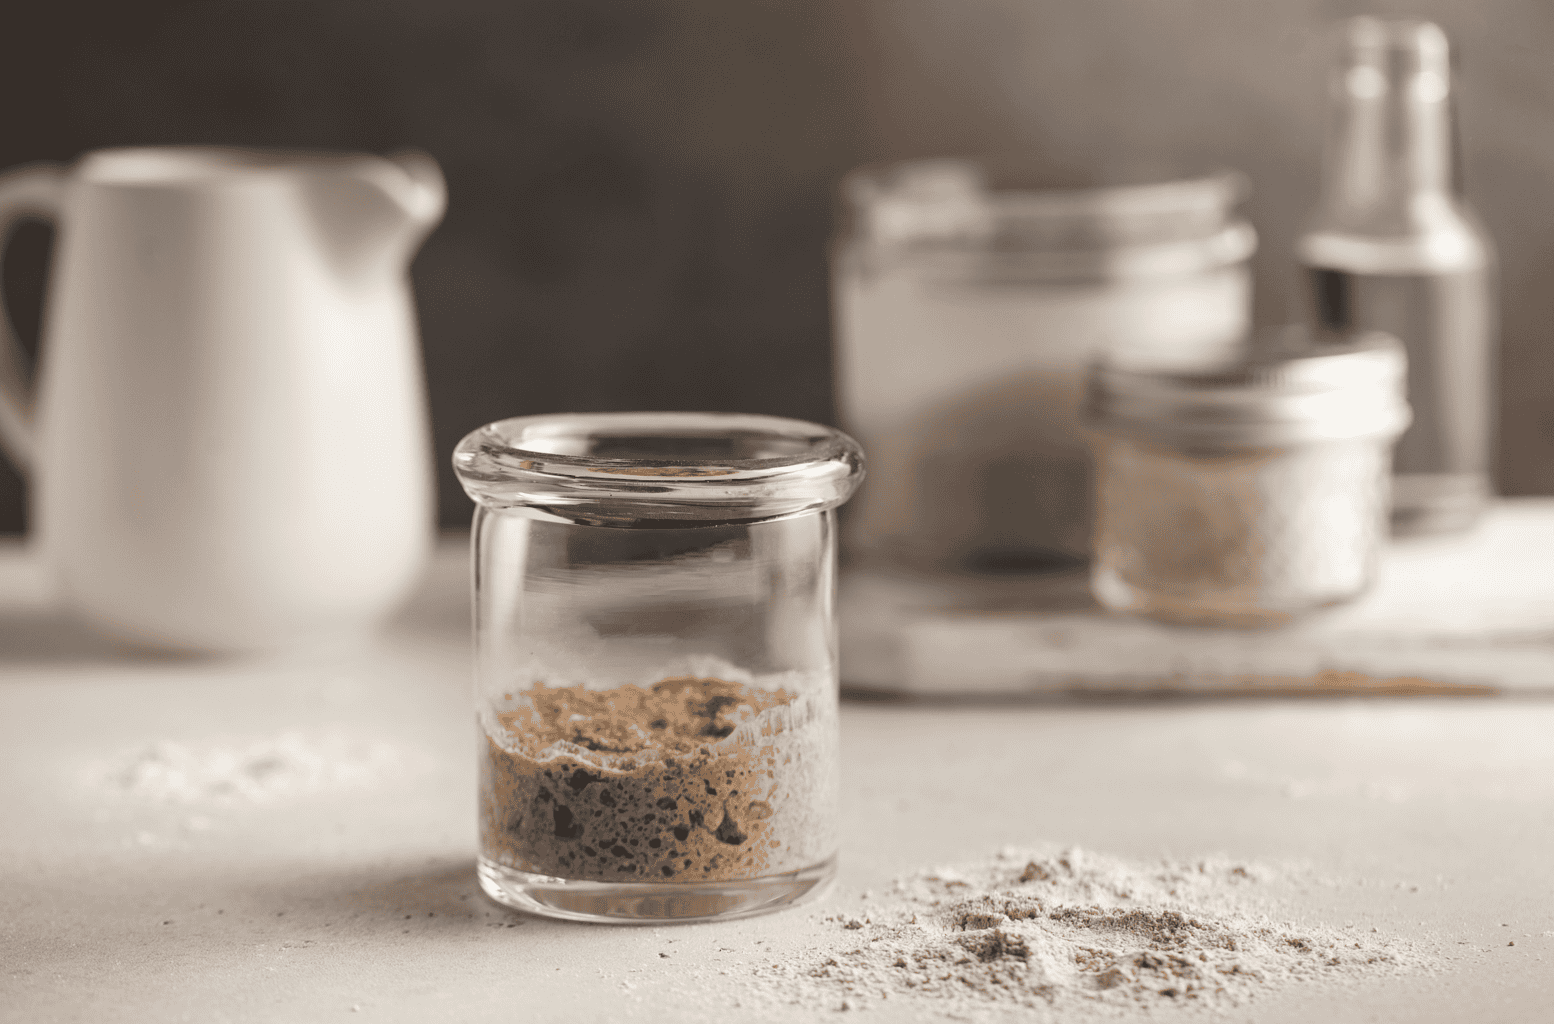
If you only bake once a week, use the fridge. Putting your starter in the fridge will slow everything down. Just feed it, put the lid on, and refrigerate.
A common guideline is to give a fridge starter a feeding about once a week. That said, I’ve seen established starters survive longer without a feeding.
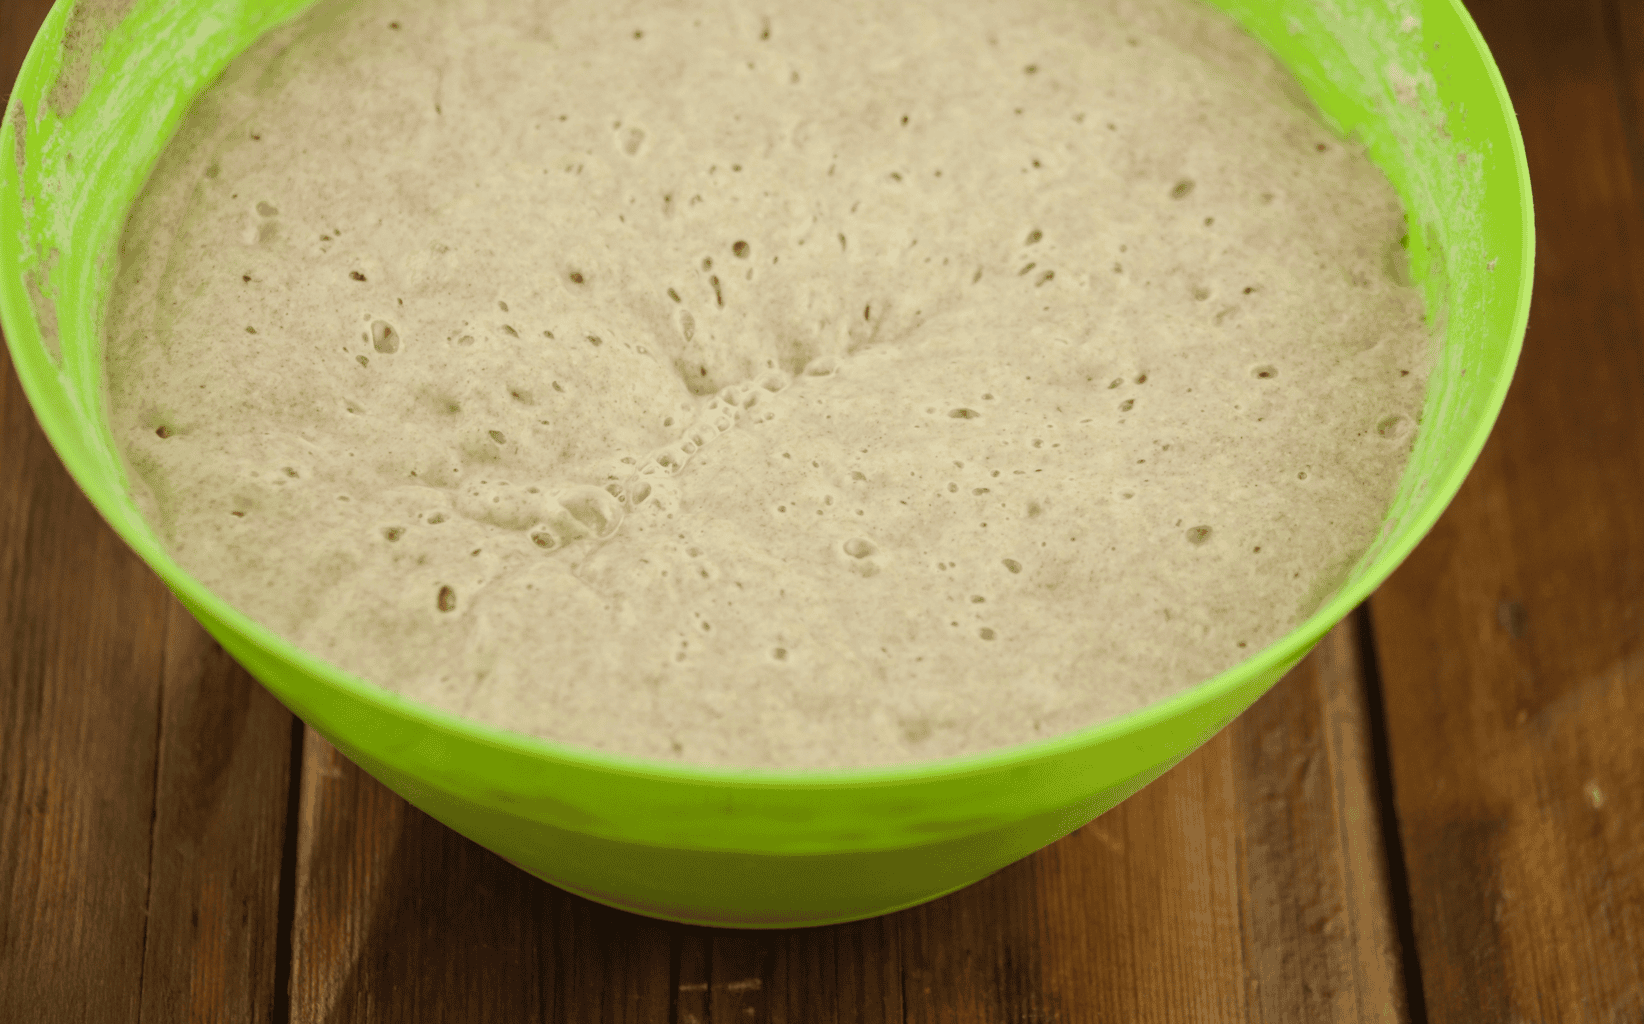
Some people who don’t bake as often even like a stiffer starter; this would be one that is made with more flour than water because the drier mix tends to hold up better in the fridge.
Pulling The Starter From the Fridge and Baking Right Away
❌ WRONG: Removing your starter from the fridge and mixing it right into dough.
✅ RIGHT: Giving your starter a feeding or two at room temperature before baking.
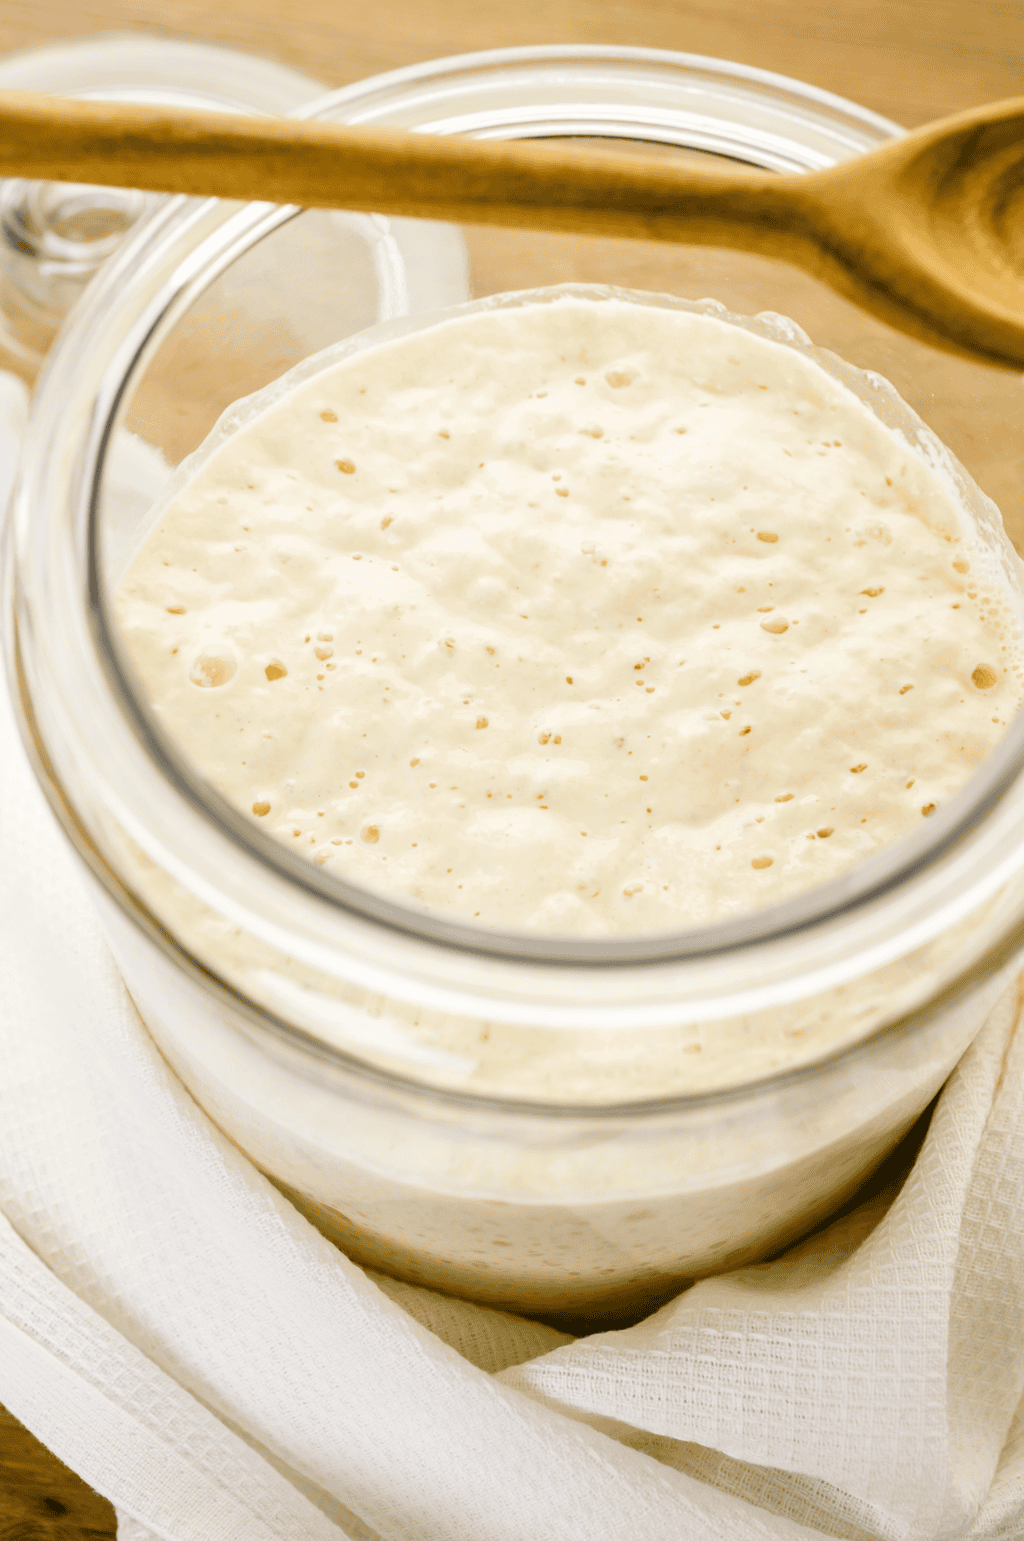
If your starter has been resting in the fridge, take it out, discard down to a small amount, and feed it before using it for baking. Let it rise and fall at room temperature once or twice, then bake.
If it’s been in your fridge for weeks or even months, it might need a few more feedings to get back up to where it should be, and that’s normal. I haven’t done it, but I’ve seen people that have revived starters after a full summer in the fridge.
Throwing Away All The Discard
❌ WRONG: Throwing out your extra starter every time you feed.
✅ RIGHT: Using the discard for pancakes, waffles, crackers, and more.
Discard is the word for the bit that you remove before feeding. You remove it so your starter doesn’t take over the entire kitchen (lol wouldn’t that be funny), and so it doesn’t get sluggish.
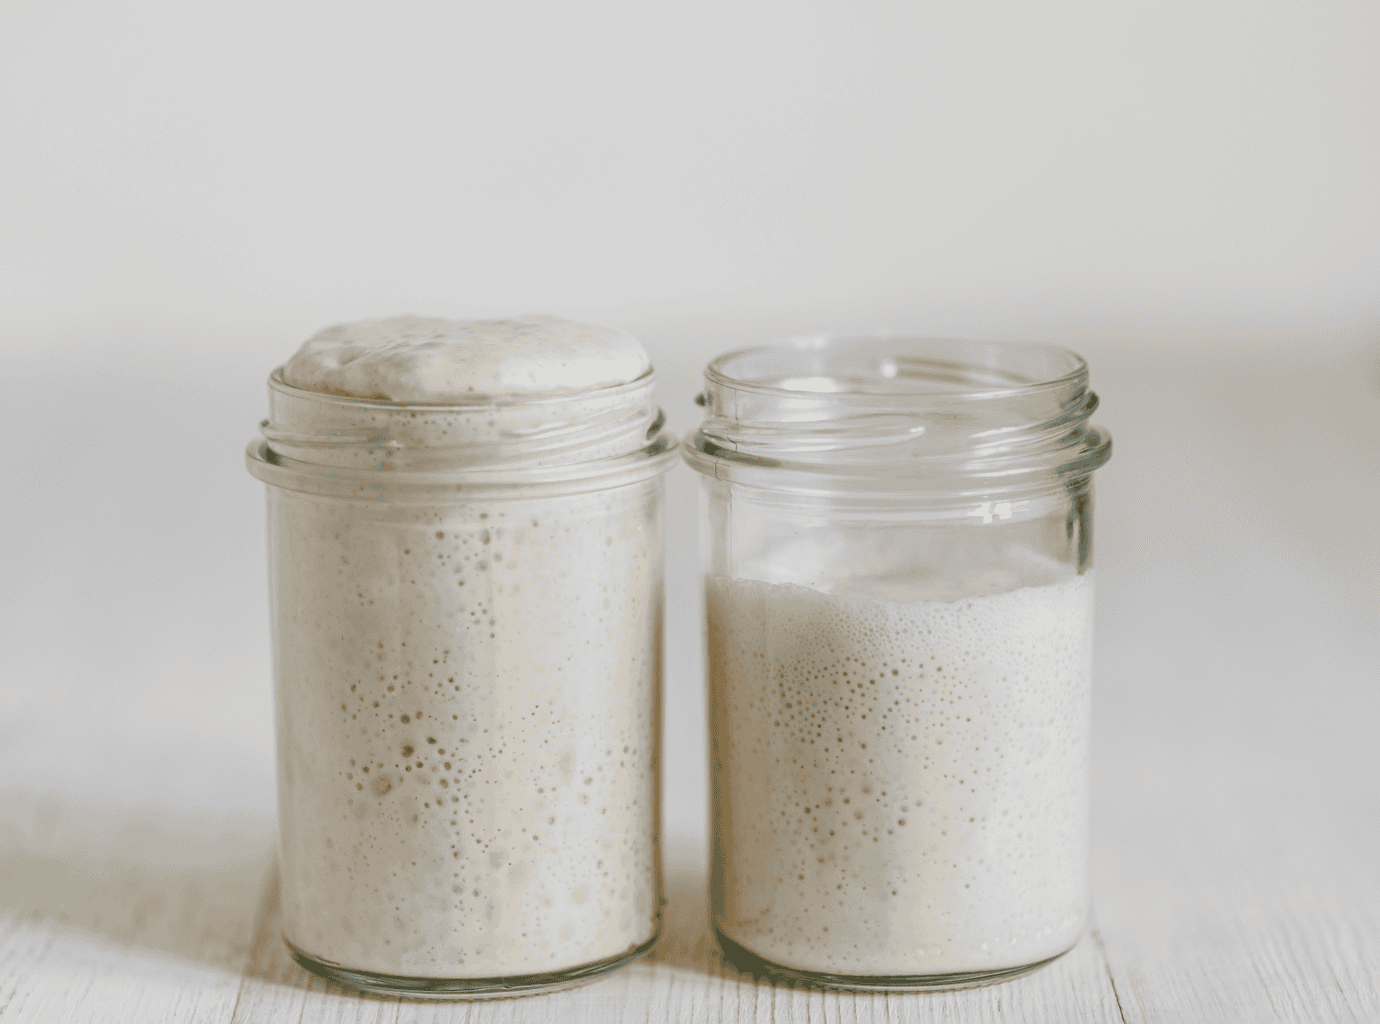
But once your starter is well establish, discard is a great ingredient. So, keep it in a separate jar in the fridge and use it in pancakes, waffles, muffins, crackers, flatbread, or even fried up in a skillet with some green onions.
Please, please, please don’t throw it out. There are so many recipes for this, and we have 23 of the best right here.
Tip: When you’re making a brand new starter, don’t save the discard for the first week or so. You should wait until it’s regularly rising and falling before you cook with it.
Giving Up Too Soon
❌ WRONG: Deciding you aren’t good at sourdough after a week.
✅ RIGHT: Staying patient, and continuing to learn and get better.
Every has a different experience with sourdough, and you can expect your experience to be different, too. The flour you choose to work with, your water, your house temperature, and so many other variables all play a part. I’ve seen some people’s starter take 7 days to be ready while others take 3 weeks. It completely depends.
So, if your starter hasn’t doubled yet, you didn’t fail, it’s just still working. Keep your starter warm, give it some whole grain flour, keep the amount small, and keep feeding it. And if you really want to skip the wait, ask a friend who is into sourdough (there are a lot of us out there) or a baker at your local farmers market if they have any extra starter they’d be willing to share.
The Bottom Line
Overall, sourdough starter can be hard to work with, but most problems that arise are really just a hungry starter, a cold kitchen, or a beginner who didn’t know what was going on (been there). Once your starter is established, it gets a lot easier. A healthy starter is forgiving.

Erie is the owner and author of Everywhere Ontario. She’s lived and traveled around Ontario for over 30 years, visiting small towns and big cities from the shores of Lake Erie to the crisp northern air of Hearst along the Trans-Canada Highway. She is passionate about maximizing fun and supporting local tourist businesses and is always looking to provide the best recommendations to her fellow Ontario travelers. Read more about Erie here.