
If you weren’t aware, a carton of oat milk at the grocery store costs about the same as a whole bag of rolled oats.. mind blowing!
But the other fascinating part of that is that bag makes somewhere around ten batches of oat milk at home. And once you realize that, it becomes increasingly harder to keep buying store bought oat milk.
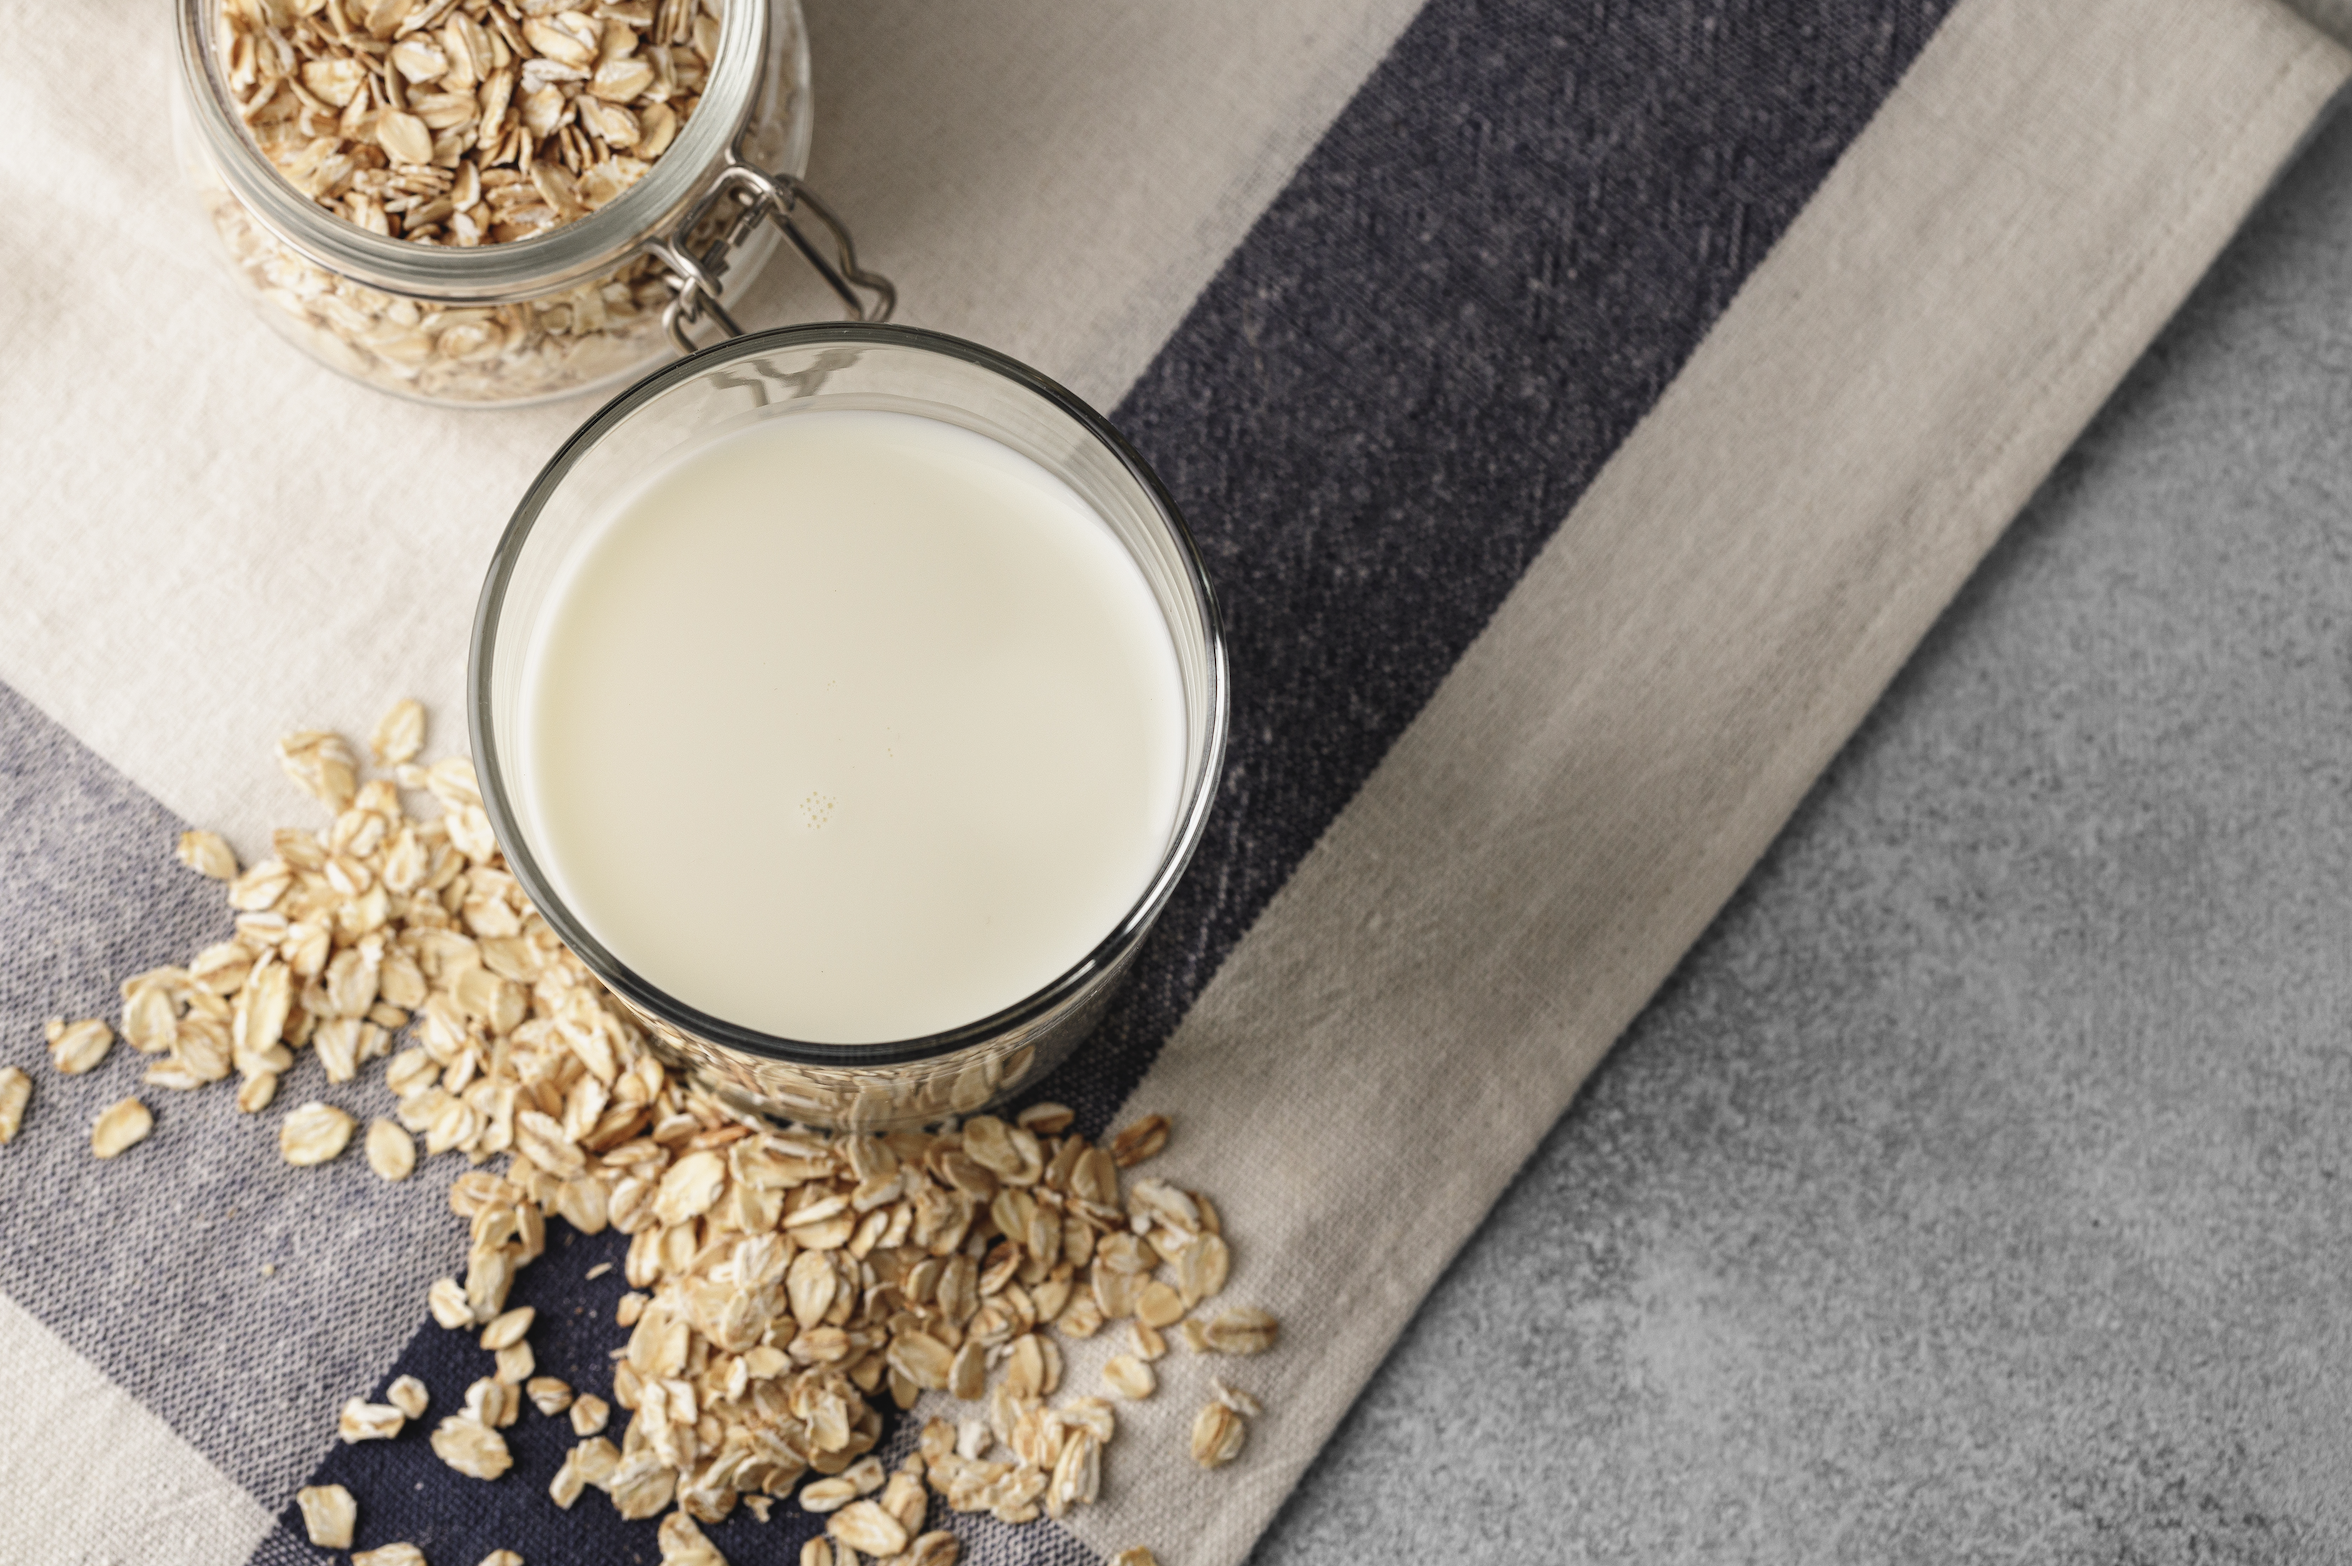
But there is a catch because oat milk that’s made at home has quite the reputation. A lot of people get excited to try it but end up with a substance that is thick and gluey and doesn’t taste great. Therefore, a lot of people give up and just go back to buying it at the store.
The sliminess is hard to avoid, but it’s possible, and once you figure out how to avoid it, you’ll be hooked. It all comes down to how you create it through the right temperature and the proper timing.
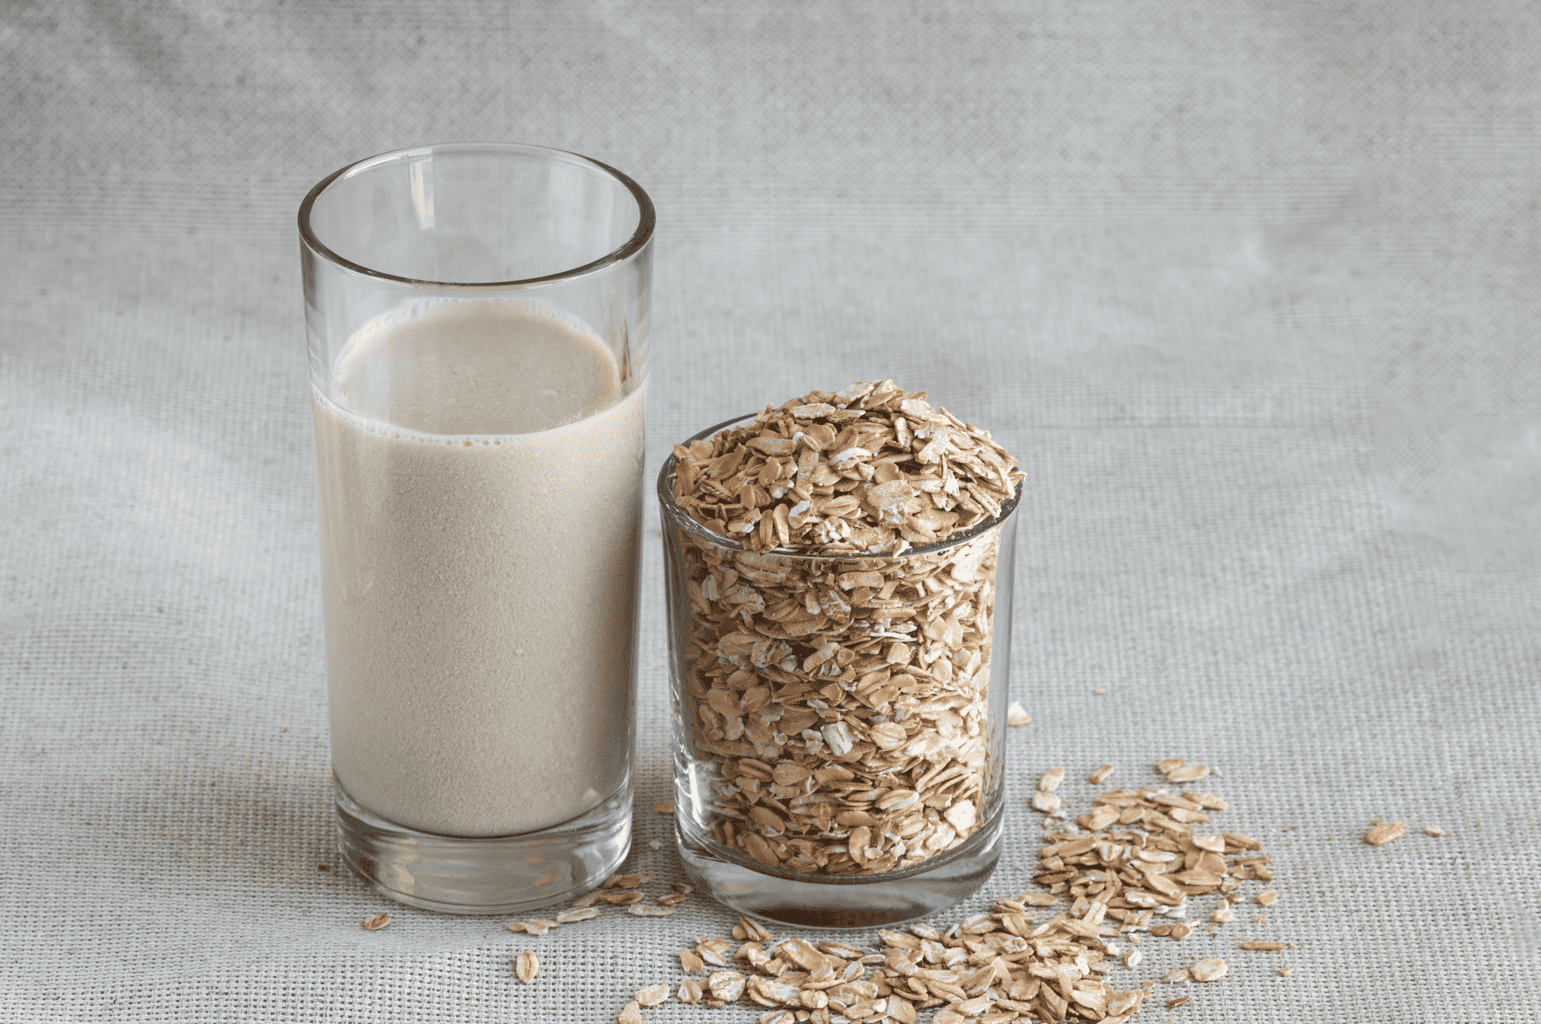
So here’s exactly how I make my smooth, delicious oat milk at home, and it only requires a few ingredients that you might already have in your house.
Why Homemade Oat Milk Gets Slimy
One of the reasons oats are considered so good for you is because of the soluble fiber it contains; it’s called beta-glucan. Unfortunately, this is also what causes the sliminess because when the fiber is mixed with water, it’ll thicken. And if you add heat on top of that or you break down the oats too much, it’ll get even thicker.

If you’re confused, think about when you go to make oatmeal to eat. Once you pour hot water on it, it’ll turn into this pourage-y consistency. With oat milk, you’ll want to do the opposite, so make sure to follow my recipe below perfectly or you’ll end up with slimy milk that you can’t drink.
Which Oats To Use
- Use old-fashioned rolled oats: Steel-cut oats are too coarse and don’t blend smoothly. Quick oats are cut more finely and processed more, which means they’ll release more starch and push the milk toward gummy. So the happy middle is rolled oats.
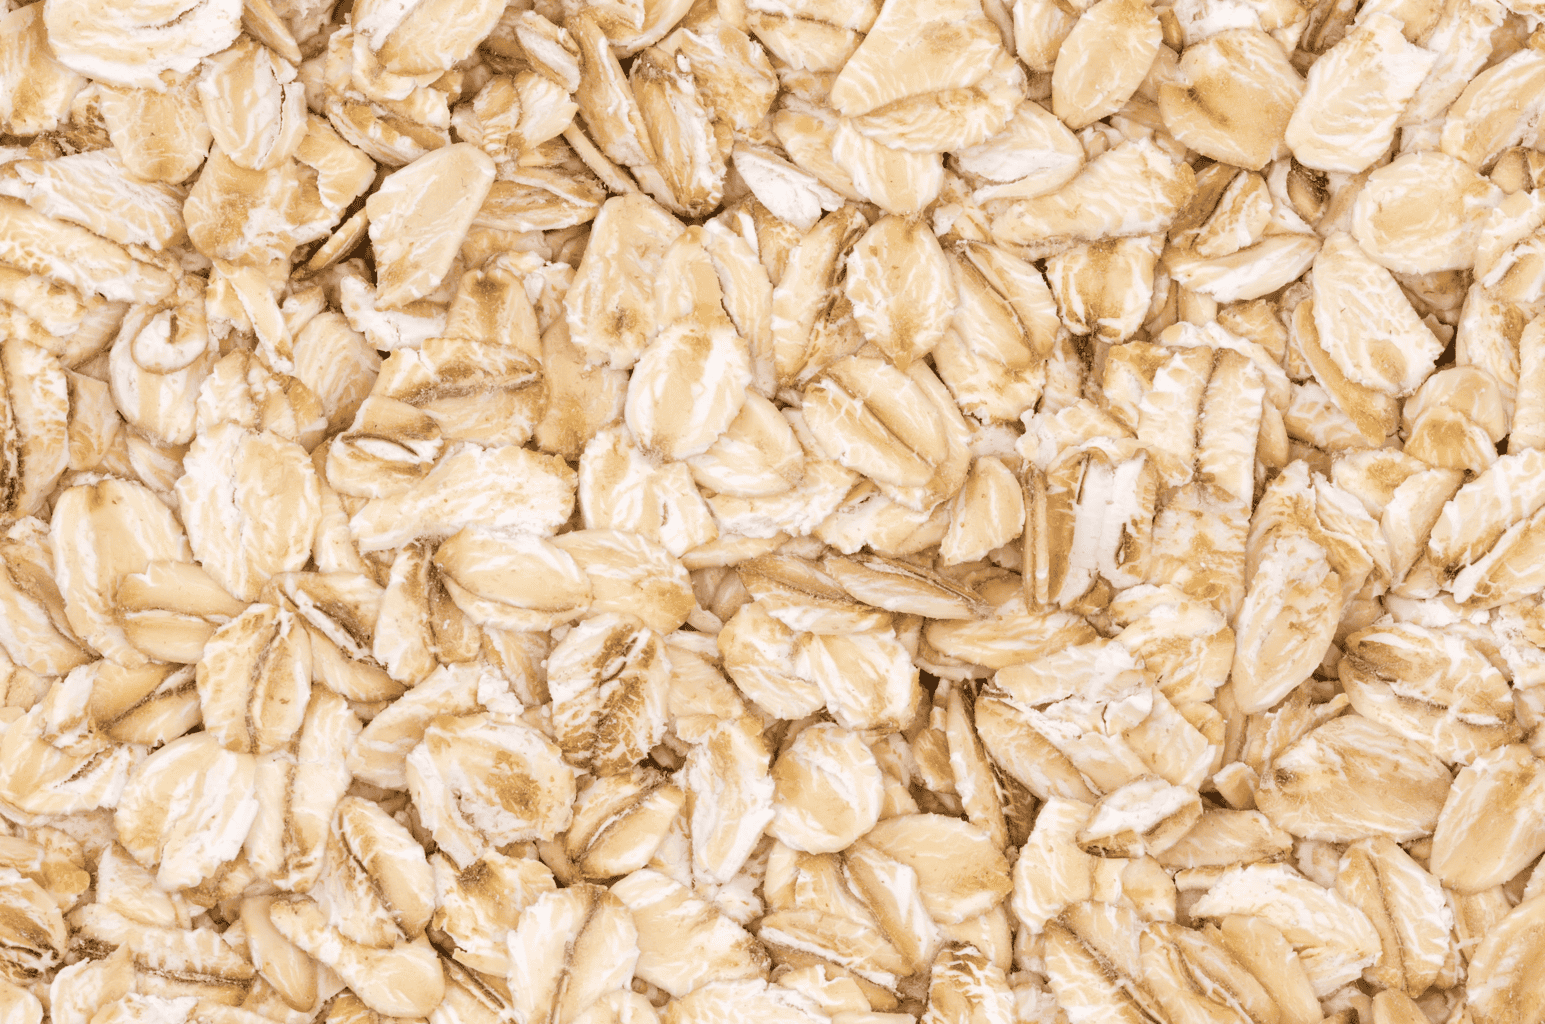
- Use organic if possible: Oats are typically sprayed with glyphosate before they are harvested and they do it to dry them out. While going through independent testing, nearly all oat products that were sampled tested positive for residue. And while organic oats did as well, they tested much, much lower.
Oat milk is something you might drink every day, so we think it’s worth using organic oats.
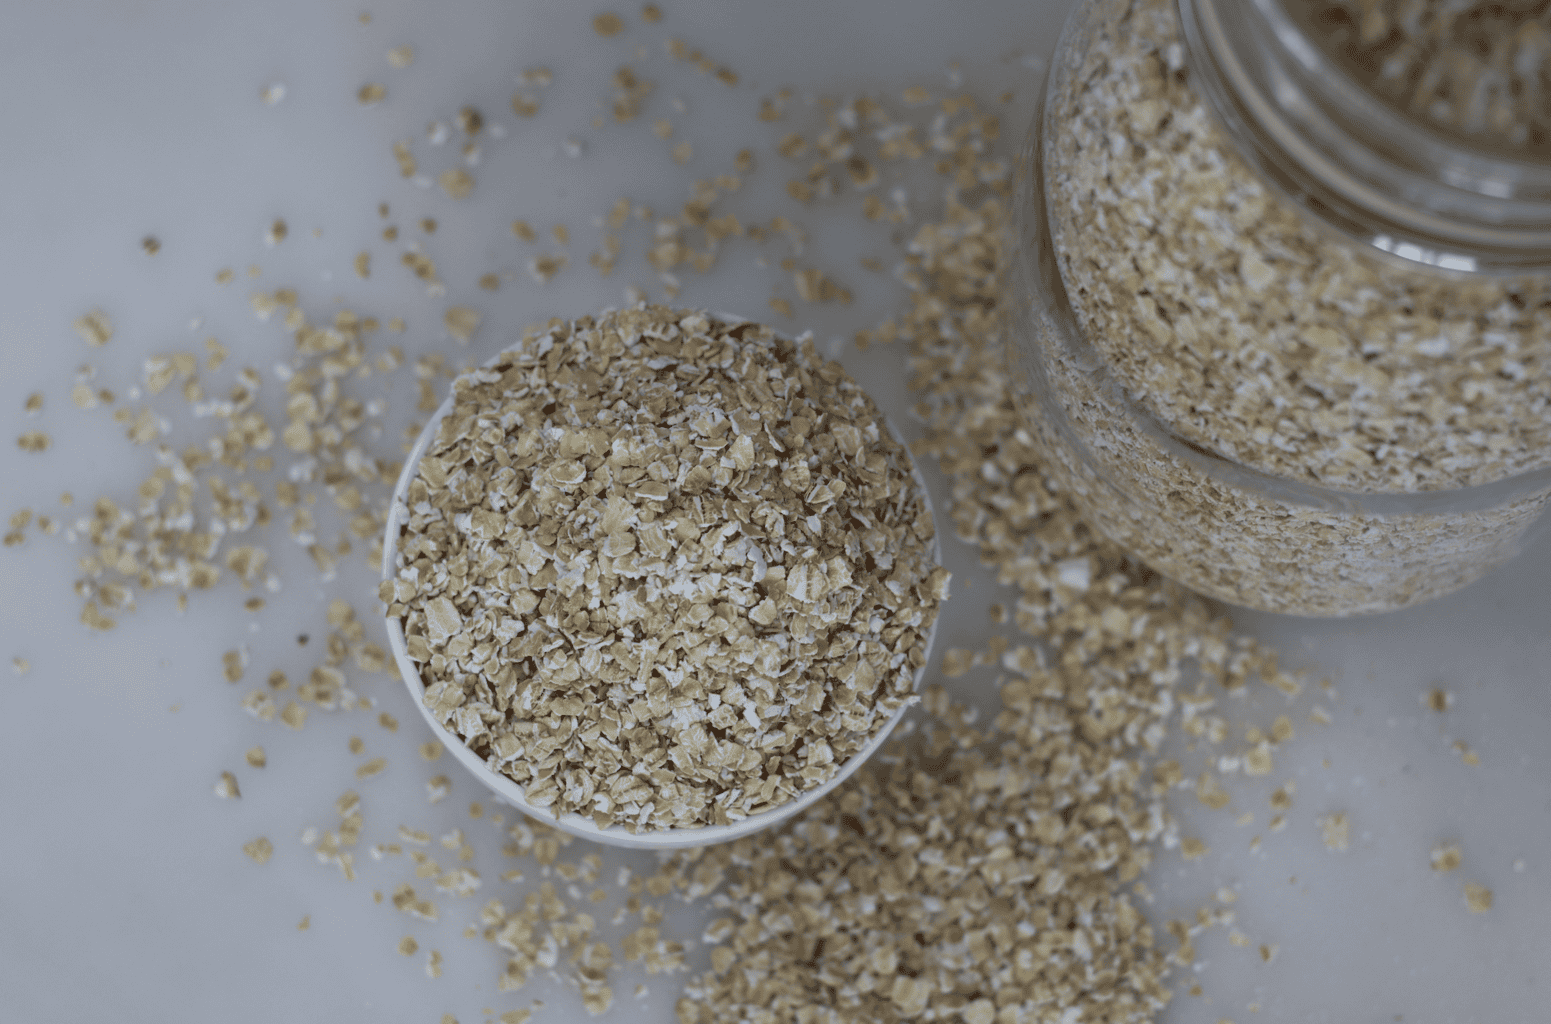
- Use gluten-free oats if needed: Oats are typically gluten-free by nature, but they often are grown with wheat or barley and processed with the same shared equipment, so regular oats tend to pick up gluten at some point. So, if gluten is a concern for your family, I’d buy the certified gluten-free oats. Otherwise, regular rolled oats work just fine.
Ingredients Needed
Ingredients
- 1 cup old-fashioned rolled oats
- 4 cups ice-cold water, or 3 cups for a creamier milk
- A pinch of salt
Optional add-ins
- 1 to 2 pitted dates, or 1 tablespoon maple syrup or honey
- ½ teaspoon vanilla extract
- ¼ cup raw cashews for a richer, creamier milk
Equipment
- High-speed blender
- Fine-mesh nut milk bag or fine-mesh strainer
- Large bowl
- Glass jar or bottle for storage
How To Make Oat Milk Step-By-Step
1. Chill Everything
Put your water in the fridge far enough in advance or you can add a handful of ice. If you’re wondering whether you can just use cold tap water, the answer is no, it needs to be colder. You could also switch out one cup of the water for ice cubes in the blender.
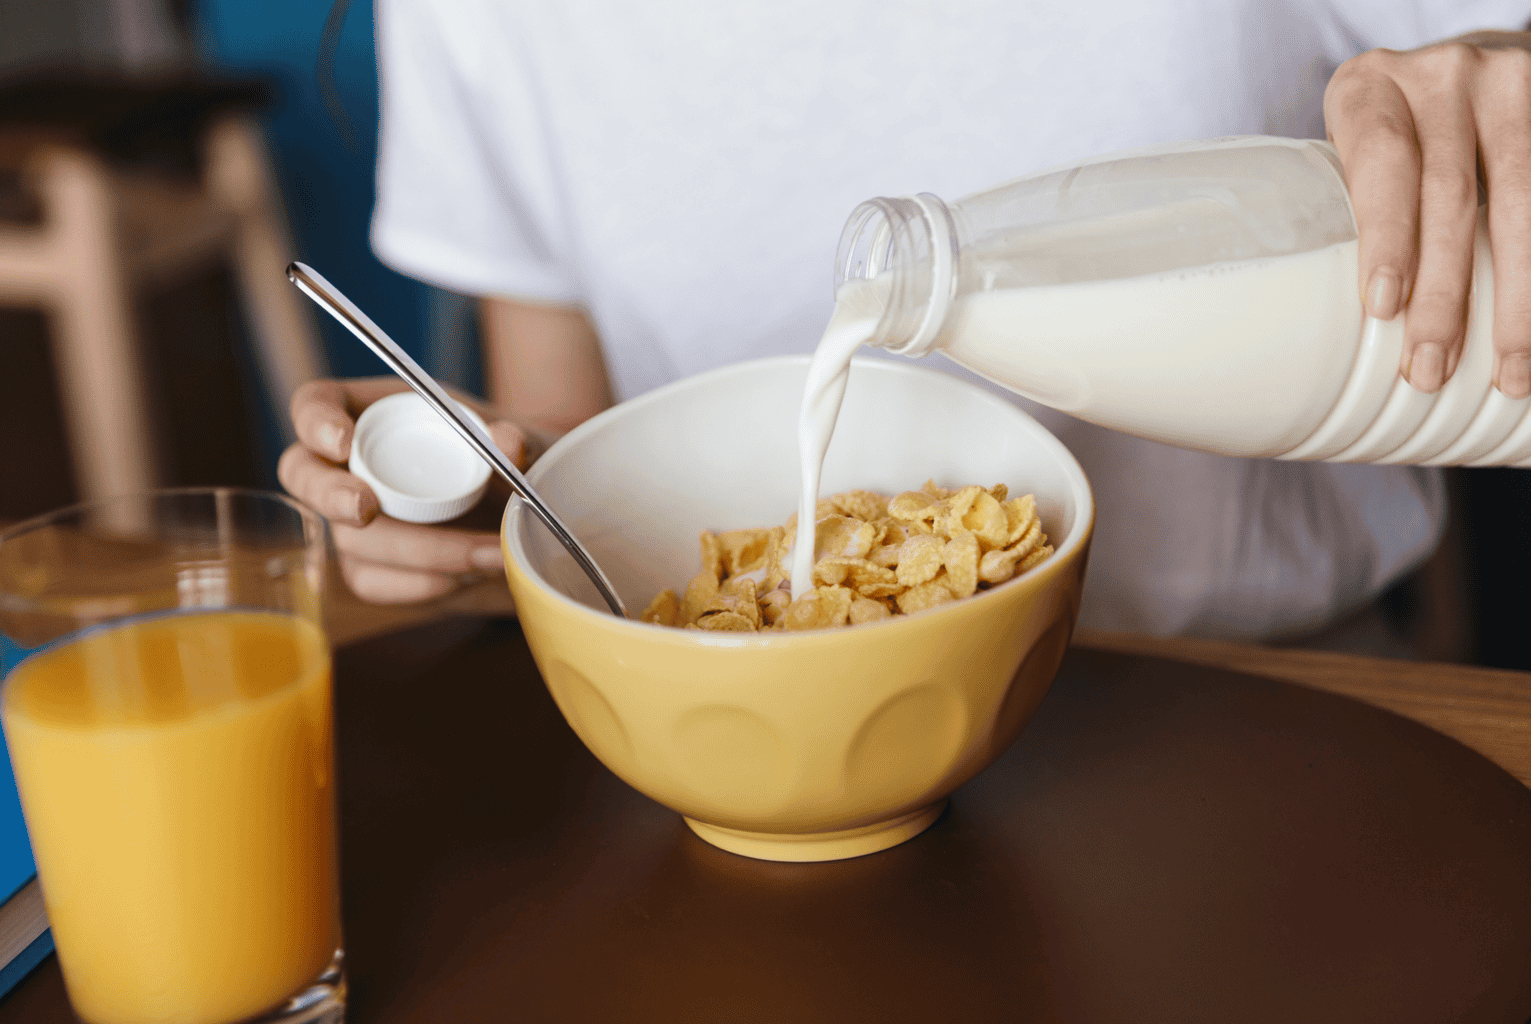
For better results, put oats in the freezer for about an hour before blending, too. I swear by this because the colder the oats are when you start, the less the blender can warm them when mixing.
2. Skip Soaking
A lot of people think that soaking your oats before you blend them helps, but it actually does the opposite, so this tip is important. Soaking them creates slimier milk whereas dry oats do much, much better.
3. Blend For 20 to 30 Seconds
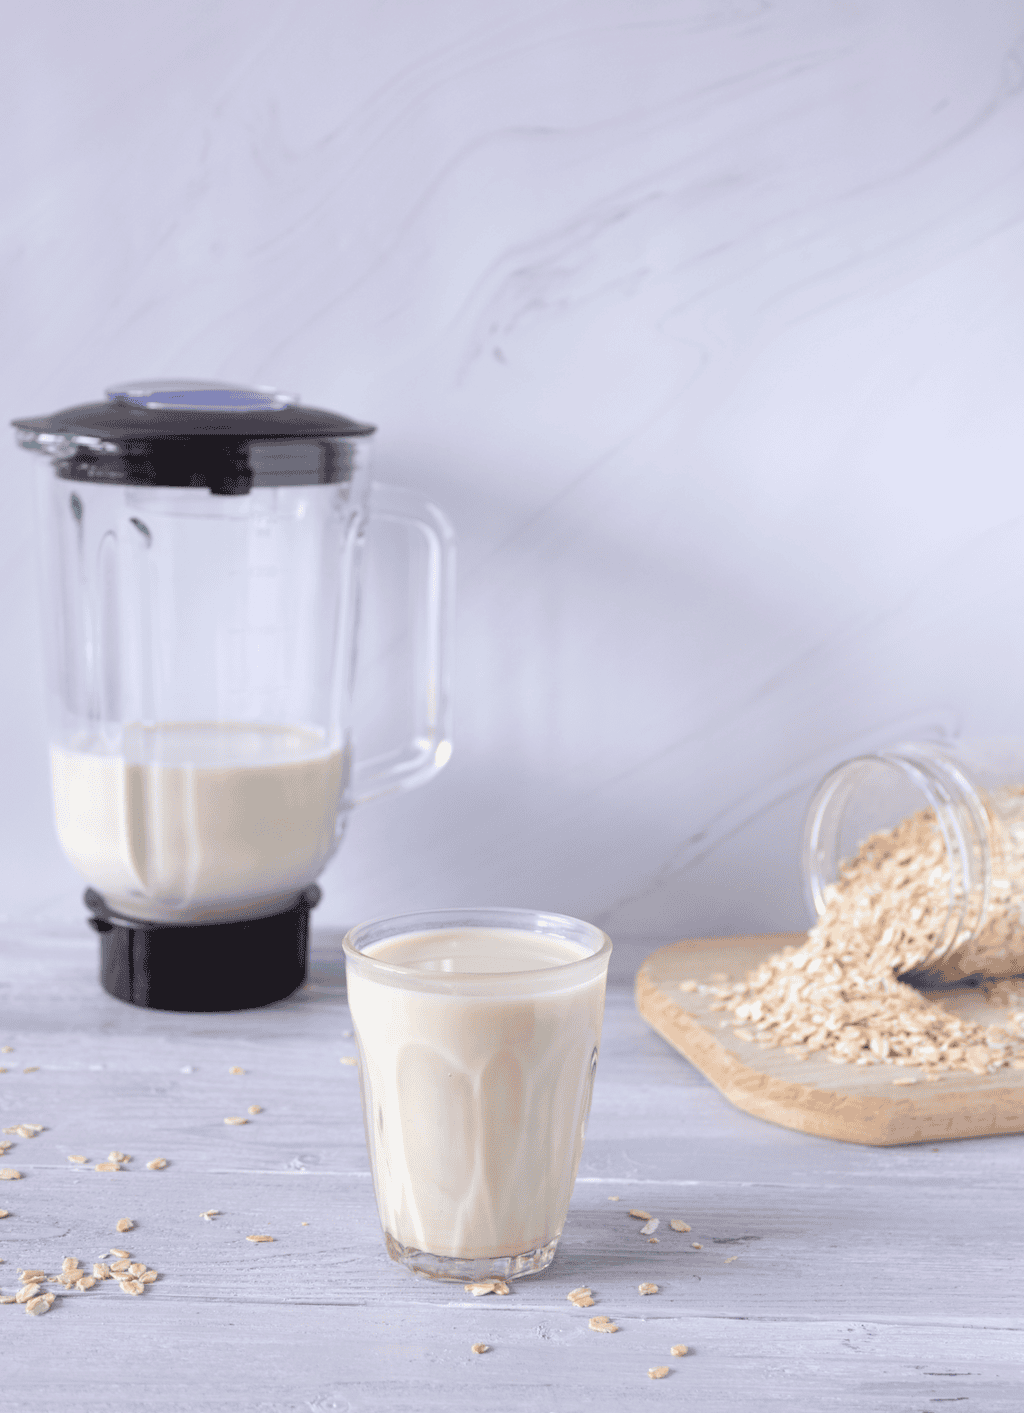
After the chilling, put your oats, cold water, and salt into a blender. If you’re using dates or cashews, put those in now, too. Blend everything on high for 20 to 30 seconds, which should be exactly when the mix looks creamy and white. Do not blend longer than 30 seconds.
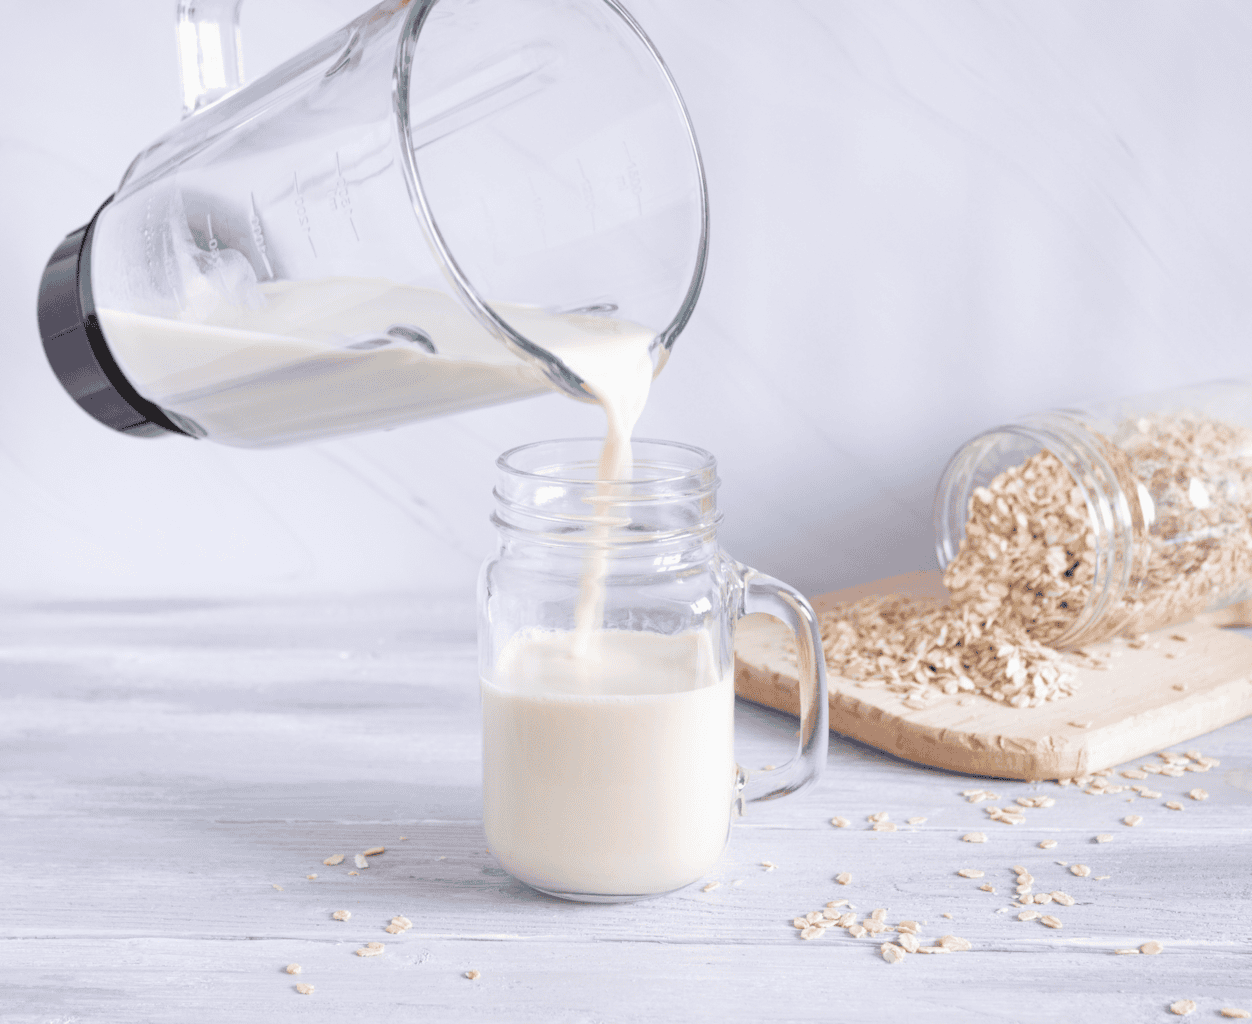
If you blend longer than 30 seconds, the blender will generate heat, which makes your milk slimy, and that’s what we’re avoiding here. Of course, if your blender is less powerful, you can go a little longer, but stop the moment it looks smooth.
Tip: If you decide to use something like maple syrup, honey, or vanilla, you can add it after straining rather than before because some of the flavor would get left behind; it’s easy to whisk them in at the end.
4. Strain
Put your nut milk bag or fine-mesh strainer over a large bowl and pour the blended mixture through it.
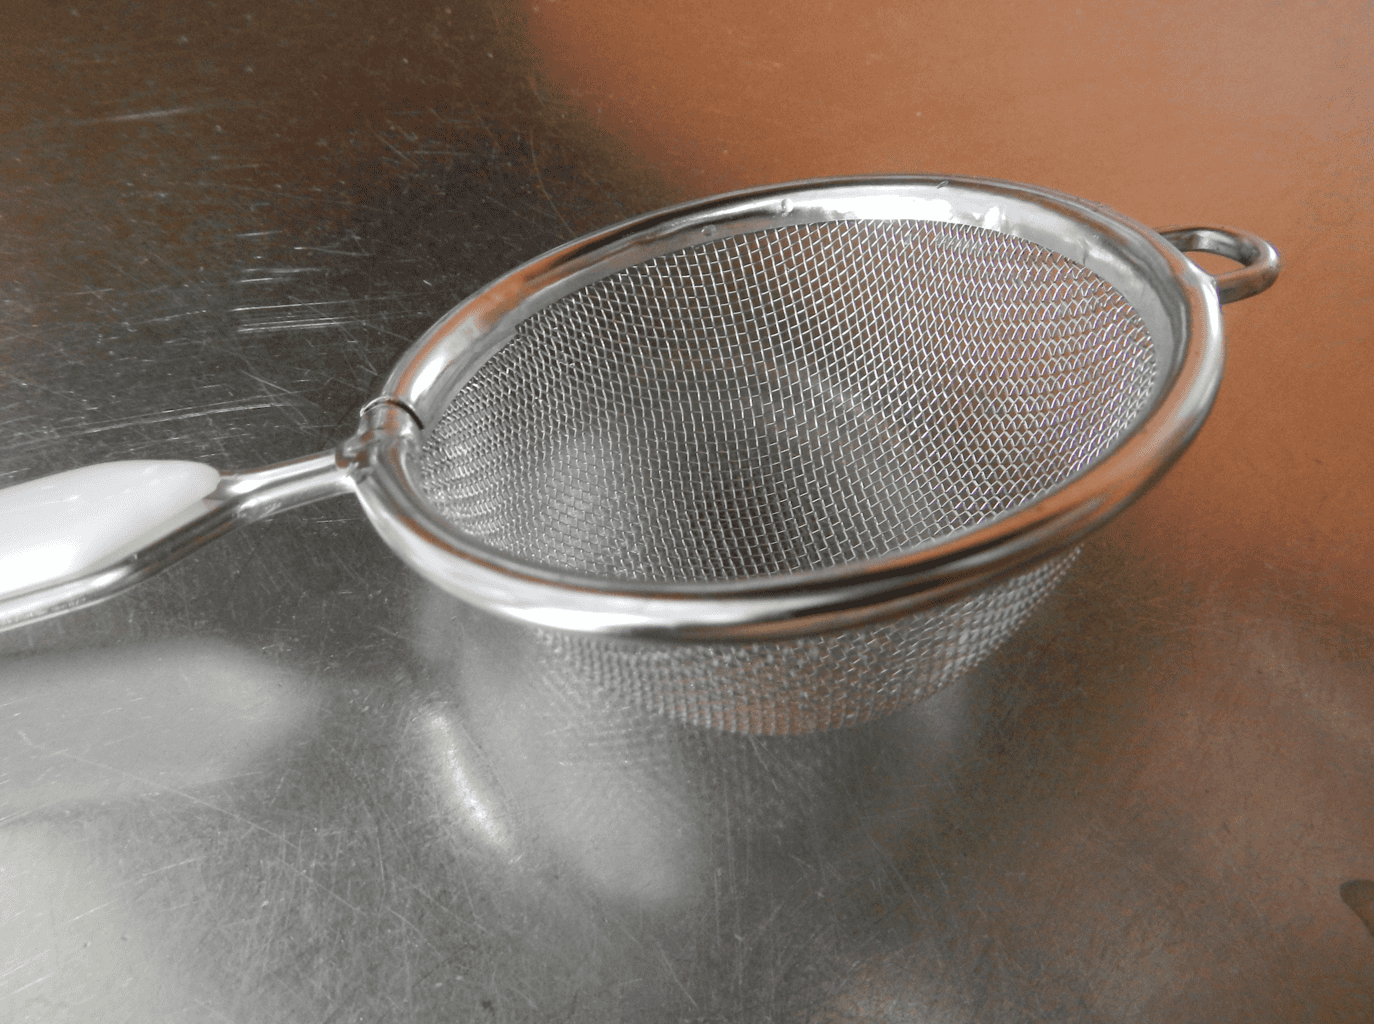
If you’ve made almond milk before, you’re probably used to wringing the bag hard to get every drop out, but you should NOT do that with oats. Doing so will force the starchy, gummy bits through the fabric and into your milk. Instead, let it drain on its own then give the bag a little squeeze at the end.
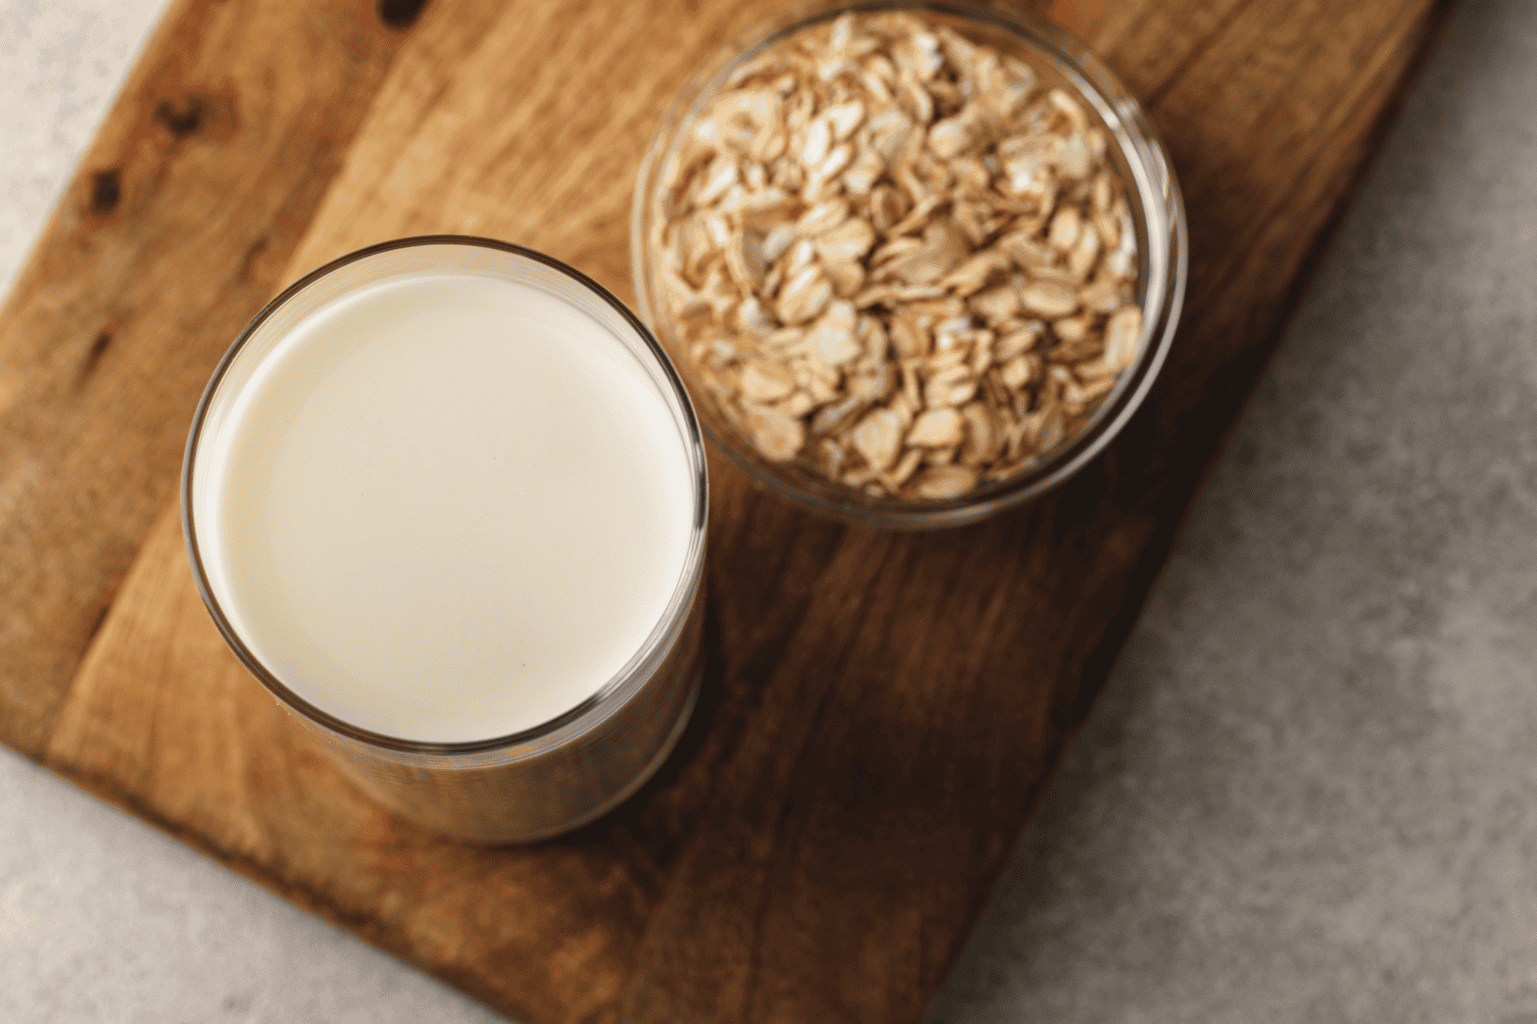
Nut milk bag or strainer?
This is really just a matter of preference. A nut milk bag can catch more leftovers but it’ll tempt you to squeeze it. A fine-mesh metal strainer is faster but lets a little more sediment through. I’ve even poured through a strainer first, then run it through a nut milk bag a second time for the smoothest result, and I personally think it’s worth the extra effort.
Note: Skip cheesecloth because the weave is usually too loose for oat milk.
If your strainer clogs partway through, which tends to happen with oat milk, just pour off what’s collected, rinse the strainer, and keep going.
5. Bottle and chill
Once you’ve done that, pour your oat milk into a glass jar and refrigerate; a quart-size mason jar holds a four-cup batch.
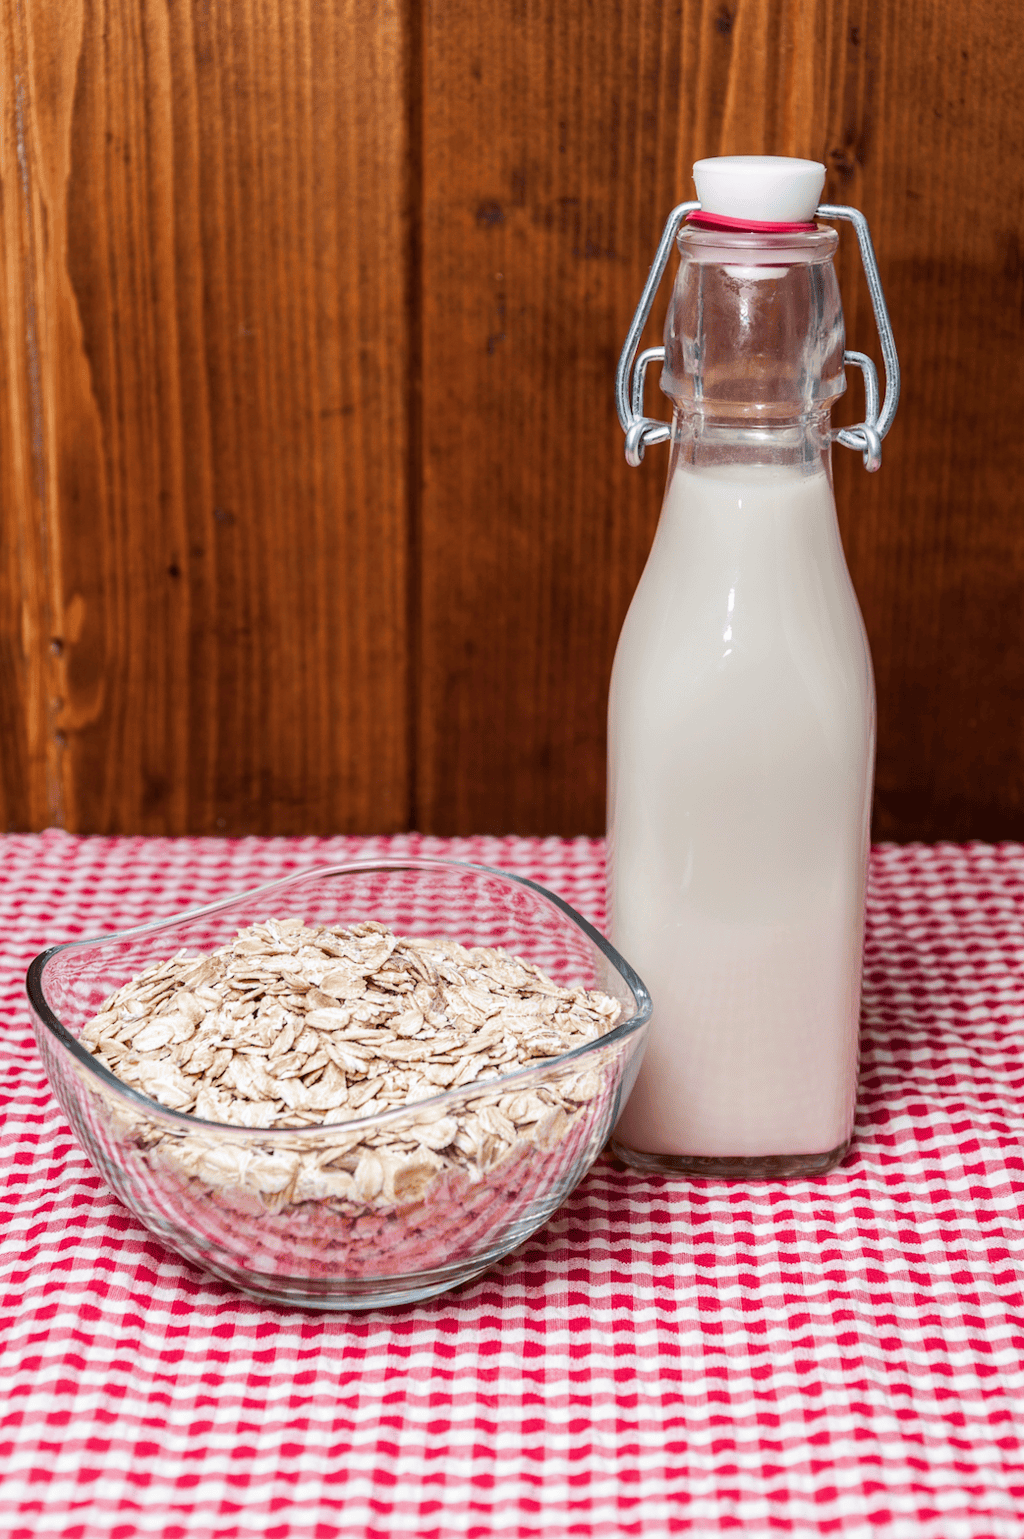
How Long Does Homemade Oat Milk Last?
Plan on using your oat milk within 4 to 5 days. Since there are no preservatives always smell it before using it later than 5 days. If it smells sour, obviously don’t consume it.
If you notice separation in the fridge, that’s completely normal, just give the jar a good shake before pouring.
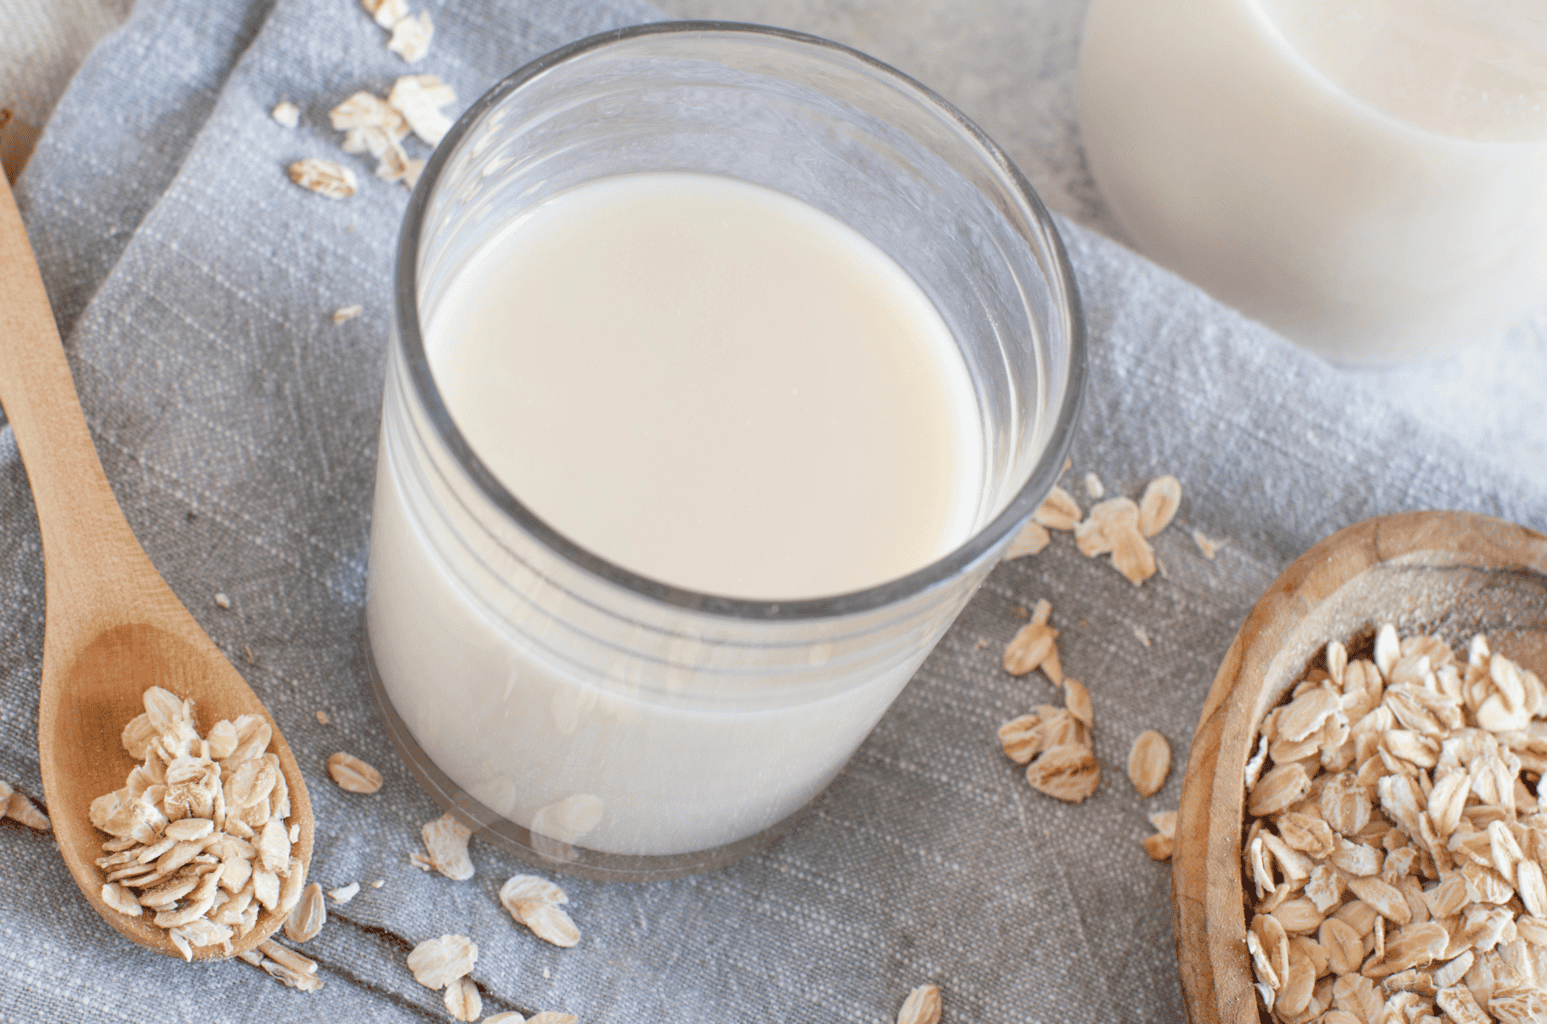
For Creamier Milk, Try Cashews
You’ll notice that store bought oat milk tends to taste really rich and creamy and that’s because of added oils and stabilizers.
If you want something similar with your homemade batch, blend in a small handful of raw cashews. They’ll add natural fat and protein, which makes the milk thicker and it’ll be closer to what you’d buy from the store.
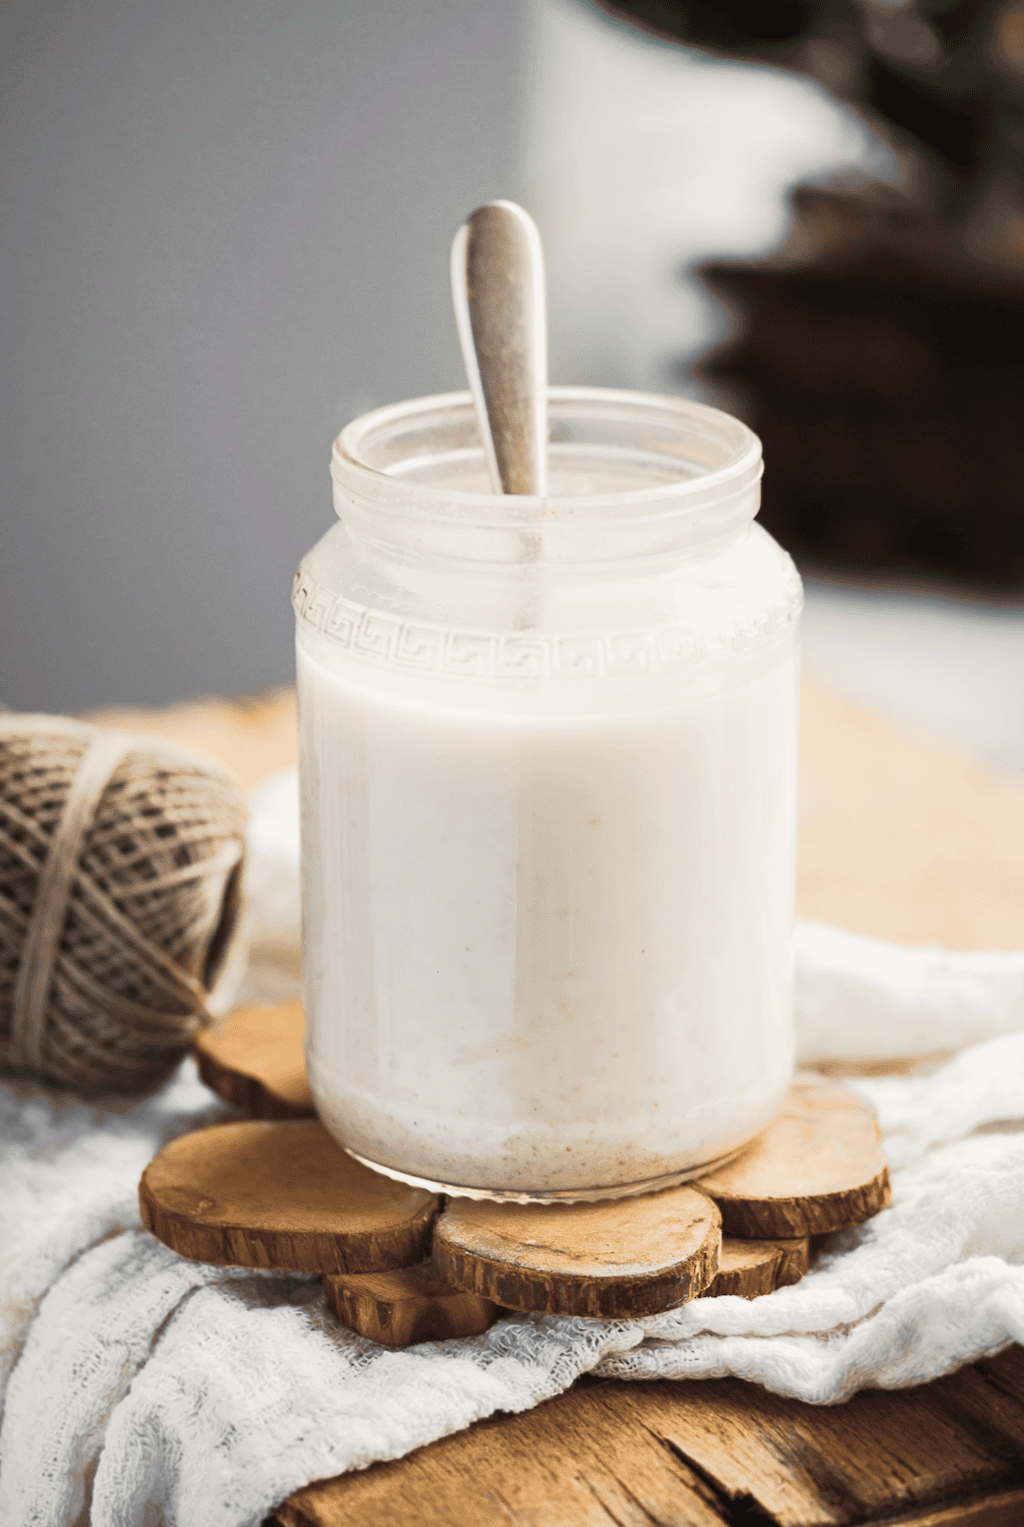
If you don’t have cashews, try slivered almonds or a spoonful of almond flour.
And if you really want to try some modifications, use only 3 cups of water for thicker milk and you won’t have to add anything additional at all.
Can You Use Homemade Oat Milk in Coffee?
This question comes up a lot because who doesn’t love oat milk in coffee? Well, the problem is the heat.
If you’re using your oat milk in iced coffee, you won’t have an issue and it’ll be great as a replacement for half and half, etc. But if you’re adding it to hot coffee, your oat milk doesn’t have the stabilizers that store bought oat milk has, so it tends to thicken and separate. It’s a real bummer and certianly the downfall of homemade oat milk, but it is what it is.
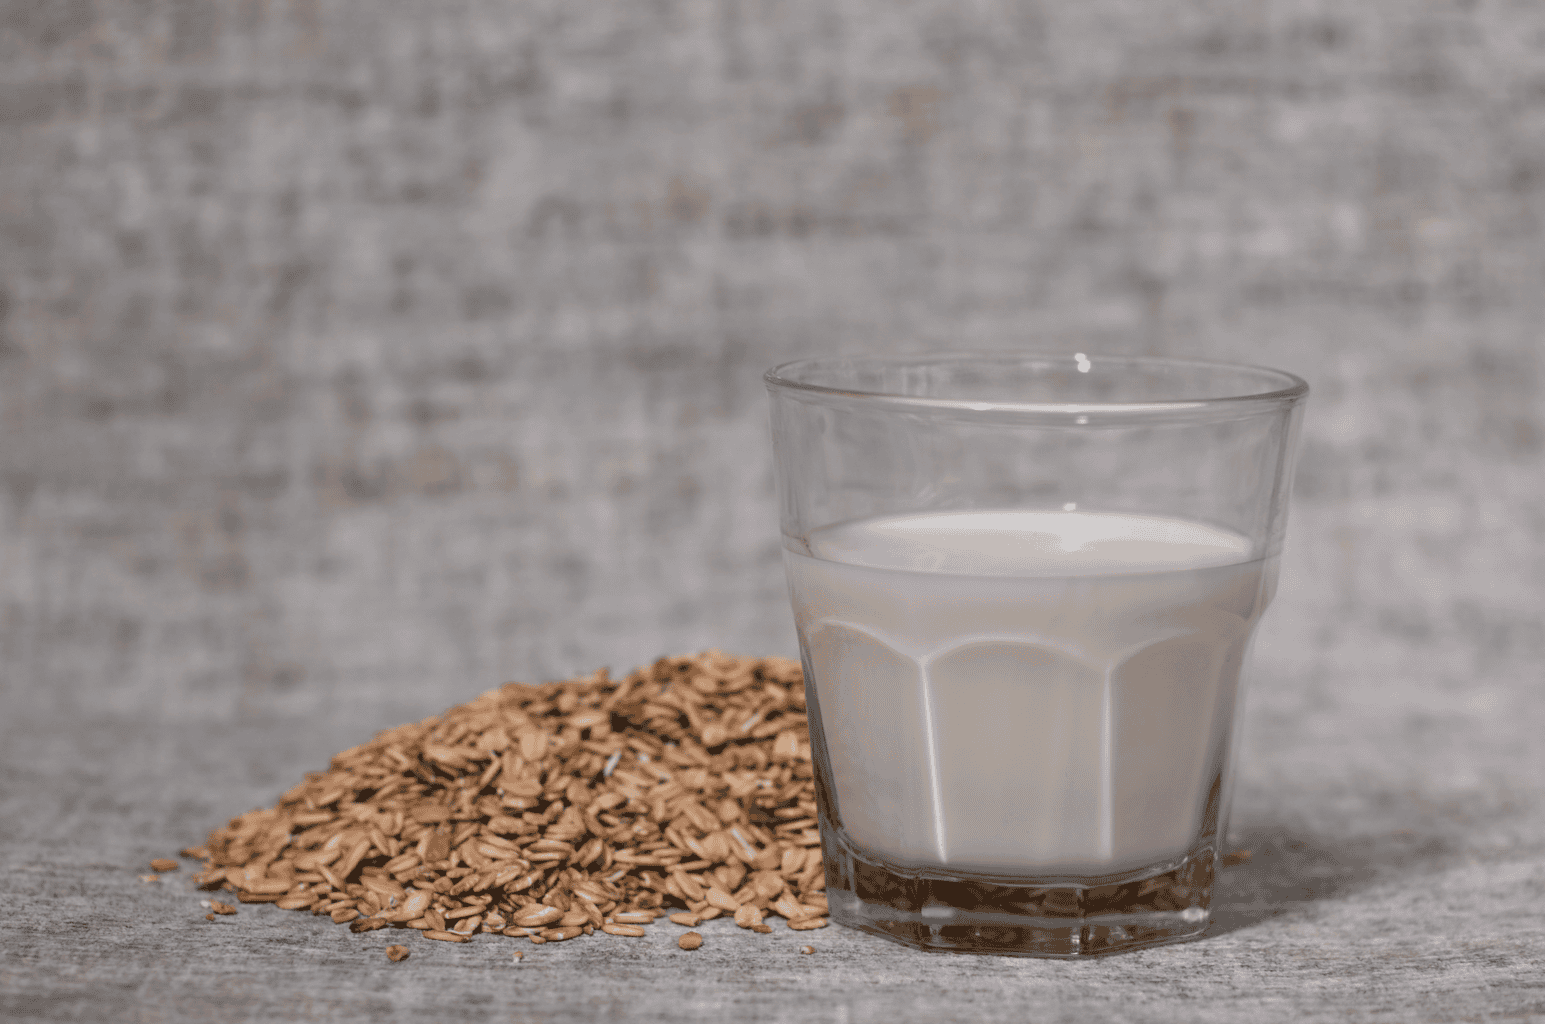
If you do want to use your oat milk in hot coffee, use the cashew version because it’ll hold up better.
Another Trick To Test
Top oat milk brands like Oatly never taste slimy and that’s because they use enzymes to break down the oat starches during processing. It’s also my your store brand oat milk tends to taste a little sweeter.
If you want to try this at home, you certainly can put the time and effort into it. It’s possible. You’ll do it with an amylase enzyme. Here are the steps:
1. Cover 1 cup of rolled oats with water in a bowl.
2. Open a digestive enzyme capsule containing amylase and stir it in.
3. Let it sit for about 15 minutes, stirring once or twice.
4. Drain and rinse the oats well.
5. Blend with cold water and strain as usual.
Once you’ve done this, you’ll have thinner and less slimy oat milk that will hold up much better when heated. It’s an extra step and an extra cost, so most people skip it and are perfectly happy with the basic cold-and-quick method.
What To Do With the Leftover Oat Pulp
Now you might wonder what you should do with the leftover oat pulp. Please don’t throw it away! There are plenty of things you can do with it:
- Stir it into oatmeal or overnight oats.
- Add it to baked goods like muffins, pancakes, or bread dough for extra fiber.
- Blend a spoonful into smoothies.
- Add it to soups and stews to thicken them.
- Freeze it. Keep a zip-lock bag in the freezer and add to it with each batch until you have enough to bake with.
- Feed it to your chickens. Hens love it as a treat.
Common Oat Milk Mistakes
| Mistake | Fix |
|---|---|
| Using warm or room-temp water | Use ice-cold water or add ice |
| Soaking the oats first | Blend them dry |
| Blending too long | 20 to 30 seconds only |
| Squeezing the bag hard | Let it drain, squeeze lightly at the end |
| Using quick or steel-cut oats | Stick with old-fashioned rolled oats |
| Heating it for lattes | Use it cold, or add cashews |
Variations & Making It Your Own
Once you’ve got the basic method down, oat milk is easy to change. You can test things like adding a pinch of cinnamon and a date to make it slightly spicey. You can also blend in a spoonful of cocoa powder for chocolate oat milk (my kids love this). Or stir in a little matcha after straining for an easy iced latte.
It takes about five minutes from start to finish to create oat milk, and after a batch or two you won’t need the recipe anymore.

Erie is the owner and author of Everywhere Ontario. She’s lived and traveled around Ontario for over 30 years, visiting small towns and big cities from the shores of Lake Erie to the crisp northern air of Hearst along the Trans-Canada Highway. She is passionate about maximizing fun and supporting local tourist businesses and is always looking to provide the best recommendations to her fellow Ontario travelers. Read more about Erie here.