
Let’s just say that my first sourdough loaf was ROUGH. It was flat, ridiculously dense, and super gummy in the middle.
The frustrating part was that I had followed the recipe exactly because I had heard it was common to mess up your first few loaves, and I swore up and down that wouldn’t be me.
Womp, womp.
So I watched more videos, I bought a banneton, a lame, and a Dutch oven because I was bound and determined to be good at making sourdough. I didn’t care how much it cost me.
After all of these purchases, my loaves did get better but not by much.
That was when I started to realize that sourdough recipes are very.. rigid. They tell you what to mix, how long to wait, what to bake it at, etc. But the reality is that baking sourdough isn’t like baking a cake. Sourdough requires you to care for a living entity, and that’s really where I was going wrong.
So here are ten things I wish someone had told me to begin with instead of finally figuring them out for myself a year later.
SECRET #1: Start Your Starter With Whole Grain Flour
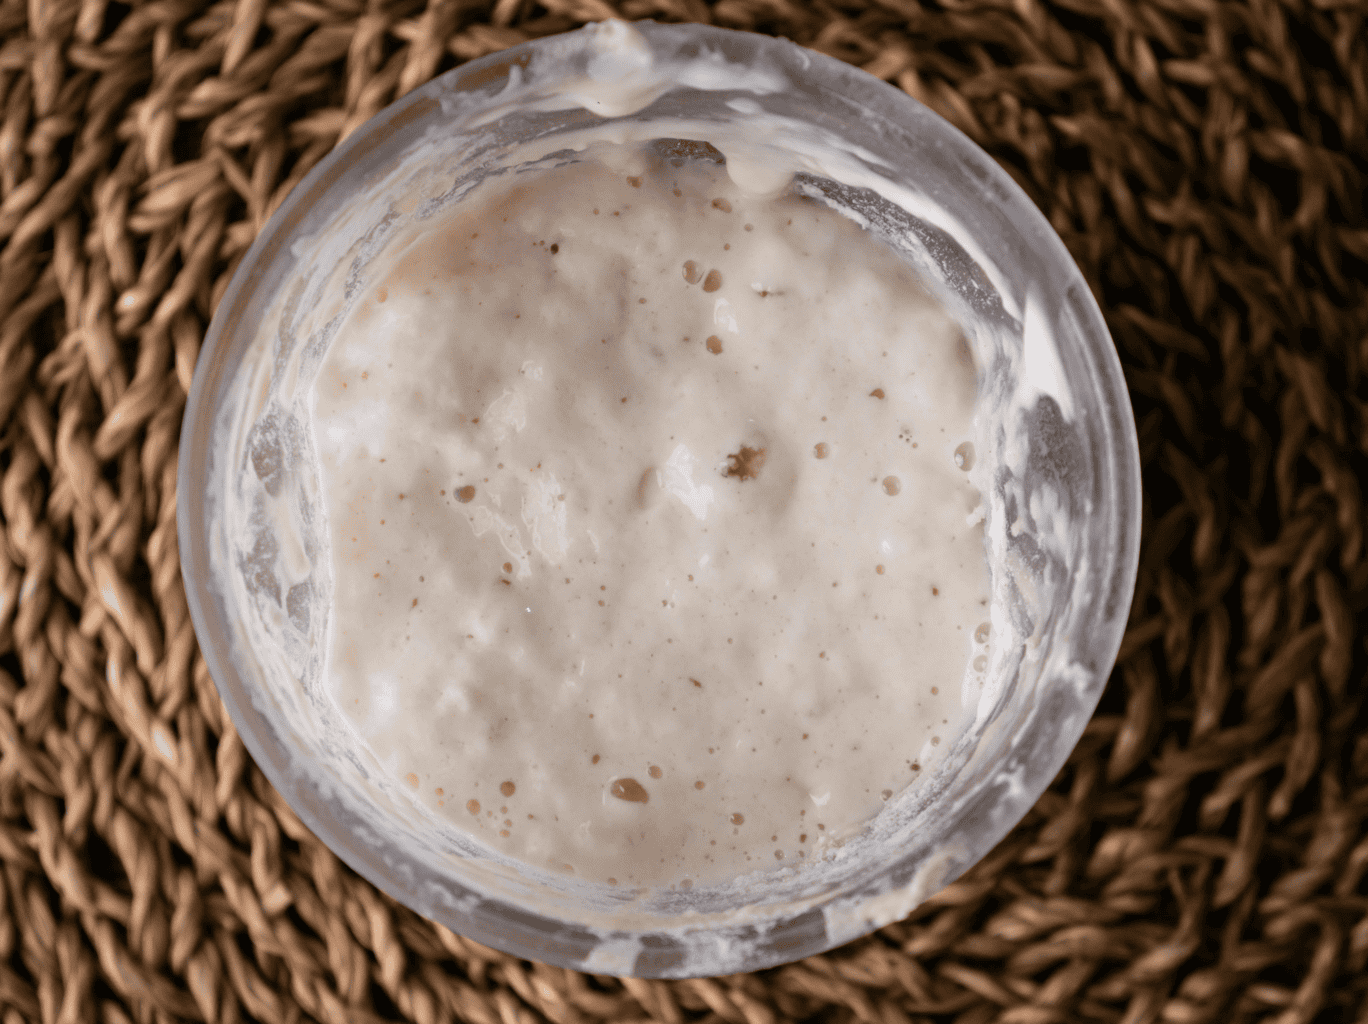
We all know that sourdough requires starter, and this is something you must create and tend to for days. The part that most newbies get wrong is the kind of flour you’re using.
Sure, it’s easy to use white flour because you probably bake with that. But white flour has had the bran and germ stripped out of it, and that’s where most of the yeast and bacteria come from. And you desperately need that for your starter.
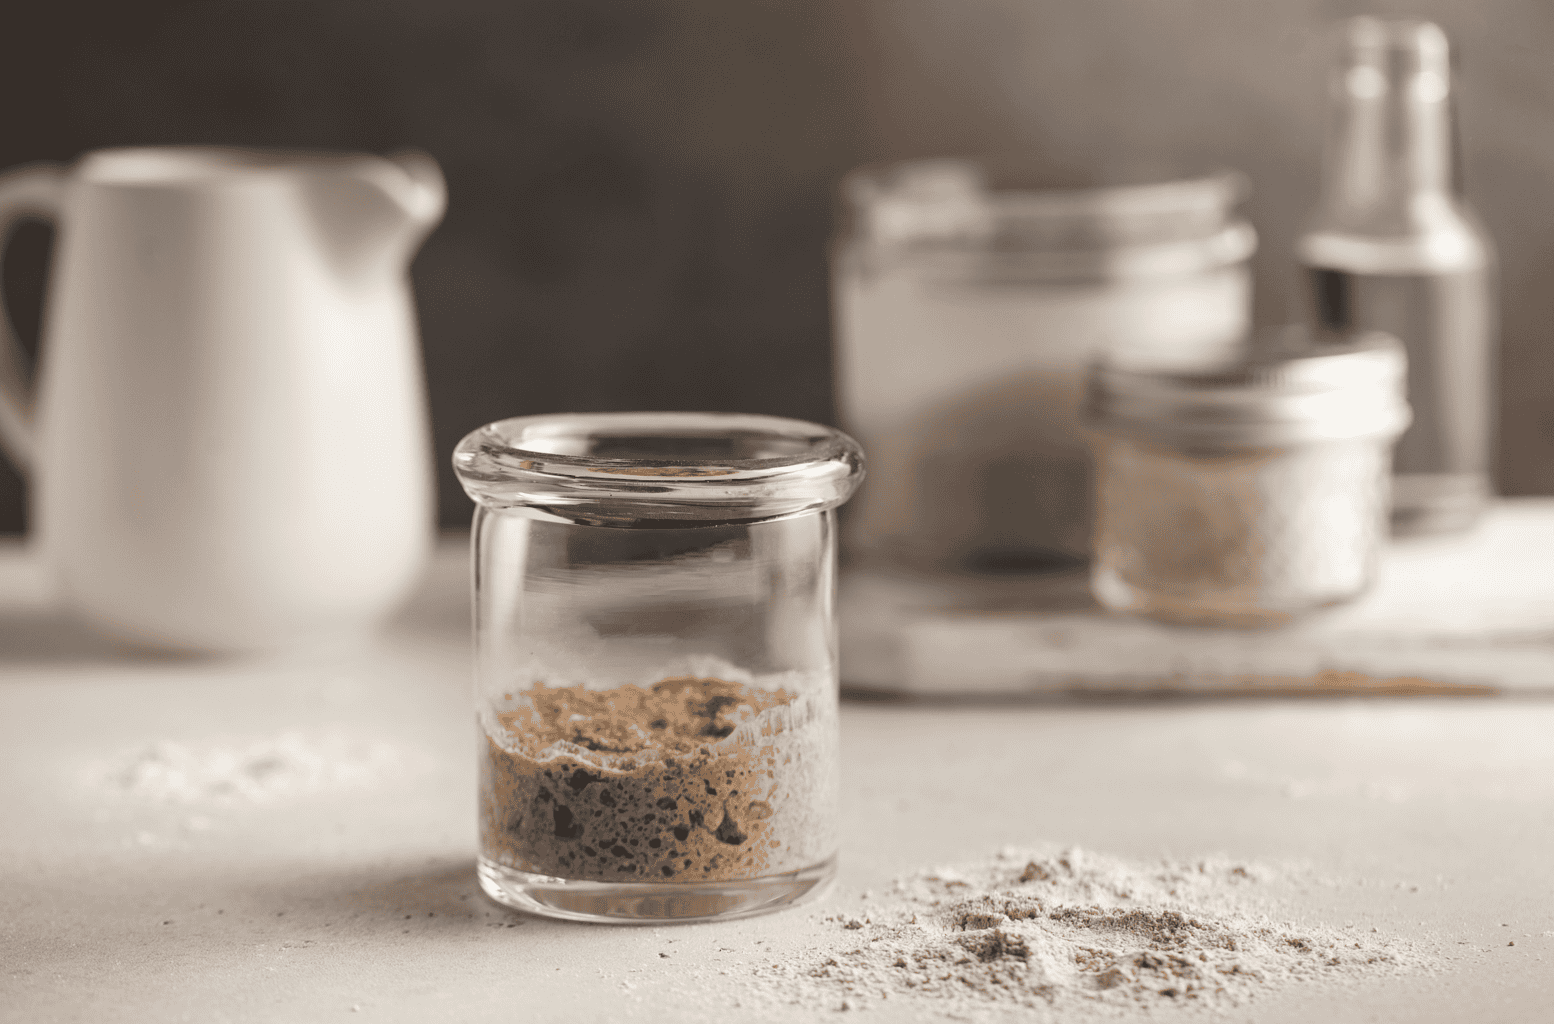
On the contrary, whole grain flour contains more microorganisms, which will help your starter really flourish.
Building your starter with whole grain flour could be the difference between having your starter double in a week versus two or three weeks.
Now, above all, if you want your starter to build quickly, rye is another great option and will outpace both white flour and whole grain flour.
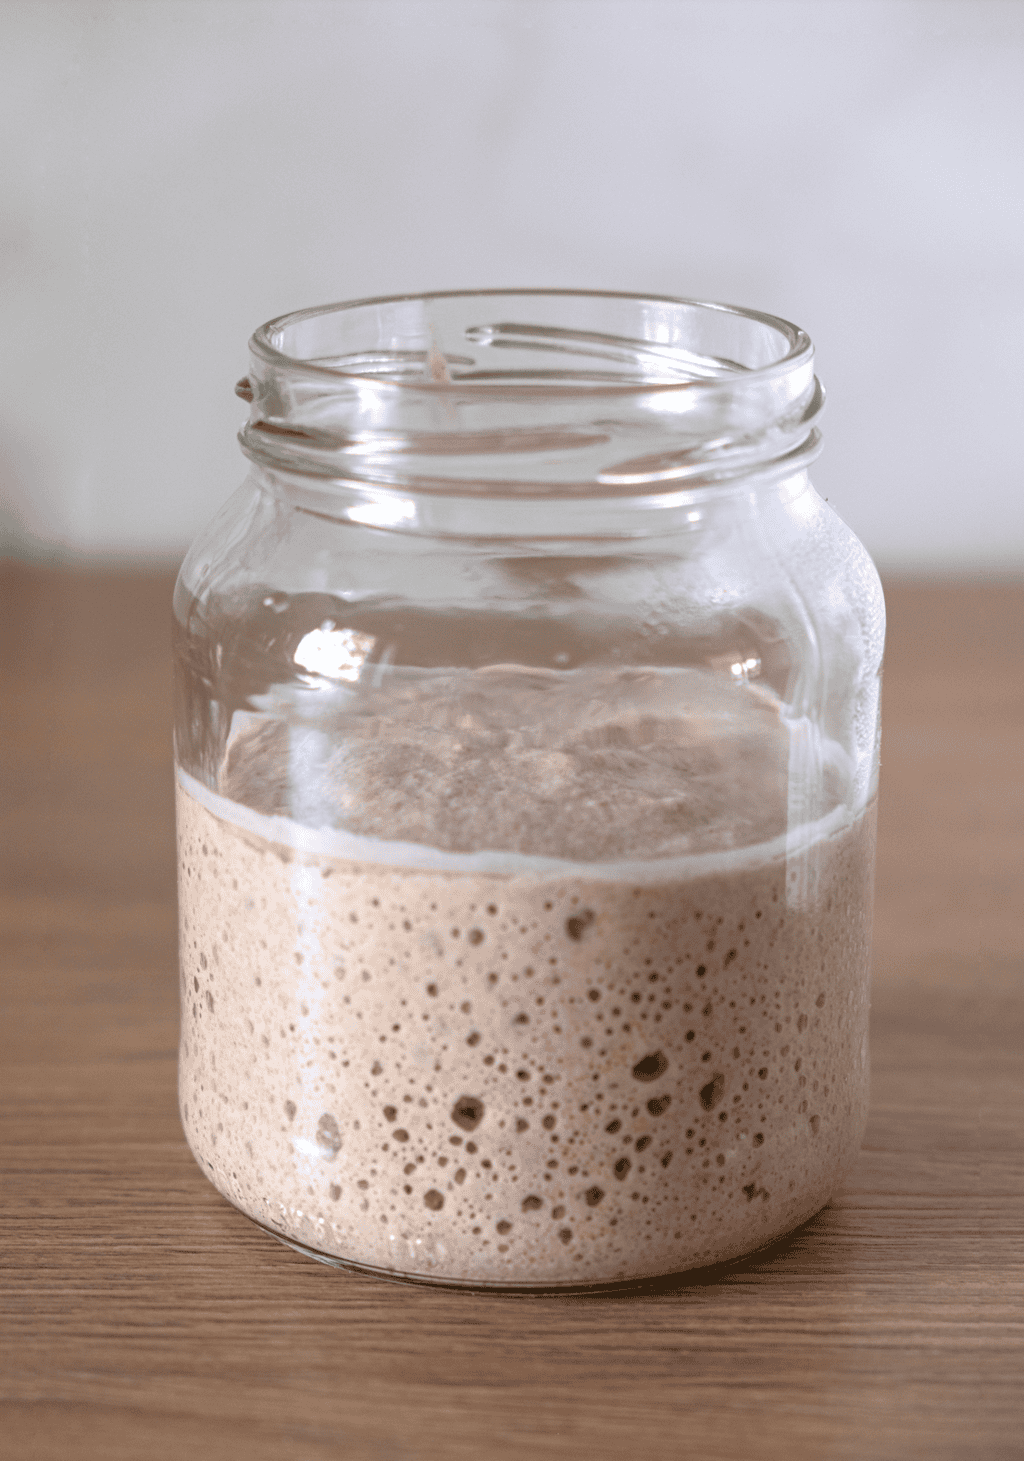
Important Tip: You don’t have to keep feeding your starter whole grain flour. Once you have it thriving, then use whatever flour you want, including white flour. This will not harm your starter since it’ll already be very established.
That said, if your starter is alive but looks to be struggling, don’t start everything over. Instead, swap 20% of its feedings for whole grain flour for the next few feedings. This should easily help build it back up.
SECRET #2: Your Starter Might Be Too Wet
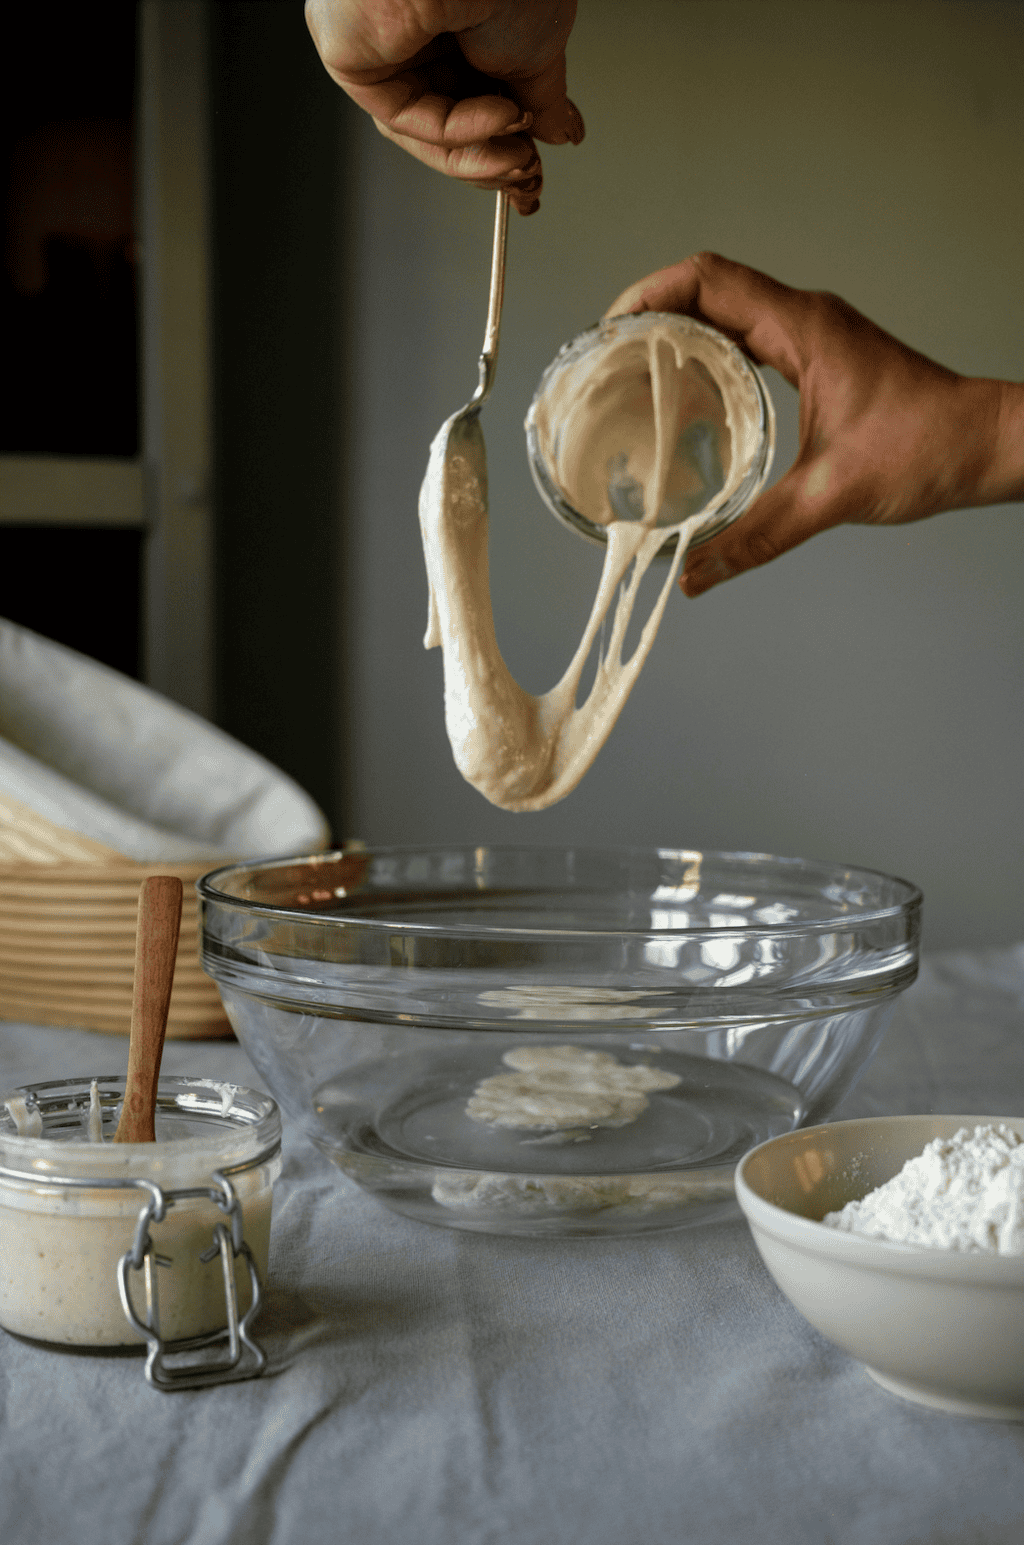
You’ll find that most beginner-friendly sourdough tutorials will tell you to feed your starter with equal amounts of flour and water because it’s the “easy” way to do it.
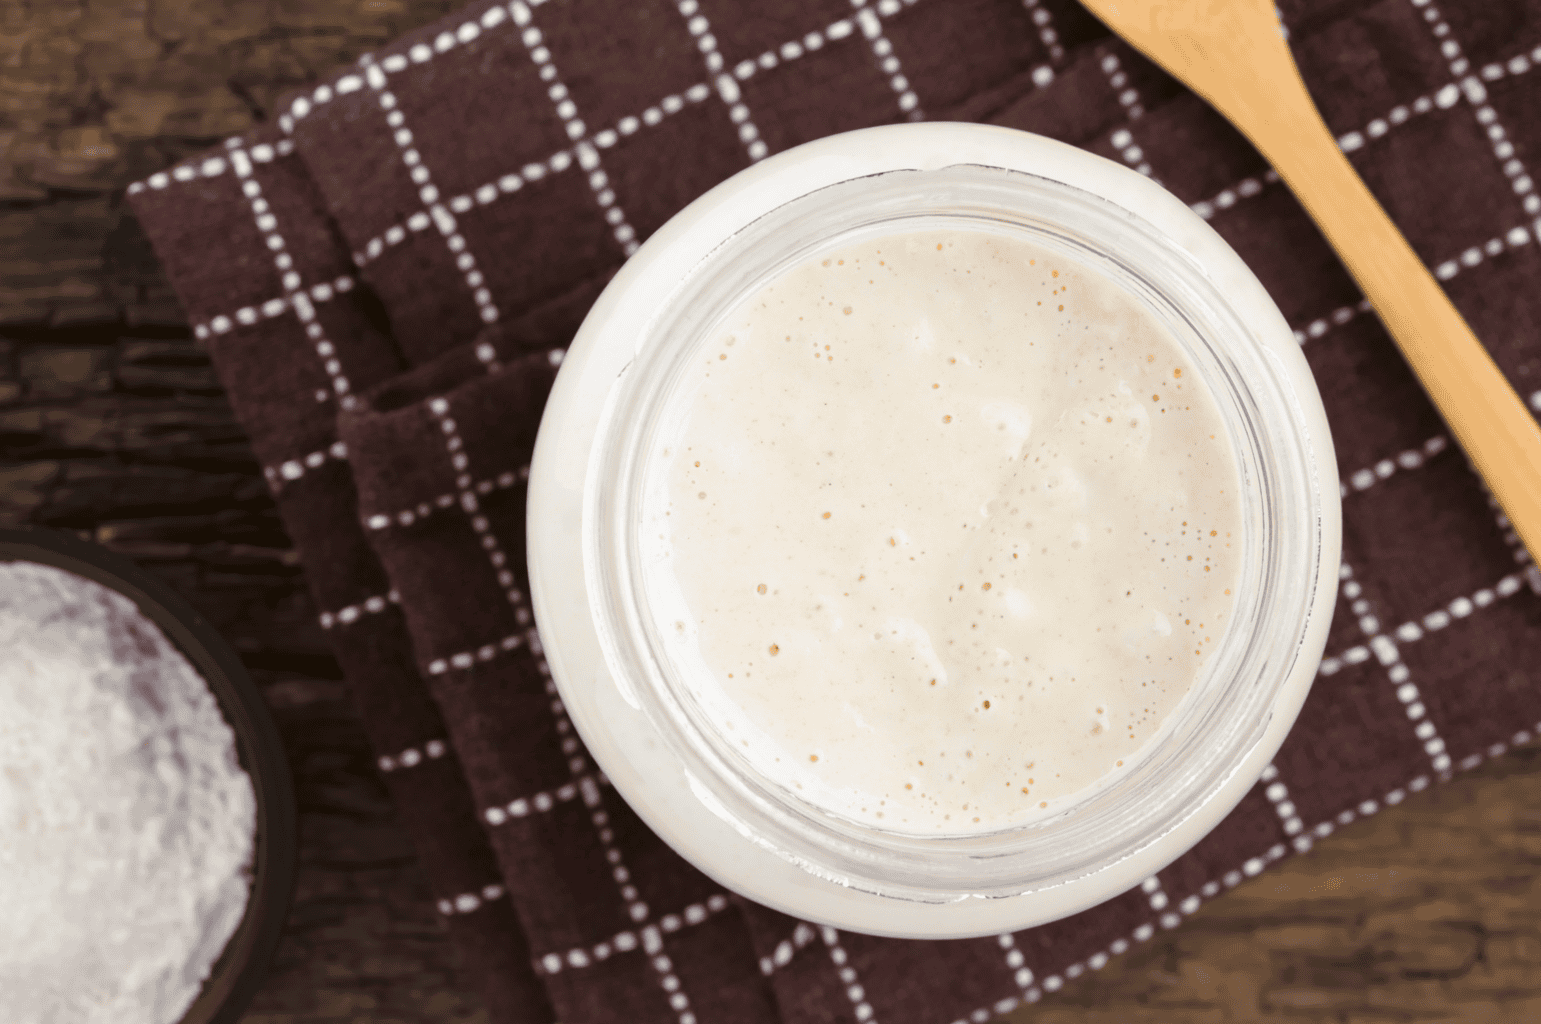
And that does work, but that ratio is actually going to give you something that’s slightly soupy. When your starter is runny like that, it means there’s more bacteria, which produces acid. That acid will eat the gluten you’re trying to work with in your dough.
For most people, a slightly drier starter will balance it out more. You’ll get more yeast, which means more lift because your gluten will survive long enough to hold it.
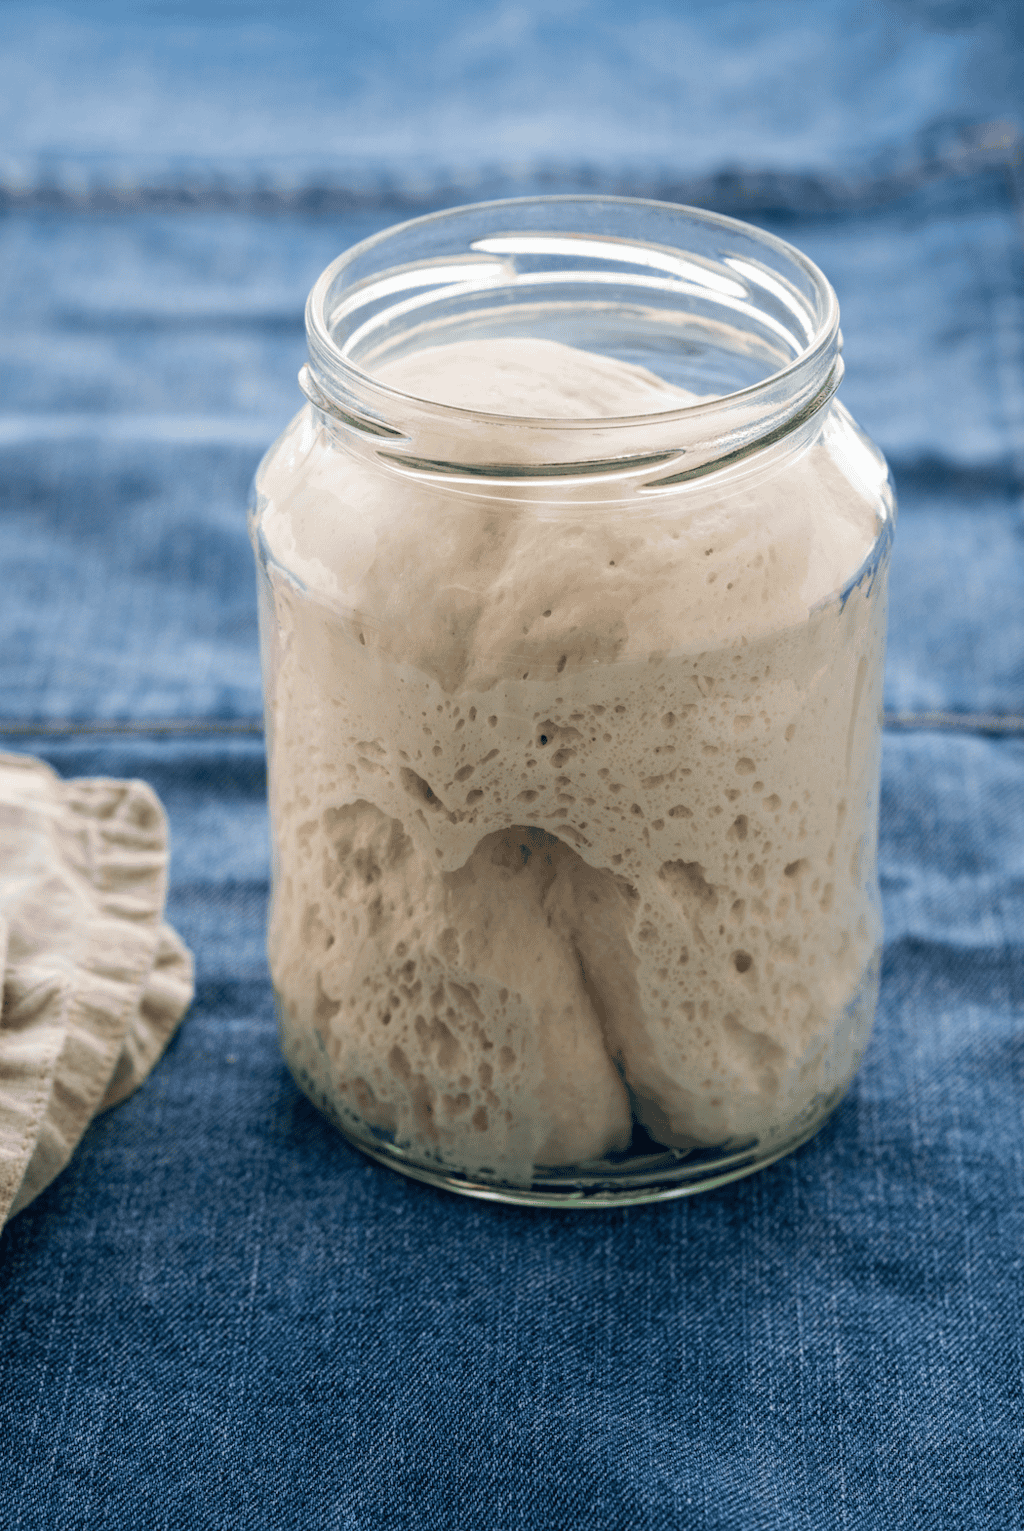
A helpful rule of thumb is that your starter should be as hydrated as the dough you’re making. So if your loaf is 65% hydration, that’s how much you should feed your starter rather than 100%.
Personally, I switched to a stiffer starter, and it has completely changed my final product.
Important Note: Stiffer starter is more difficult to mix into your dough. It also doesn’t dome up the way wet starter tends to do, so you’ll want to determine if it’s ready by the smell and bubbles.
SECRET #3: Use Temperature, Not A Timer
Experienced sourdough bakers know this one, and it can be a huge game-changer.
If a recipe says to “bulk ferment for 8 hours,” that’s a suggestion. Don’t follow the recipe exactly because as I mentioned earlier in this post, sourdough recipes depend on so many different variables.
So what worked for the person who wrote the recipe might not work for you.
Think of it this way.. dough that’s at 80 degrees can finish its ferment in 4-5 hours whereas the same dough at 65 degrees can take 15.
So if the person who wrote the recipe has a warm kitchen and you’re baking in a cold one, that difference can mean a lot. Following their recipe might mean that you’re pulling your dough too early and you’ll get a dense brick.
What should you do instead? Here are my recommendations:
- Use warm water when you mix. It should be just warm enough to land your finished dough around 78-80 degrees.
- Put your dough somewhere warm. A lot of us put it in the oven with just the lights on.
- Buy a cheap thermometer and use it. A cheap one is $12 and it will be a very effective tool for understanding your loaf.
Once my dough was in that 78-80 window every time, it became really predictable, and that’s when I finally felt like I had a good grip on it.
SECRET #4: Stop Waiting For It To Double
This should honestly be secret #1, so if you take anything from this post, make it this.
A lot of beginner sourdough advice says to let your dough double in size during bulk fermentation. But the truth is that once your sourdought has doubled, it has usually gone too far.
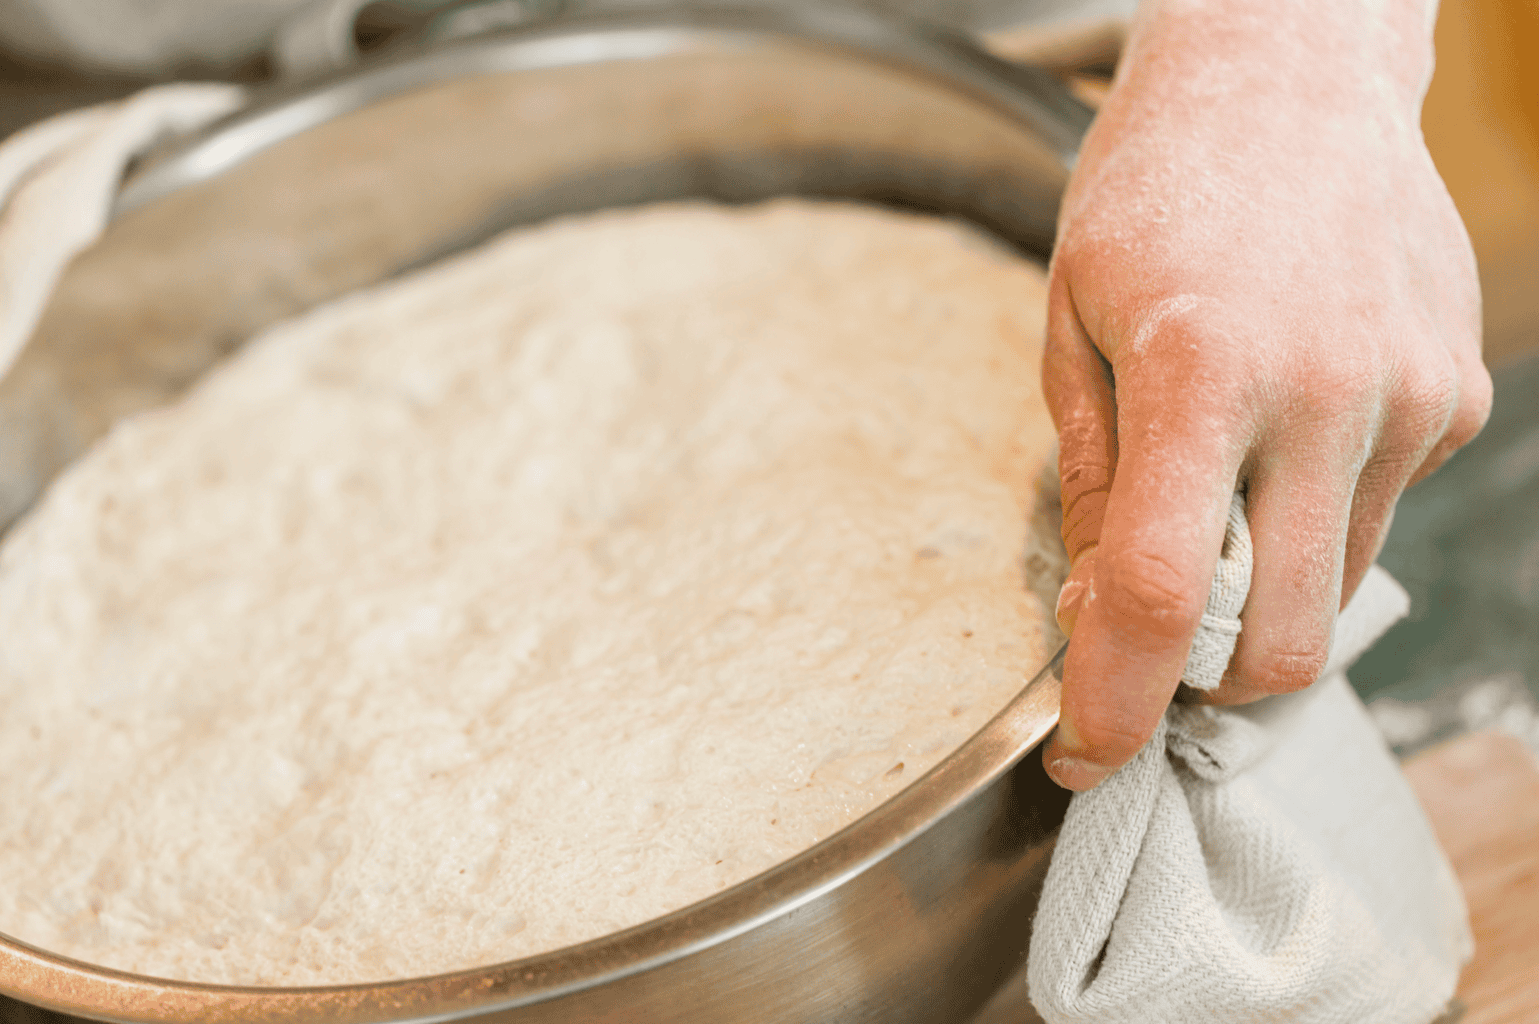
The bacteria have been working and the gluten is breaking down. You’ll notice this particularly when you go to shape becuase the dough will turn sticky and it won’t hold tension.
That’s when a lot of people think that they haven’t kneaded it enough. But really the issue is overfermentation.
The percentage you want will depend on how warm your dough is. Warmer dough should get cut off earlier, and cooler dough can go longer.
And if you’re doing an overnight cold proof in the fridge, keep in mind that fermenting continues in there while it cools, so leave room for that, too.
Most people and in the 25-50% range, but you’ll figure out your own number after you bake a few loaves with the same flour.
Remember, it’s not about following a recipe perfectly or following the rules. There are no rules in sourdough, only hints and experience.
Pay attention to the visual cues more than anything..
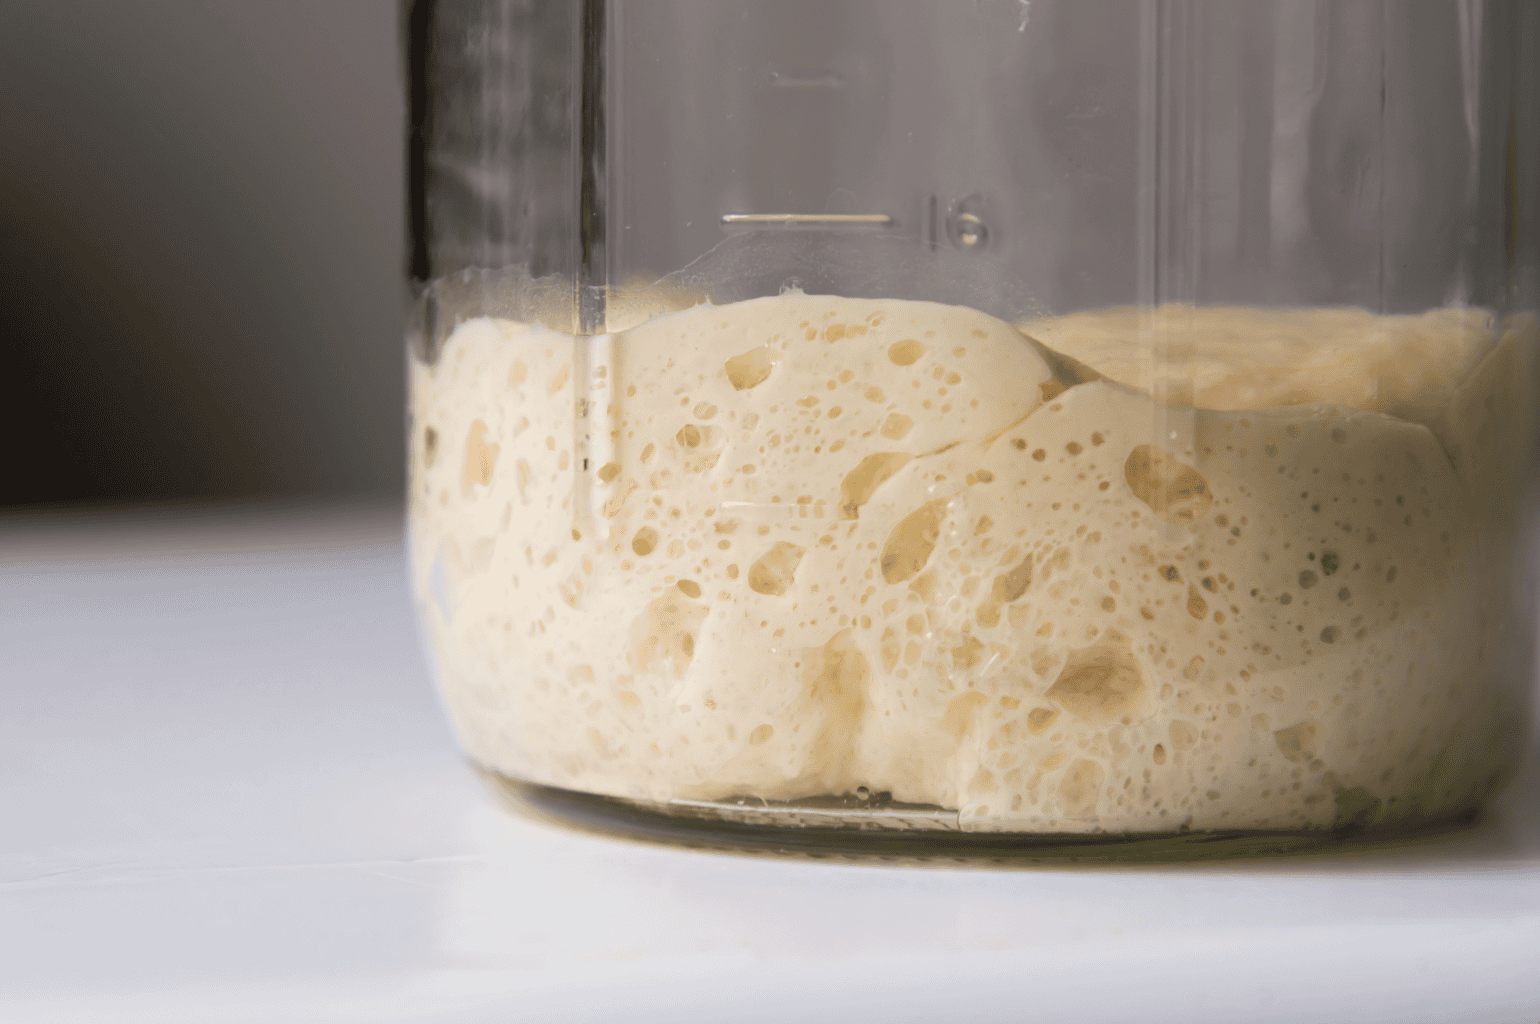
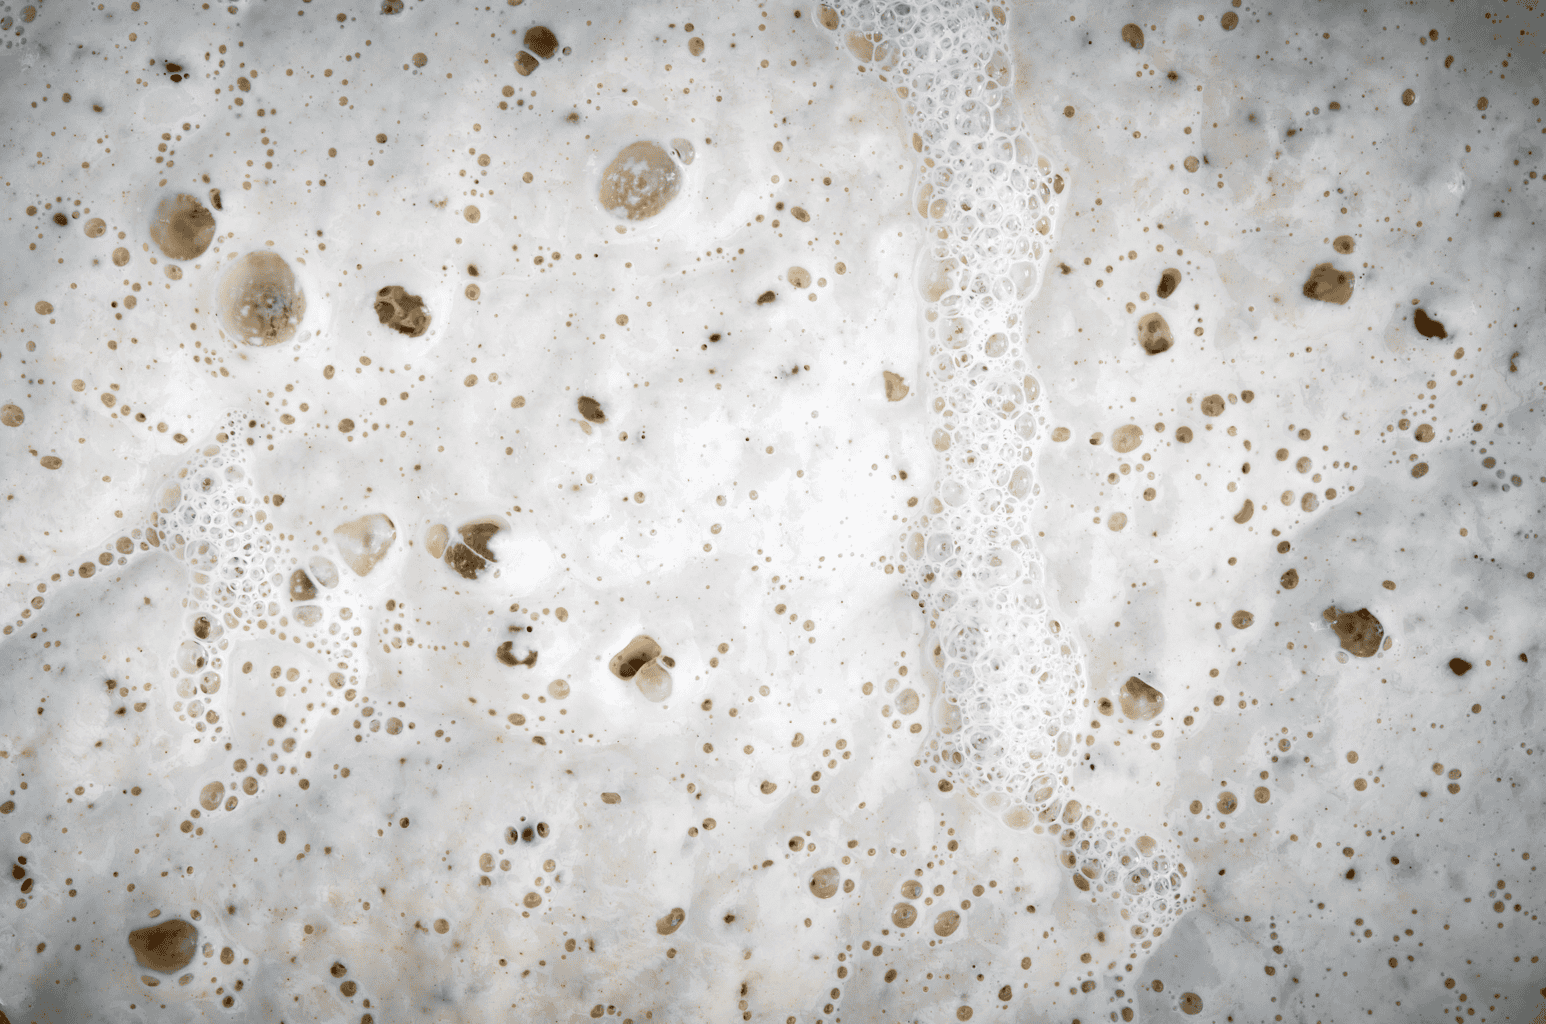
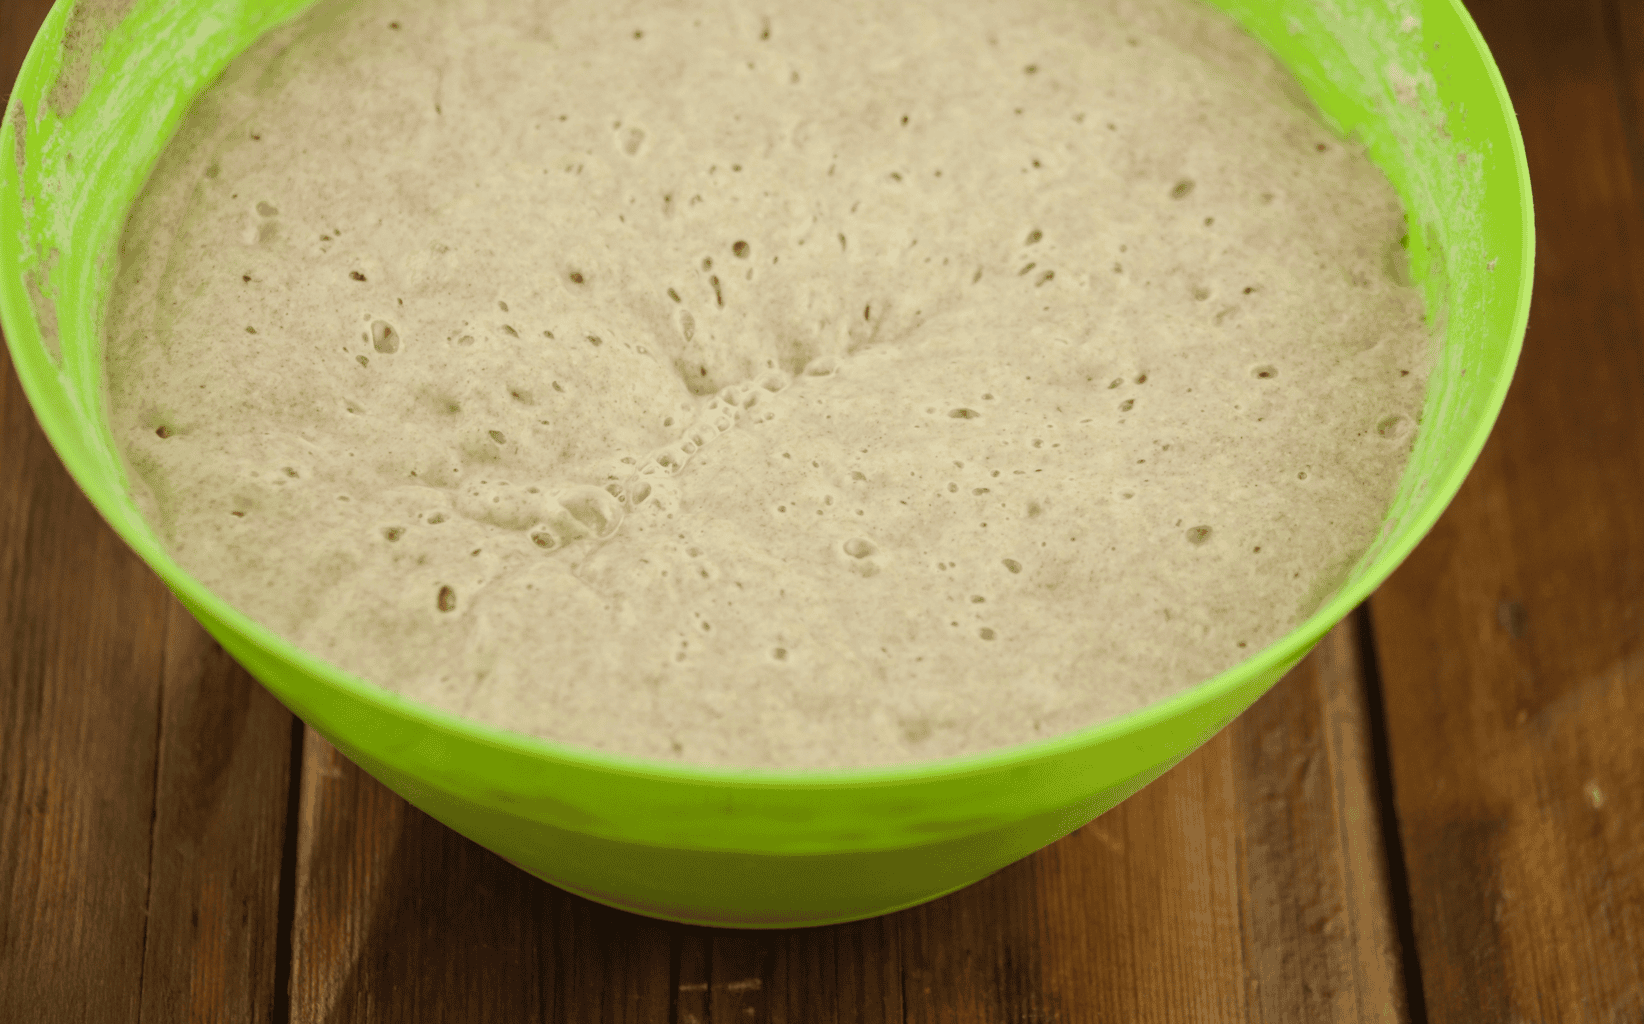
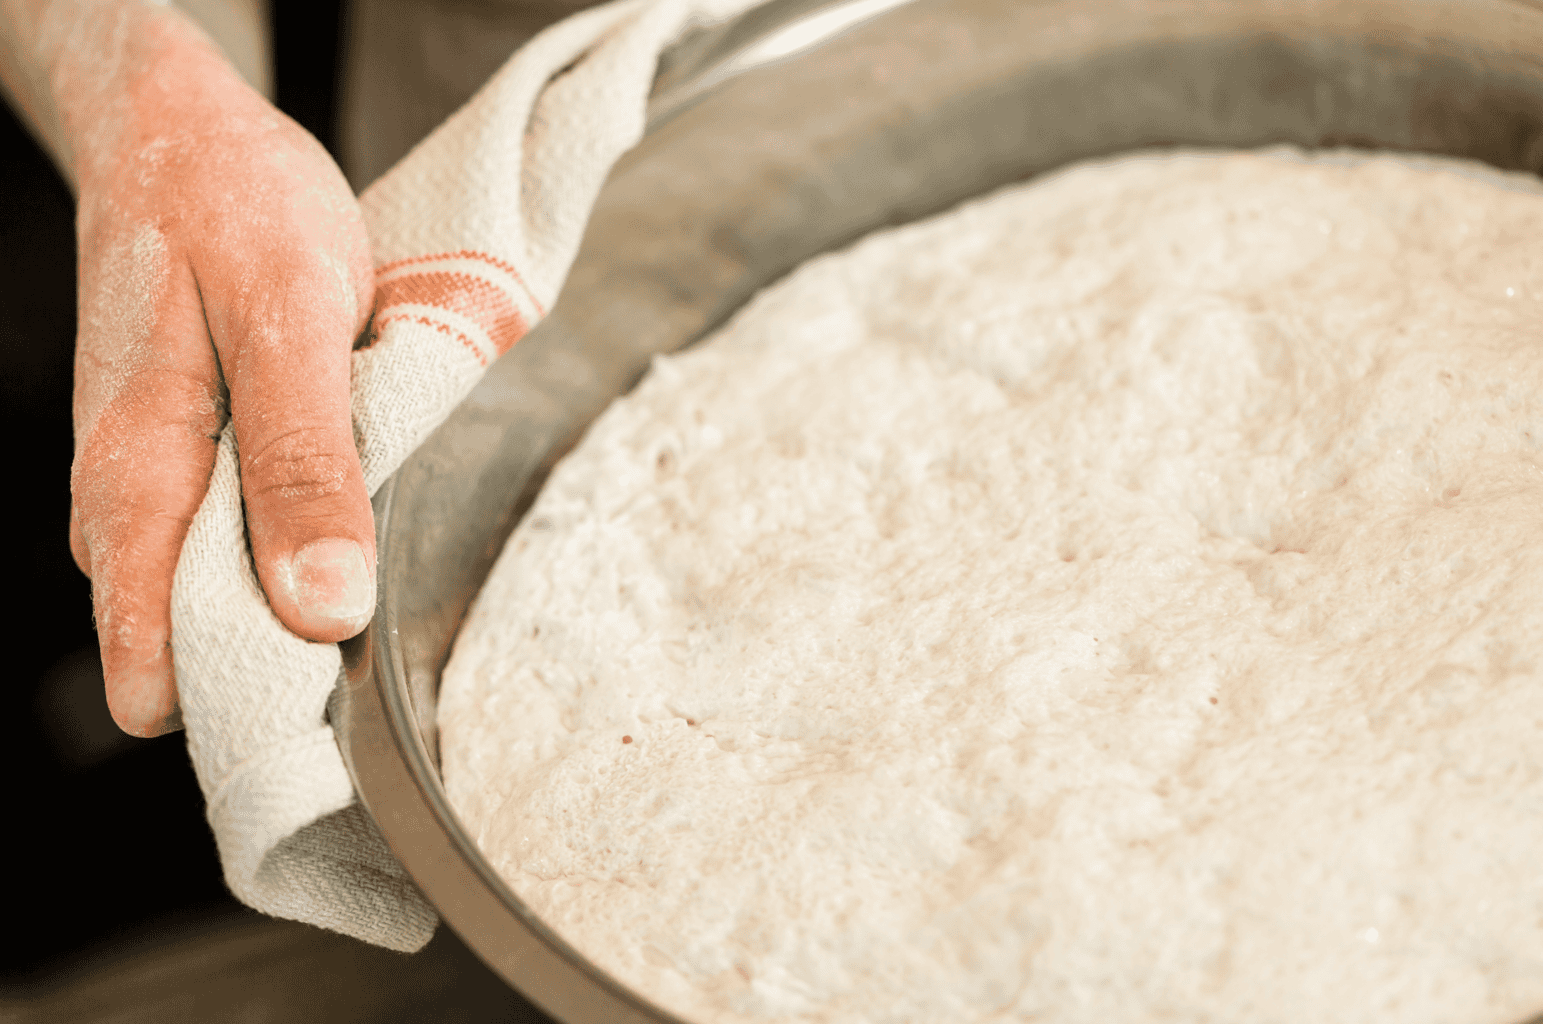
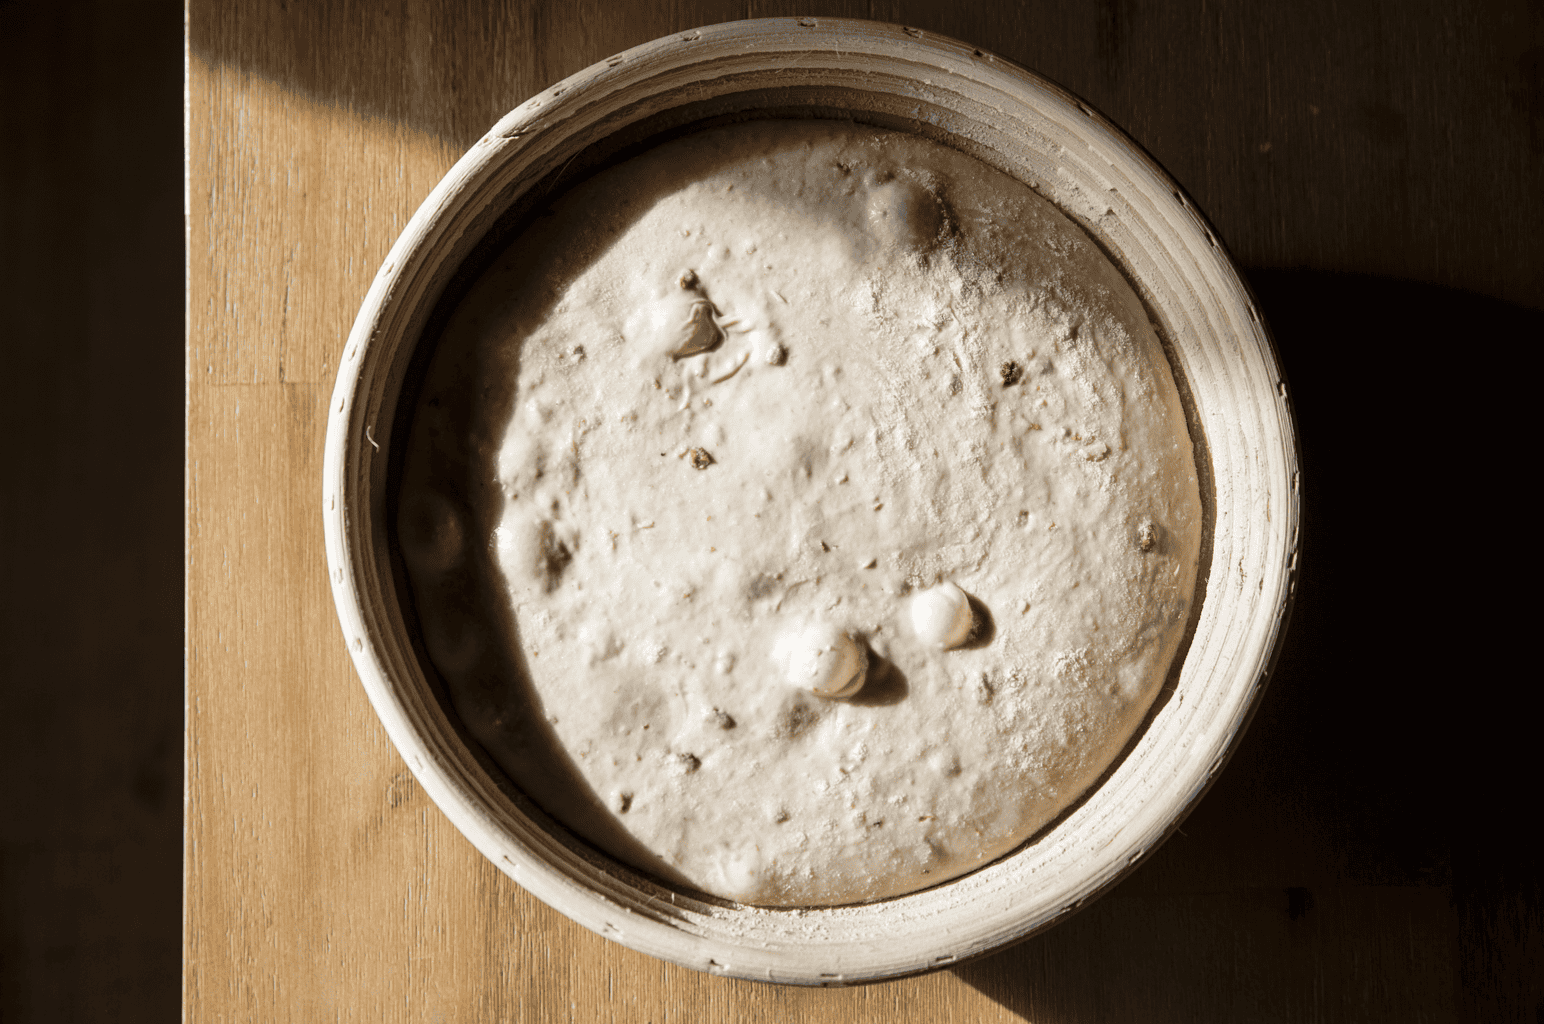
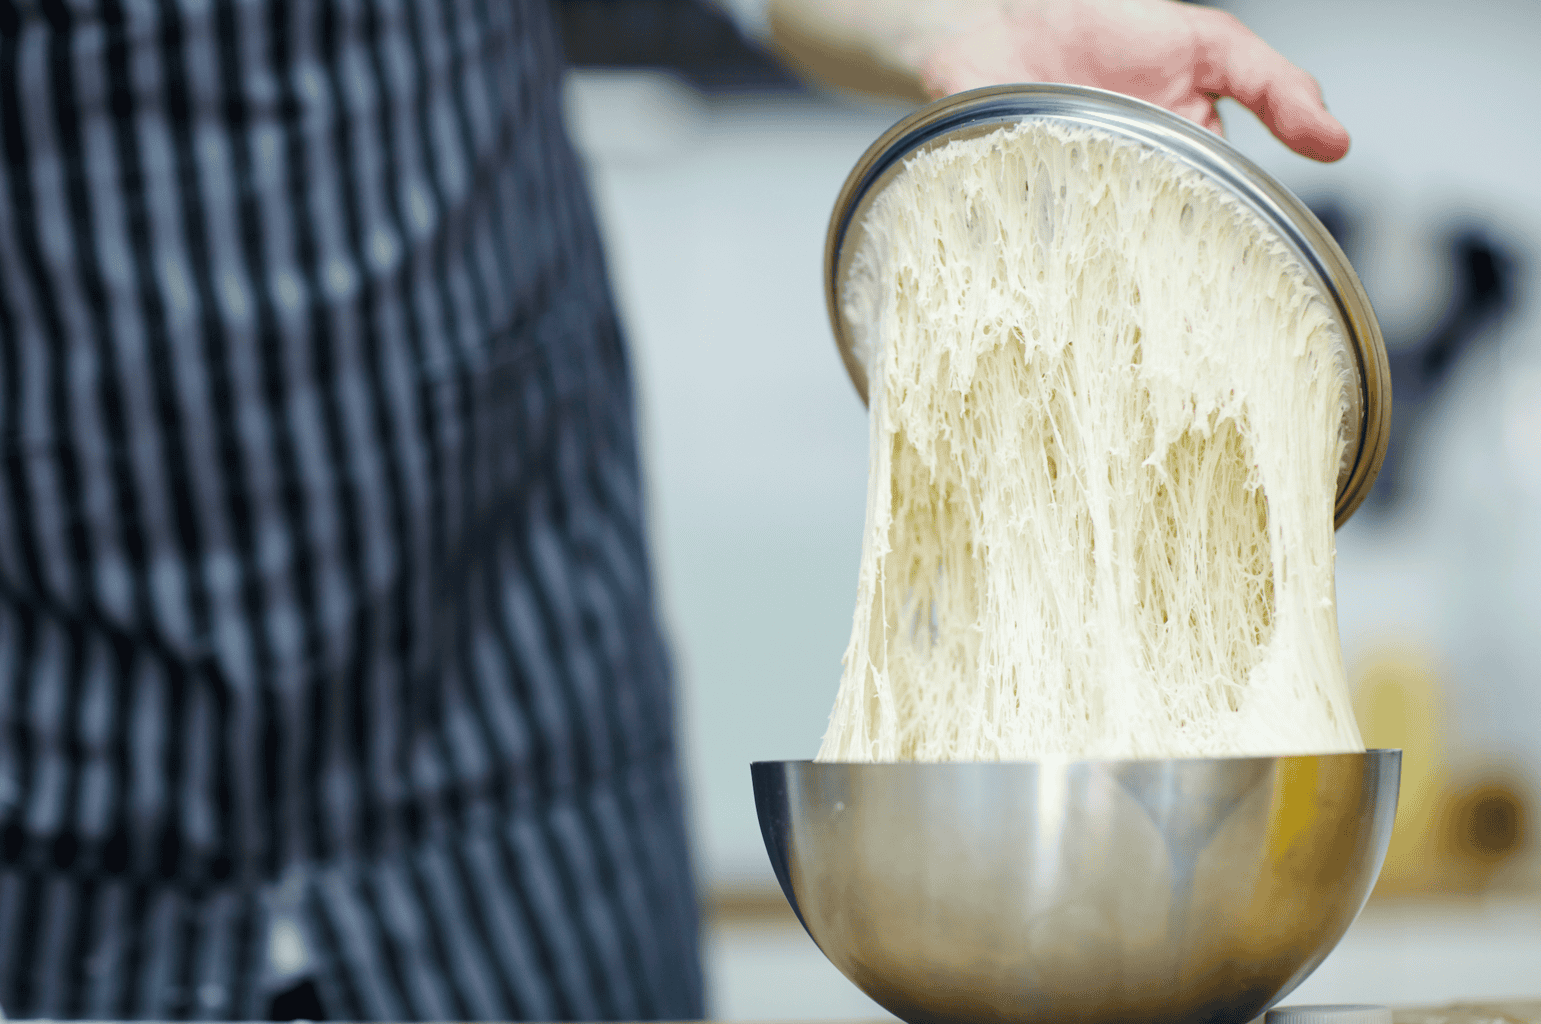
When bulk is done, the dough will be domed, it’ll jiggle when you shake the container, it’ll pull away from the sides, and there will be bubbles all over the surface and bottom.
Important Tip: If your dough is a sticky mess when you go to shape it, you’re probably overfermenting it. Reduce your bulk by an hour and see if that changes things for you.
SECRET #5: The Jar Trick
Once you know you’re aiming for a specific percentage rise, you’ll need to know how to measure the bowl of dough. Which is easier said than done, right?
Well, sort of.
The truth is you don’t really measure it.
Pinch off a small piece of your dough right after mixing and put it into a small glass container. Something like a shot glass or a jelly jar can work for this.
Press it flat so it covers the bottom, and mark the starting line with a rubber band. Next, set it right by your main dough so it’s at the same temperature.
Now you’ll be able to see what’s happening with your dough. When the sample in the glass meets your target rise, then your bulk is done.
This is truly one of my favorite sourdough hacks.
Important Advice: I’ve seen this tip slightly modified online and I have to point out the math error because it will wreck your bread if you follow it..
People say to put 40 grams of dough in a cup that holds 60 grams, and once it reaches the top you’ve hit 30% rise.
You’ll see people say to put 40 grams of dough into a cup that holds 60 grams, and when it reaches the top you’ve hit a 30% rise.
But that’s not a 30% rise, that’s a 50% increase.
I’m no math police (even though I love math), but this difference can actually mess up your dough. It won’t hold shape and you’ll wonder what happened.
Therefore, you should do the math for your own container. Weigh how much dough fills it to the top, then work backward from there. Let’s say you’re working with a 60 gram cup, start with 46 grams for a 30% rise.
SECRET #6: Do Nothing For 30 Minutes Before Kneading
This secret requires less work, which is my favorite kind of secret.
Basically, you’ll mix your flour and water together until there are no more dry patches left. Do not knead it, just stir it enough to hydrate it. Then leave it for a half an hour.
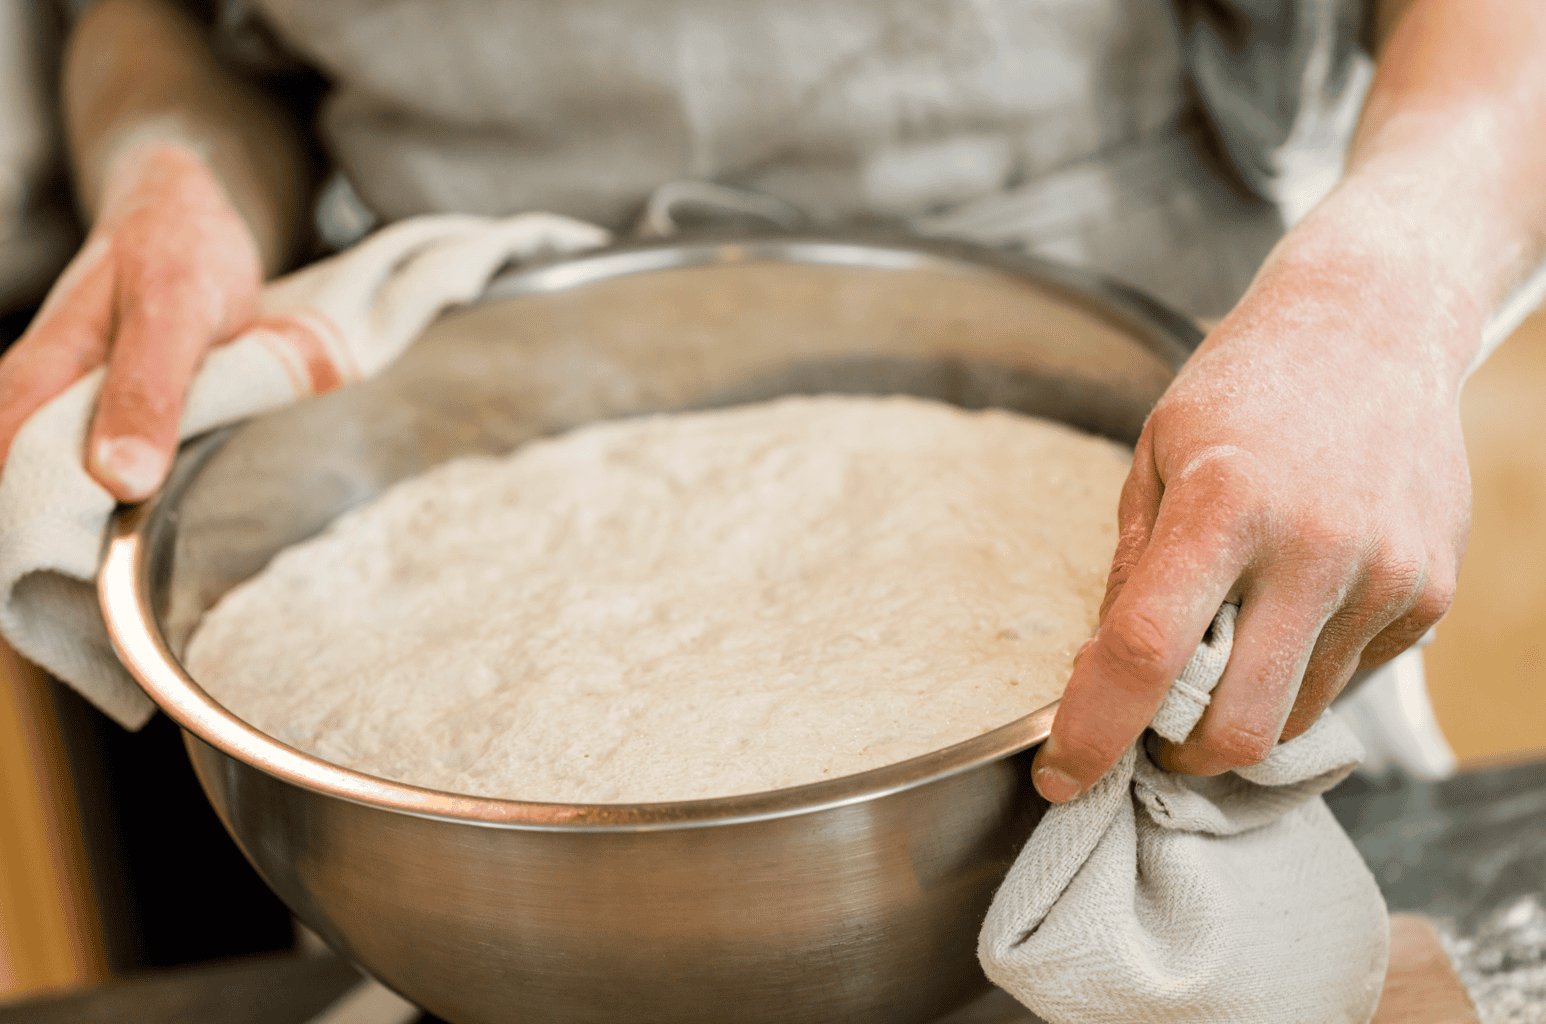
When you come back, it’ll have transformed into something that’s smooth and stretchy that will hold together when you pull it.
The flour did the work for you here; it’s called autolyse. That’s what happens when flour is fully absorbing the water while gluten strands link up on their own.
With this “trick” you’ll skip a whole lot of kneading that you don’t need to do at all.
If you’re working with whole grain flour, I’d give it more than 30 minutes because it’ll take more time to hydrate. But a good rule of thumb is at least 30 minutes. And honestly, you’ll be able to see if it’s ready or not by just looking.
Important Note: Some bakers add the starter at this stage and others wait. If you add your starter with the initial mix, use less of it so fermentation doesn’t run ahead of the flour hydrating. I suggest around 10% starter in warm weather, and up to 20% in colder weather.
SECRET #7: Stop Counting Your Stretch and Folds
Another thing that people love to put in recipes is a fold schedule. They’ll tell you to do four sets at thirty minutes apart.
Stretch and folds are just one way to build strength in dough, and they’re certainly not the most efficient way.
You can build the same strength by kneading more at the start or by giving the dough a pre-shapre or even by shaping it a little tighter at the end.
So when a recipe tells you to do eight folds, what it’s really saying is that the dough needs more strength, and how you decide to do that is completely up to you.
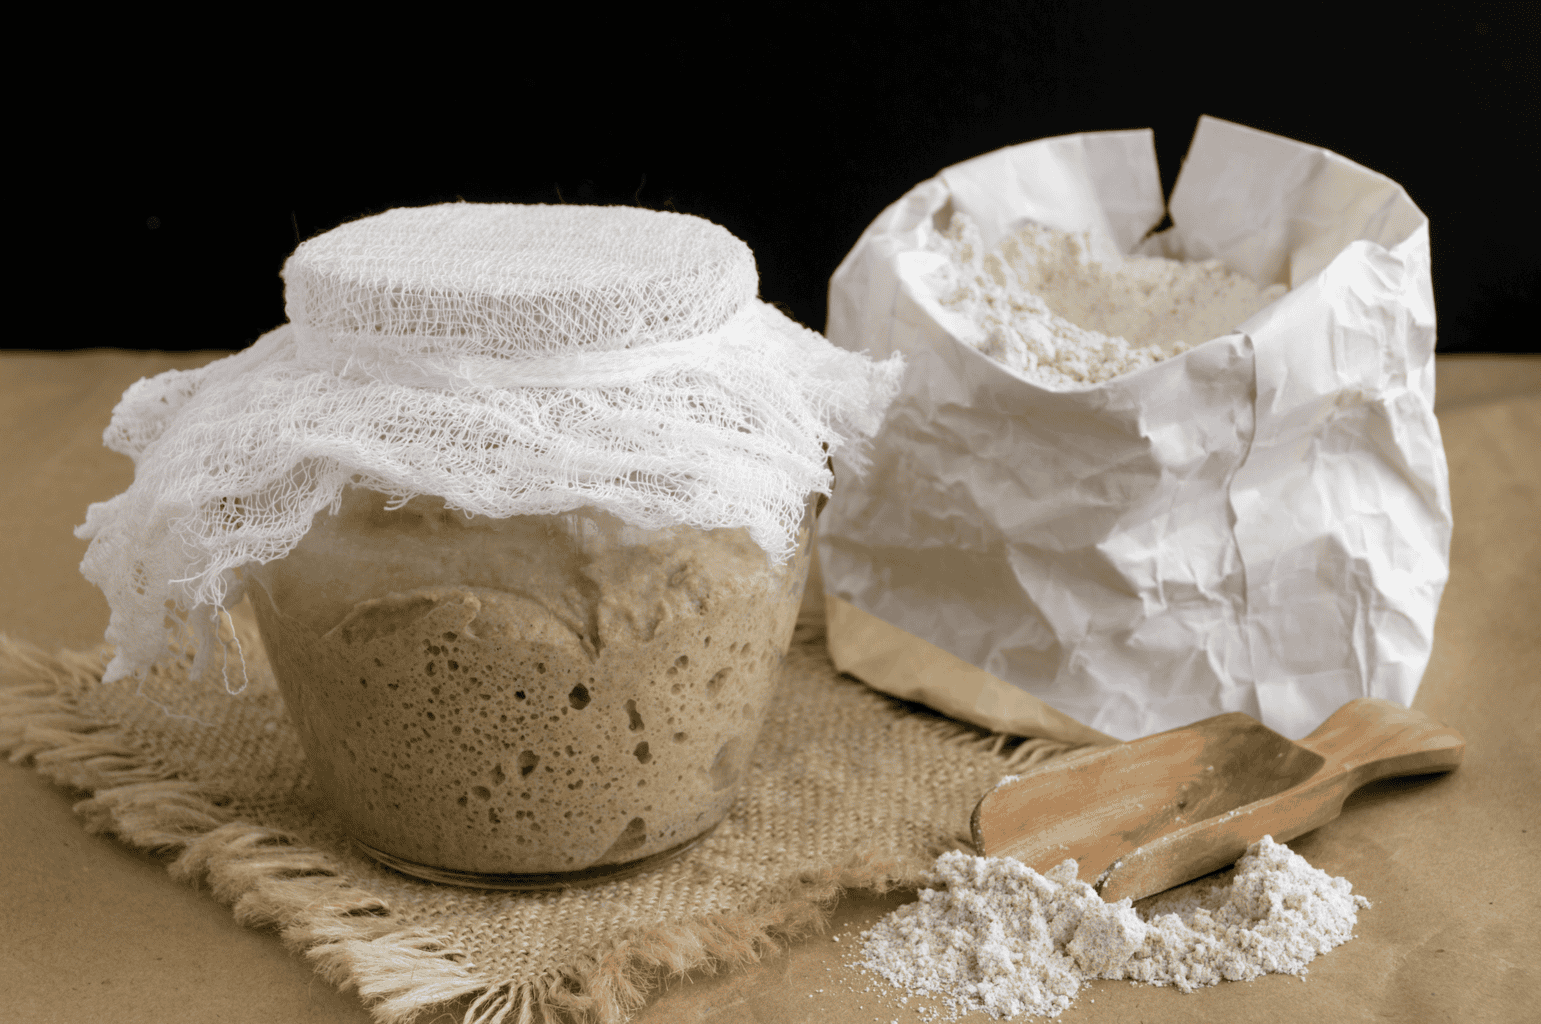
My best recommendation is to pay attention to the dough instead of the clock. If you see the dough is spreading out or going flat in the container, fold it. But if it’s holding a nice dome, you don’t need to do anything. Be response to the dough and you’ll get much better results than following a recipe.
That said, I do tend to do more folds than needed, but that’s just my preference.
SECRET #8: Flour Is The Enemy (Until The Last Second)
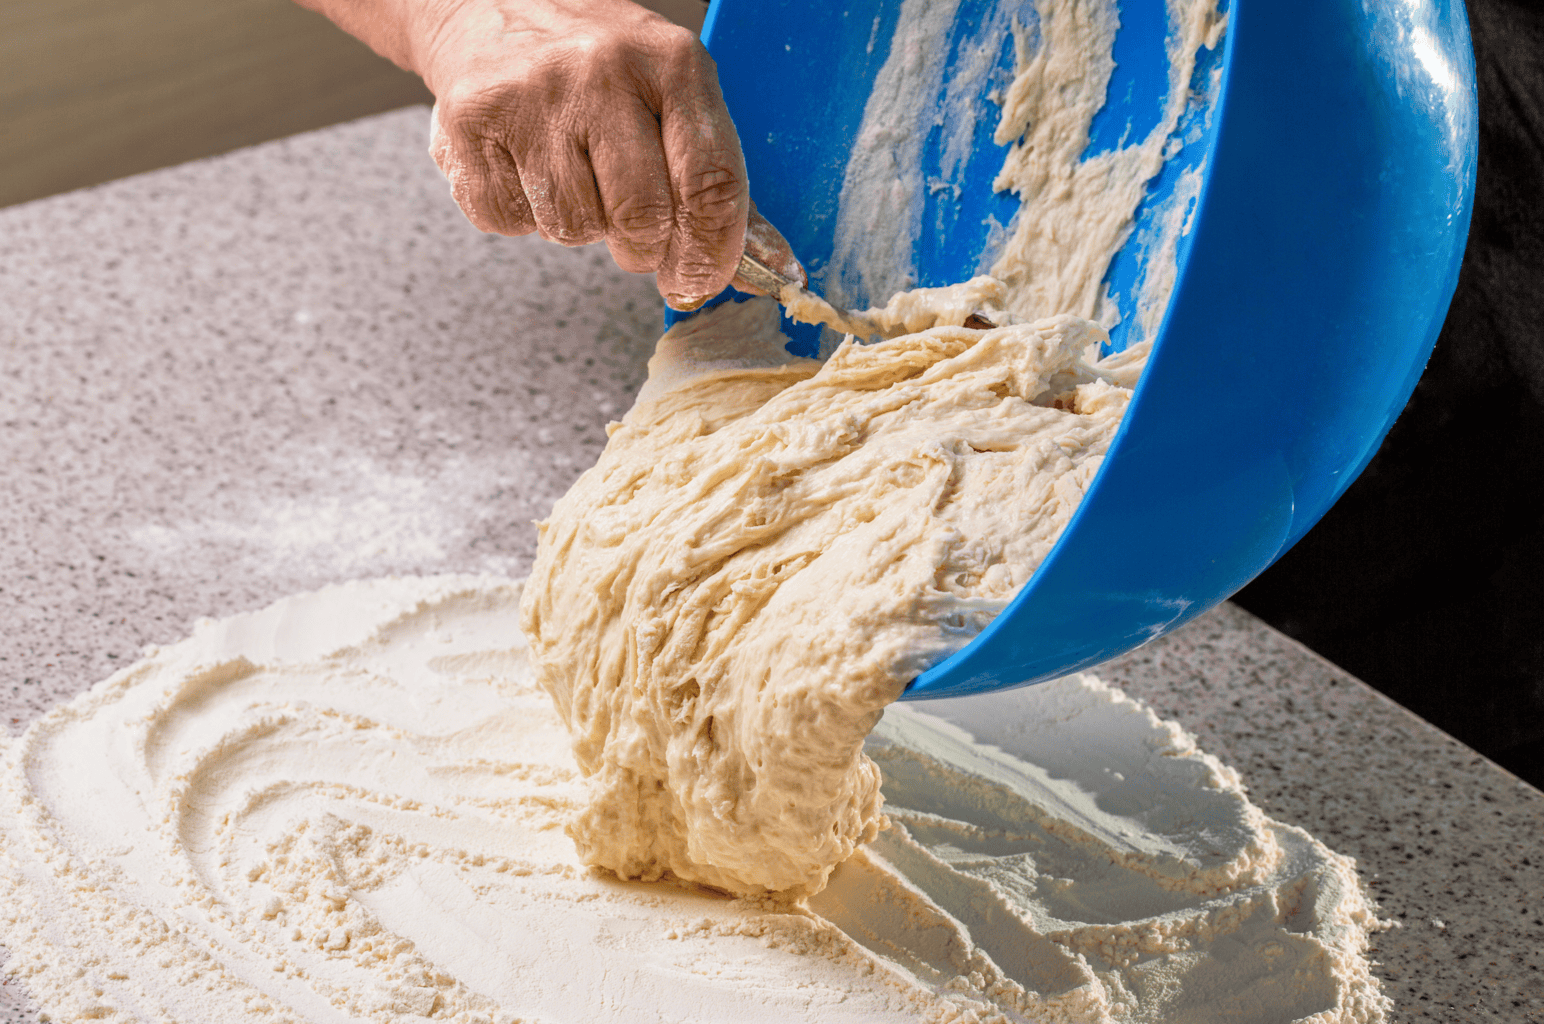
When you dump your dough onto the counter and it immediately sticks, most people think they need to reach for flour to gain control again.
Don’t do this!!
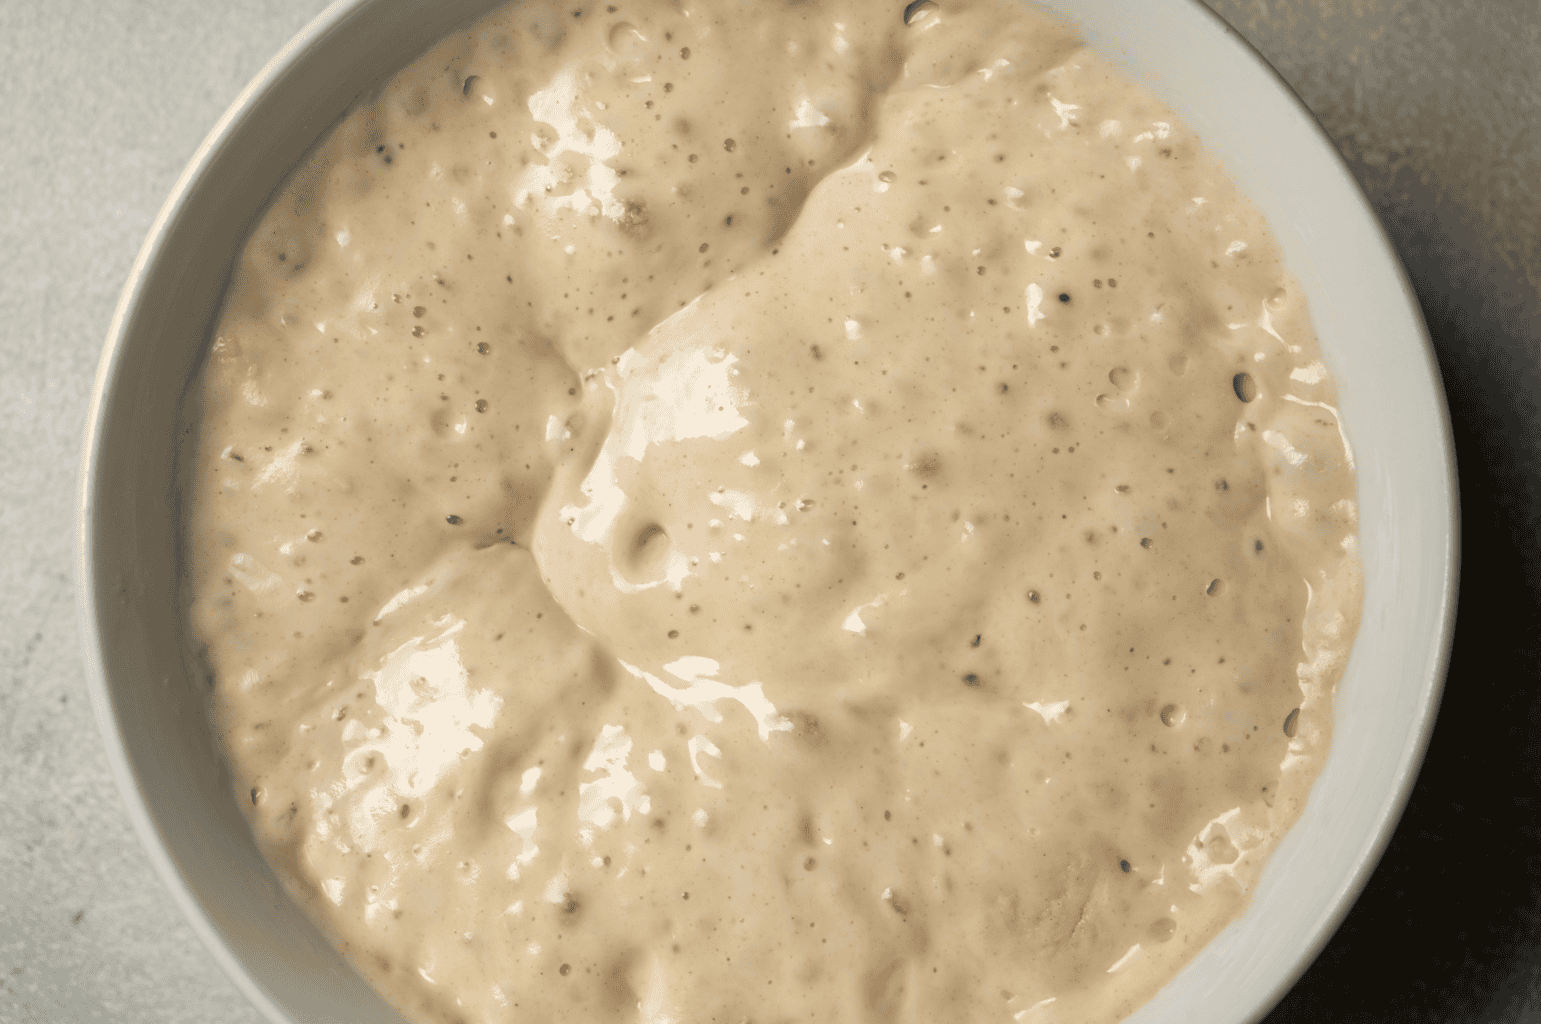
It’s okay for your dough to grip the counter. In fact, you want your dough to do this because that’s how you build tension.
When you drage a piece of dough across a bare counter, the friction pulls the outside of the dough taut, and that’s what creates a tight skin that holds its shape.
If you throw flour down, the dough just slides around and you lose all of it.
Instead, you’ll want to your hands to be wet. Keep a little bowl of cool water next to you and wet your hands and your bench scraper whenever it gets sticky. Water will give you control without removing the necessary friction.
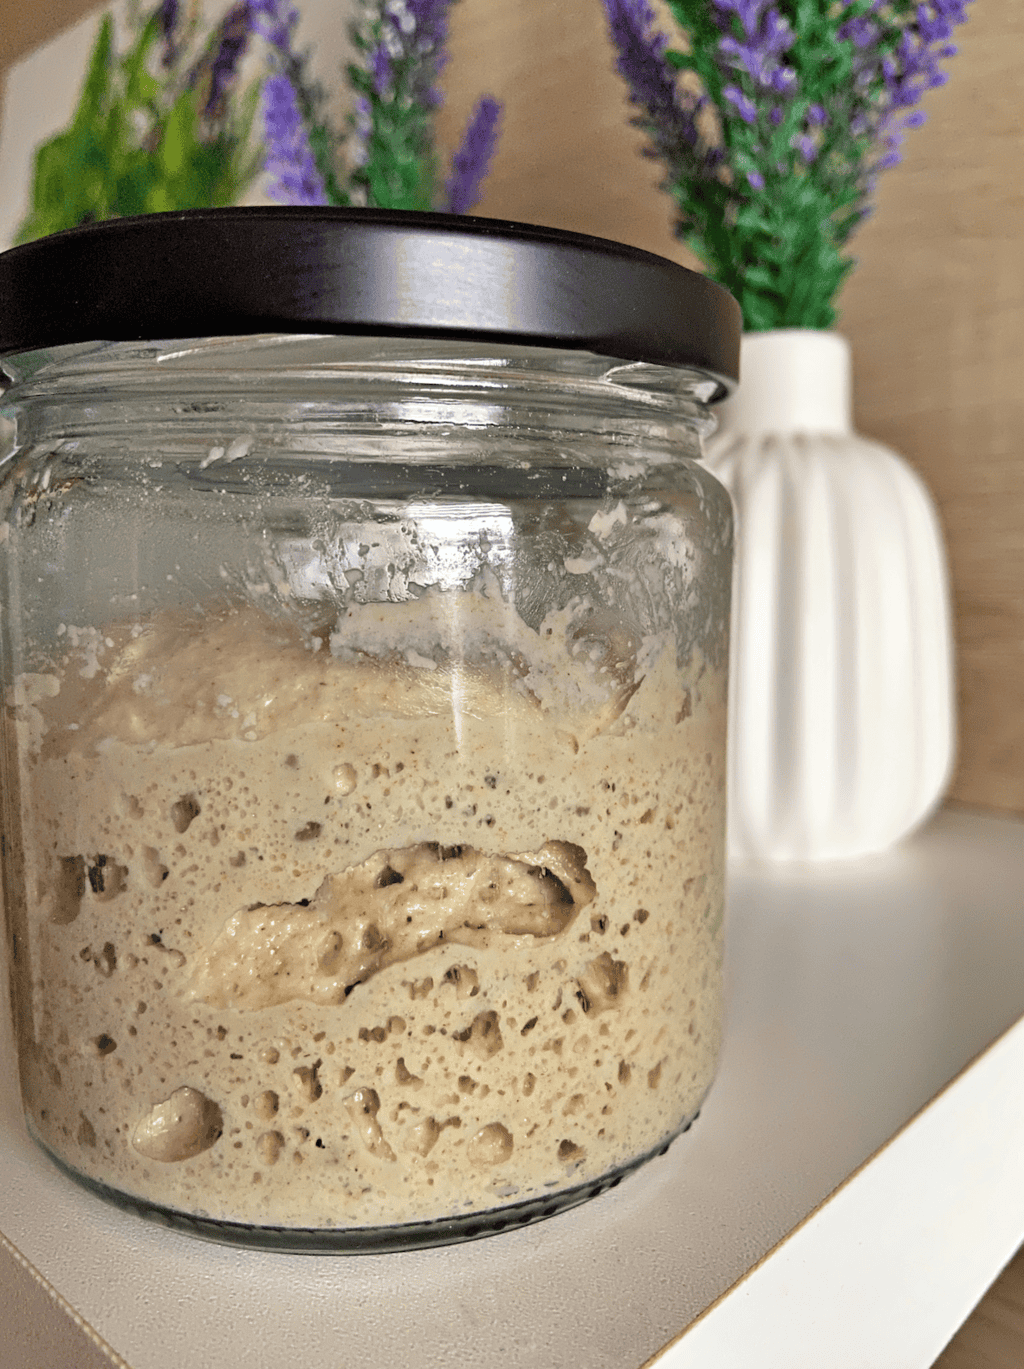
So when do you use flour? You’ll do that during the final shaping when you need the dough to not stick to the counter. And of course, whatever you’re dusting your banneton with.
Important Note: Rice flour in your banneton is worth it – it doesn’t absorb moisture the way wheat flour does, so your dough releases nicely instead of tearing.
SECRET #9: Save A Piece of Today’s Dough For Tomorrow’s Starter
This is one of the oldest sourdough tricks and I don’t see as many people talking about it.
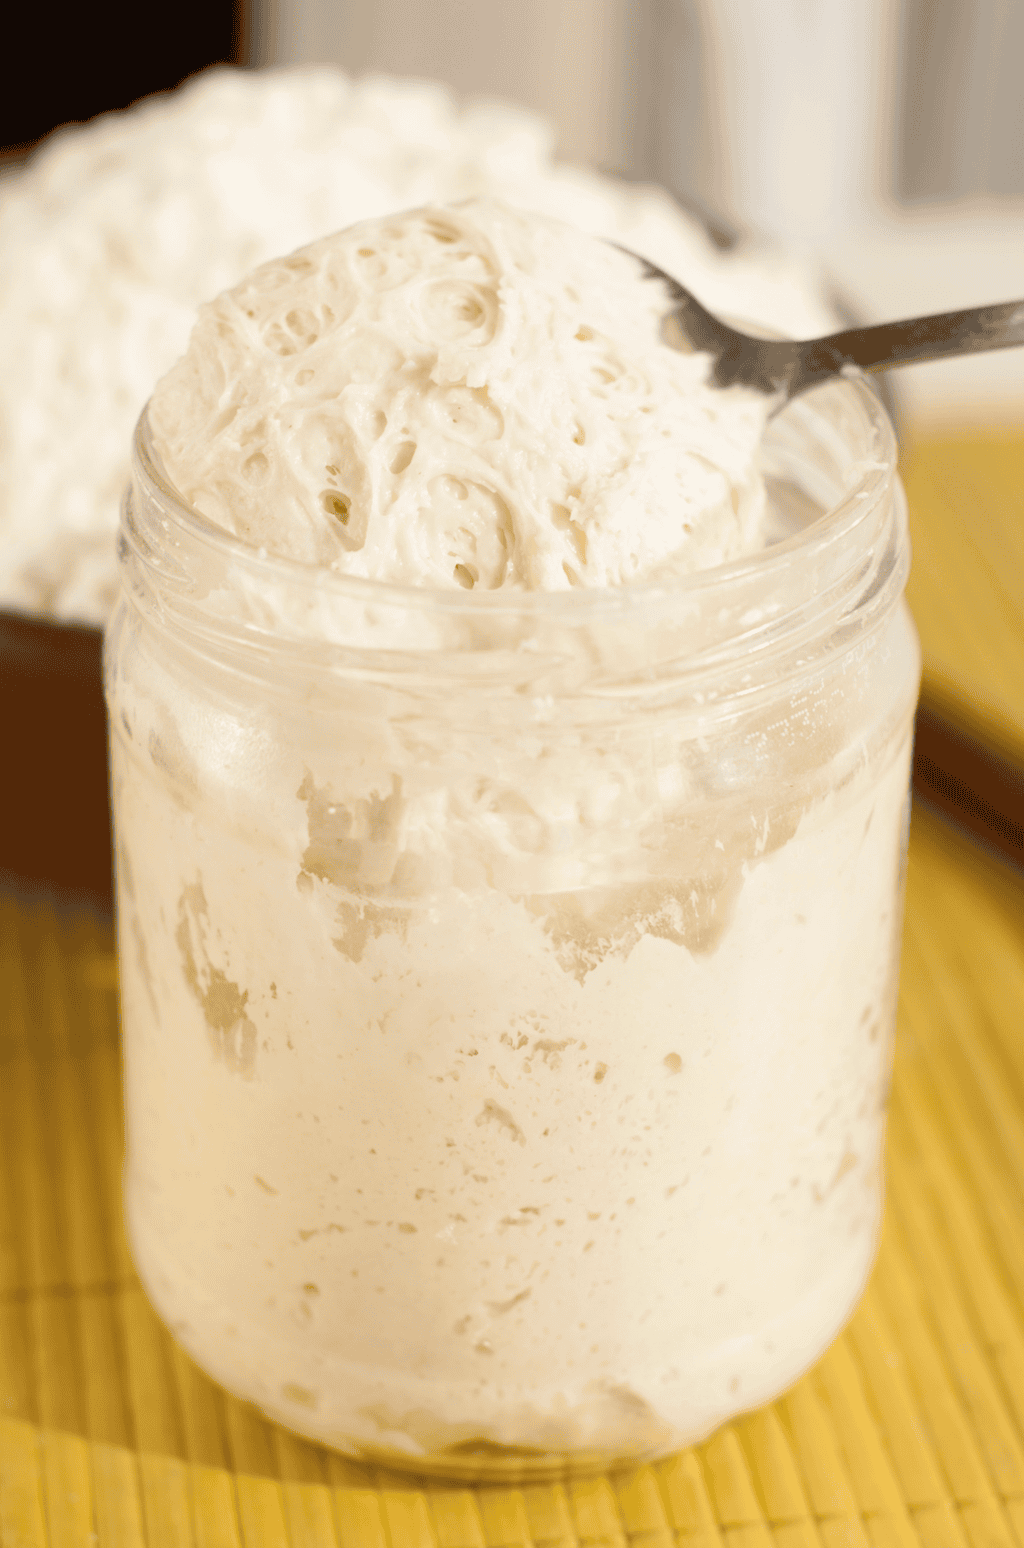
Before you shapre your loaf, cut off a piece of finished dough (maybe 50 grams) and stick it in a jar in your fridge.
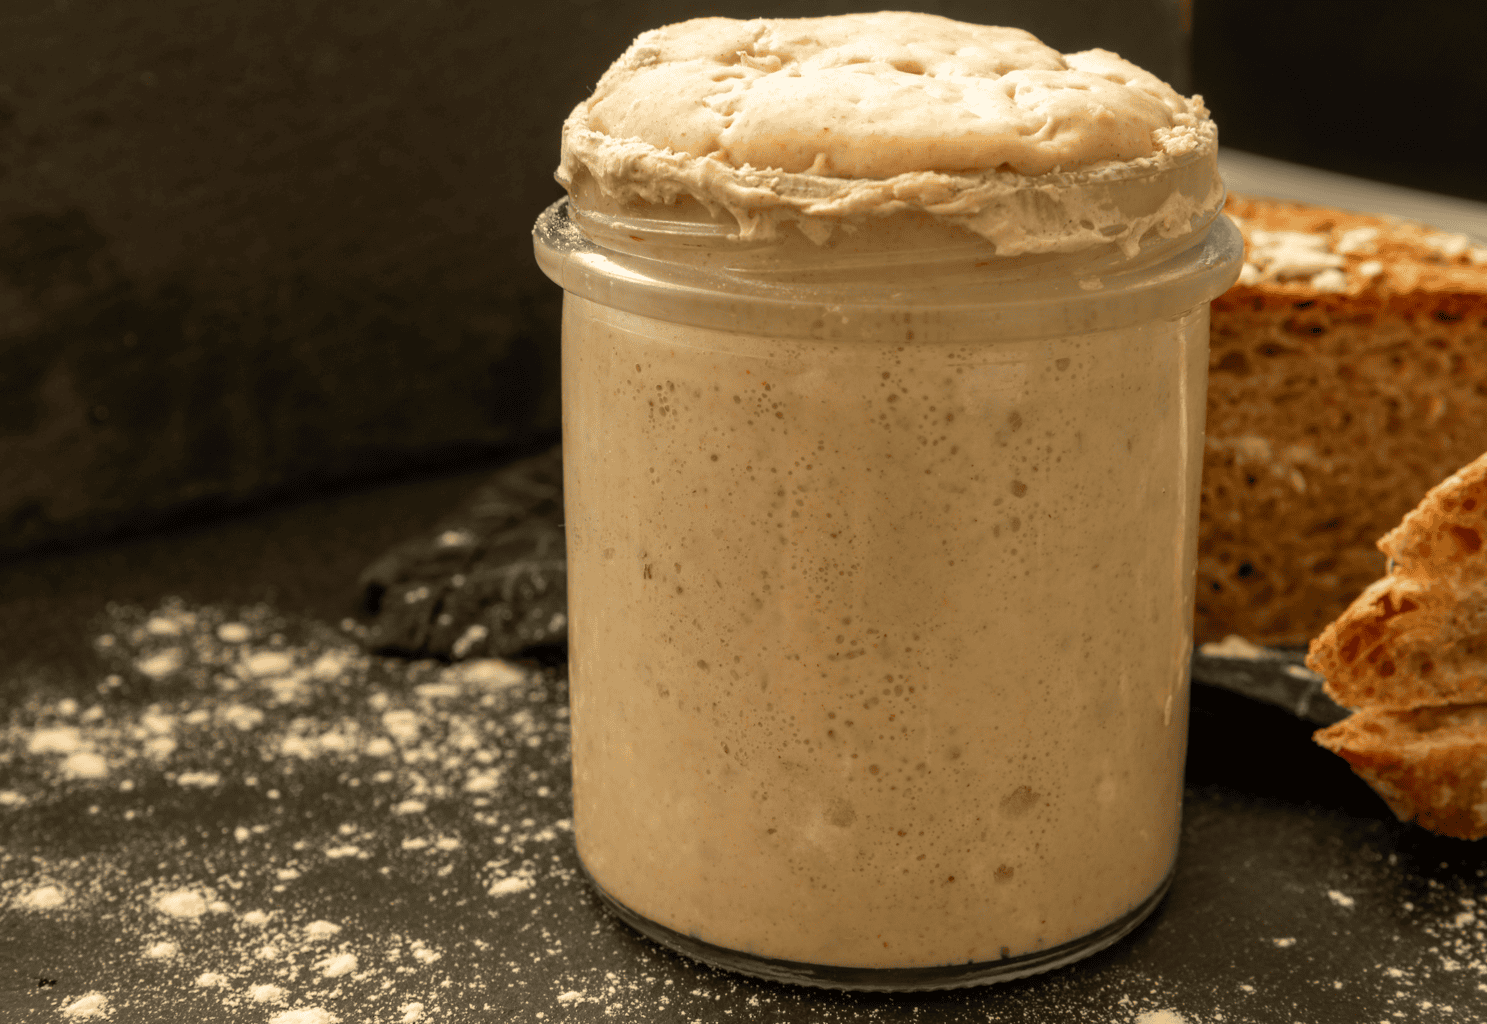
That’ll be your starter for next time; it’s already fermented and active, and it’ll be pefect for your next bake.
This is how people have done it for generations before people started naming their starters in a mason jar. It’s so simple. You just bake, keep a pice back, and start again for the next bake the following week.
This piece of dough will last for about a week in the fridge, but less if your fridge is on the warm side.
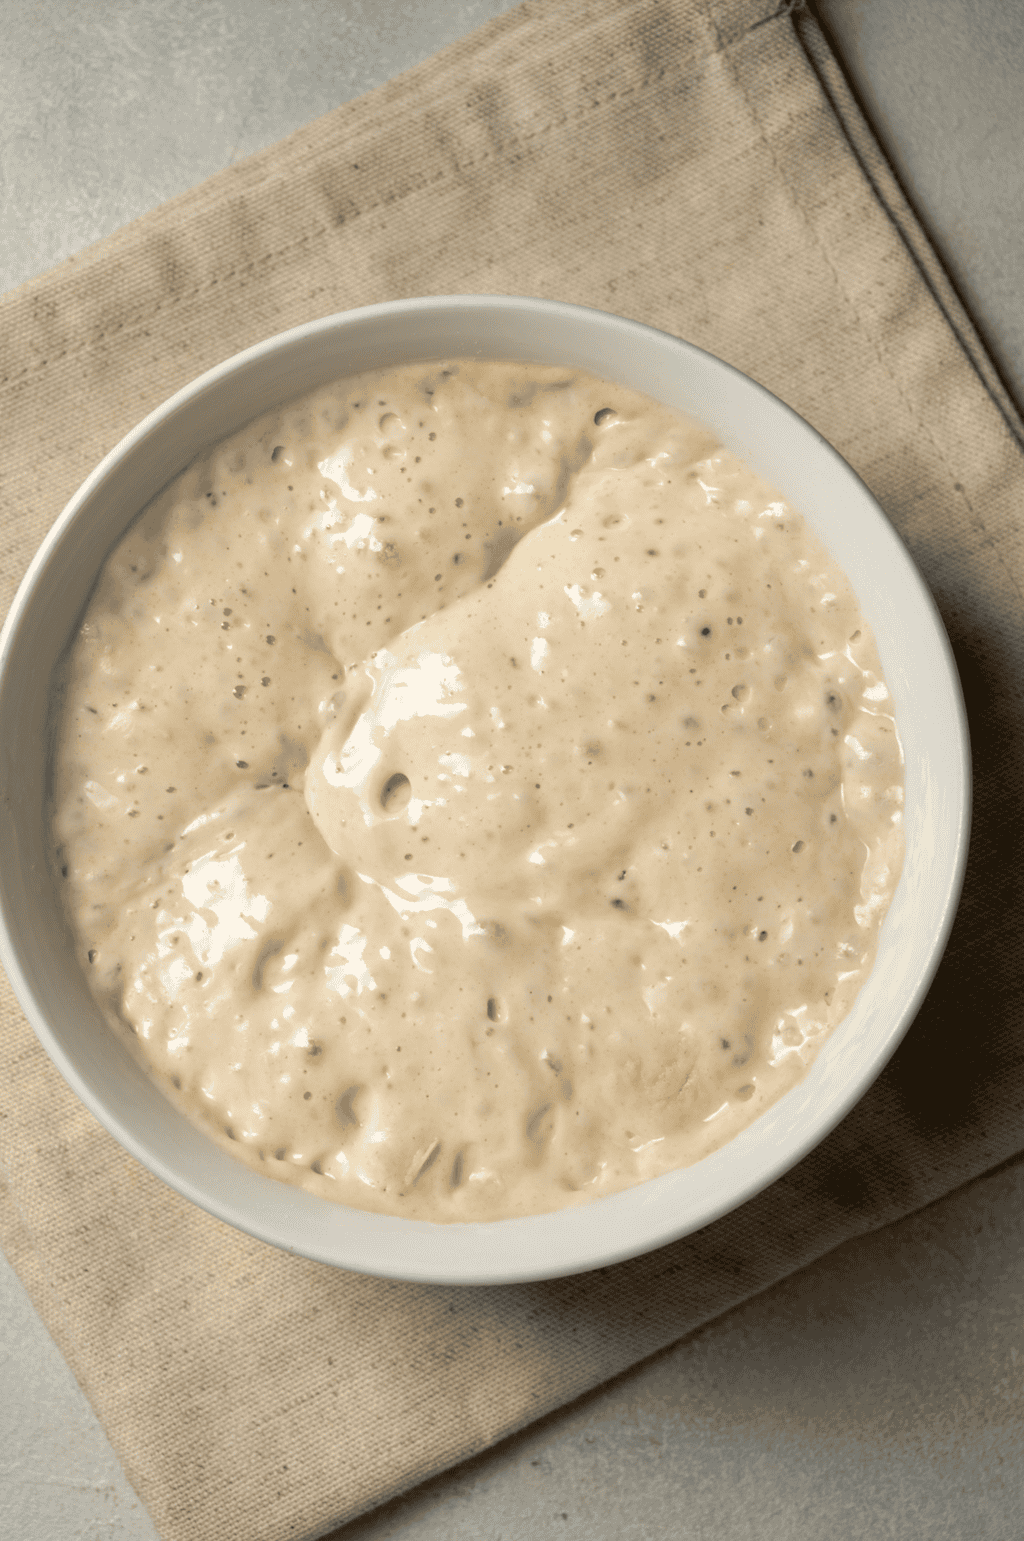
Important Note: If you’re brand new to this, feed the saved piece once before you bake with it. Once you have a feel for how your dough behaves, you can pull it from the fridge and use it as-is.
SECRET #10: Your Loaf Isn’t Finished When It’s Done in the Oven
It can be really hard to control yourself after the loaf comes out of the oven and it smells mighty fine.
But if you cut into it, you’re going to regret it.
Like many things, bread keeps cooking as it cools. The starches are still working, and moisture is still redistributing through the crumb. Not to mention the final internal structure is still finalizing after it’s pulled from the oven.
Cutting into it too early will get you gummy sticky crumb instead of slicing clean. And honestly, that could’ve been an amazing loaf, but you didn’t wait long enough.
I recommend waiting at least an hour, but longer is better.
Important Tip: Along the same lines, it’s important to remember that steam matters a lot. When your bread first hits heat, you want the outside to stay soft and flexible for as long as possible so the loaf can keep expanding. If a crust sets too early, it will lock the bread in place and lose your rise.
Steam keeps the surface from drying out and hardening while the yeast settles.
If you’re using a Dutch over, it’ll do this for you automatically. But if you don’t have a Dutch oven, just use a metal bowl over the loaf.
Trap steam first and then let the crust brown and crisp.
SECRET #11: You Don’t Need To Make A Boule
When you think of sourdough, you probably picture a round loaf with the perfect ear. But that’s actually the hardest format because there’s nothing holding the dough up but the strength you built.
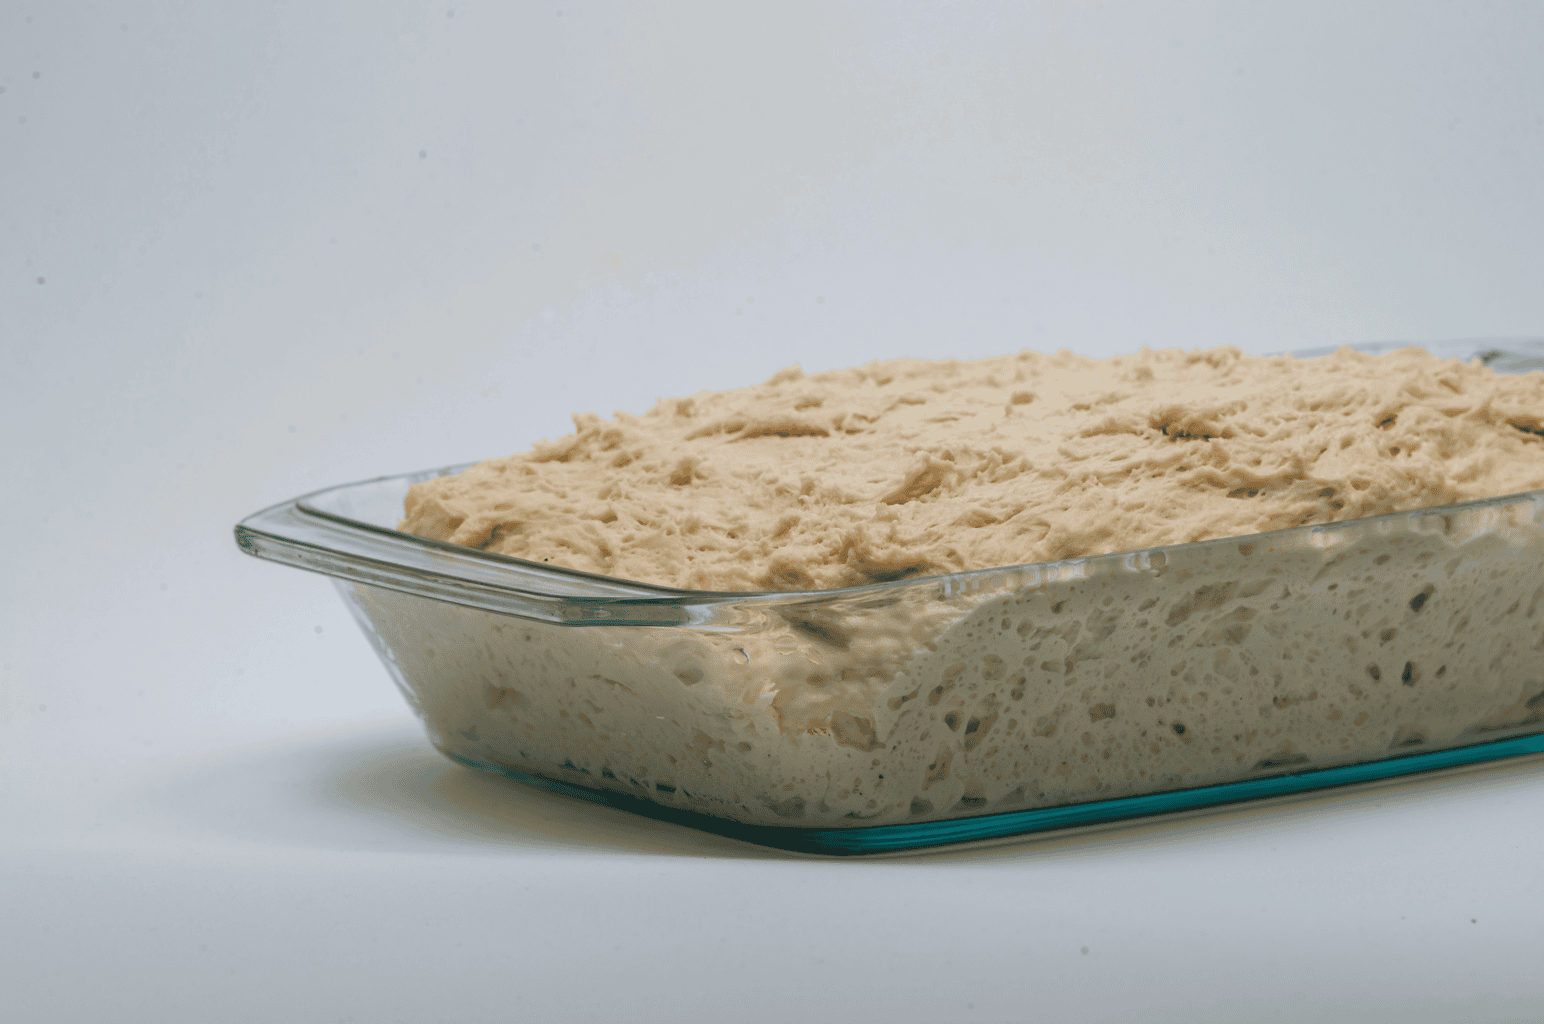
If you bake that loaf in a pan, the pan will hold up the loaf for you. So the slack dough that would have spread into a pancake on a regular baking sheet can turn into a beautiful sandwich loaf with the help of that pan.
You’ll also find that pans can help you create a loaf that slices into pieces that actually fit into a toaster (if you know, you know). So not only will you skip the potential heartbreak of a flat and lame loaf, but you’re doing your sandwiches a favor by using the pan.
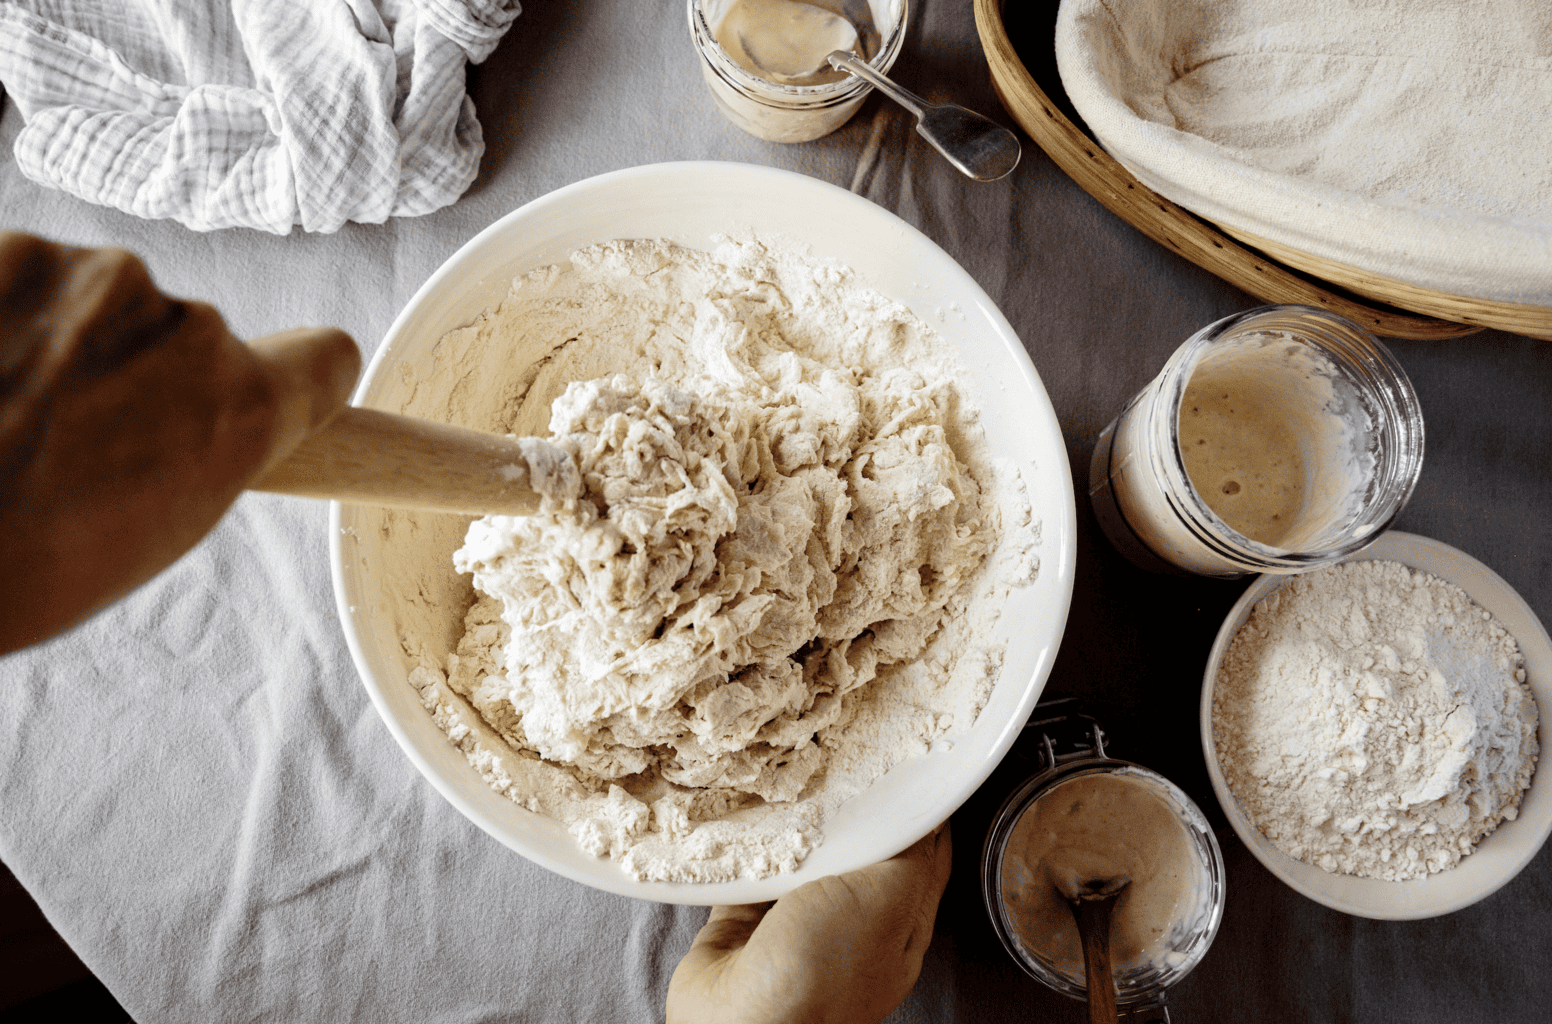
Yes, I still make round loaves, but the pan is just soooo much easier.
So if you’ve been struggling for months and you’re close to giving up, try a pan before you quit. I think it’ll change things drastically for you. Dough that fails as a boule will likely make a great pan loaf.
Conclusion
I’ve heard that it takes at least 5 attempts before you make a decent sourdough loaf. For me, it was way more than 5; closer to 20 – HA! But those 20 attempts have helped me understand more about what you should do, what you shouldn’t do, and how to navigate difficult dough or starter.
I hope my many failures and inevitably successes have helped you avoid some of the most common mistakes sourdough bakers face, especially when they’re first starting out.
Happy baking!

Erie is the owner and author of Everywhere Ontario. She’s lived and traveled around Ontario for over 30 years, visiting small towns and big cities from the shores of Lake Erie to the crisp northern air of Hearst along the Trans-Canada Highway. She is passionate about maximizing fun and supporting local tourist businesses and is always looking to provide the best recommendations to her fellow Ontario travelers. Read more about Erie here.